
The subject of photography is filled with jargon that can seem overwhelming at first for beginners. Added to that is the need to try and understand which camera equipment and which accessories are best.
So while it can all seem a bit confusing in one conversation, with the right photography tutor, terms like white balance, macro photography and advice on which lens to buy is easily digestible.
There is a lot of photography vocabulary, like aperture, f-stop, depth of field and more to come to grips with, however this article will attempt to explain white balance and how it can impact the quality of your images.
Of course, you could take good photographs with minimal equipment and knowledge about technical aspects like white balance settings, however it would be like trying to write English without an understanding of its grammar.
What is the easiest way to explain white balance?
In a nutshell, white balance is about colour.
Once you know how it affects the colour temperature of your images, you will see an improvement in your photography.


What is White Balance?
Put simply, white balance in photography refers to colour correcting your images while they are still in the lens!
Think about it this way: when you switch on a light in a room, the objects within the room will take on the hue that is being emitted by the light bulb. For instance, a white wall could take on a warm yellow tone from a tungsten bulb or a very flat bright colour from a fluorescent bulb.
Even though digital cameras are extremely advanced today, they still don’t have the cognitive power of the human brain to translate that a white wall is white regardless of the yellow hue of light being reflected on it! This is why setting the white balance before your shoot is important!
By setting the white balance you correct any light interferences so that your image is more realistic.
Fortunately, if you forget to adjust your white balance settings, all is not lost. You can tinker around in your camera settings before your shoot, or use post production software like Photoshop afterwards.
One of the best ways to explain white balance is to explain the important aspect of colour temperature, which is a critical factor in photography.
What is Colour Temperature?
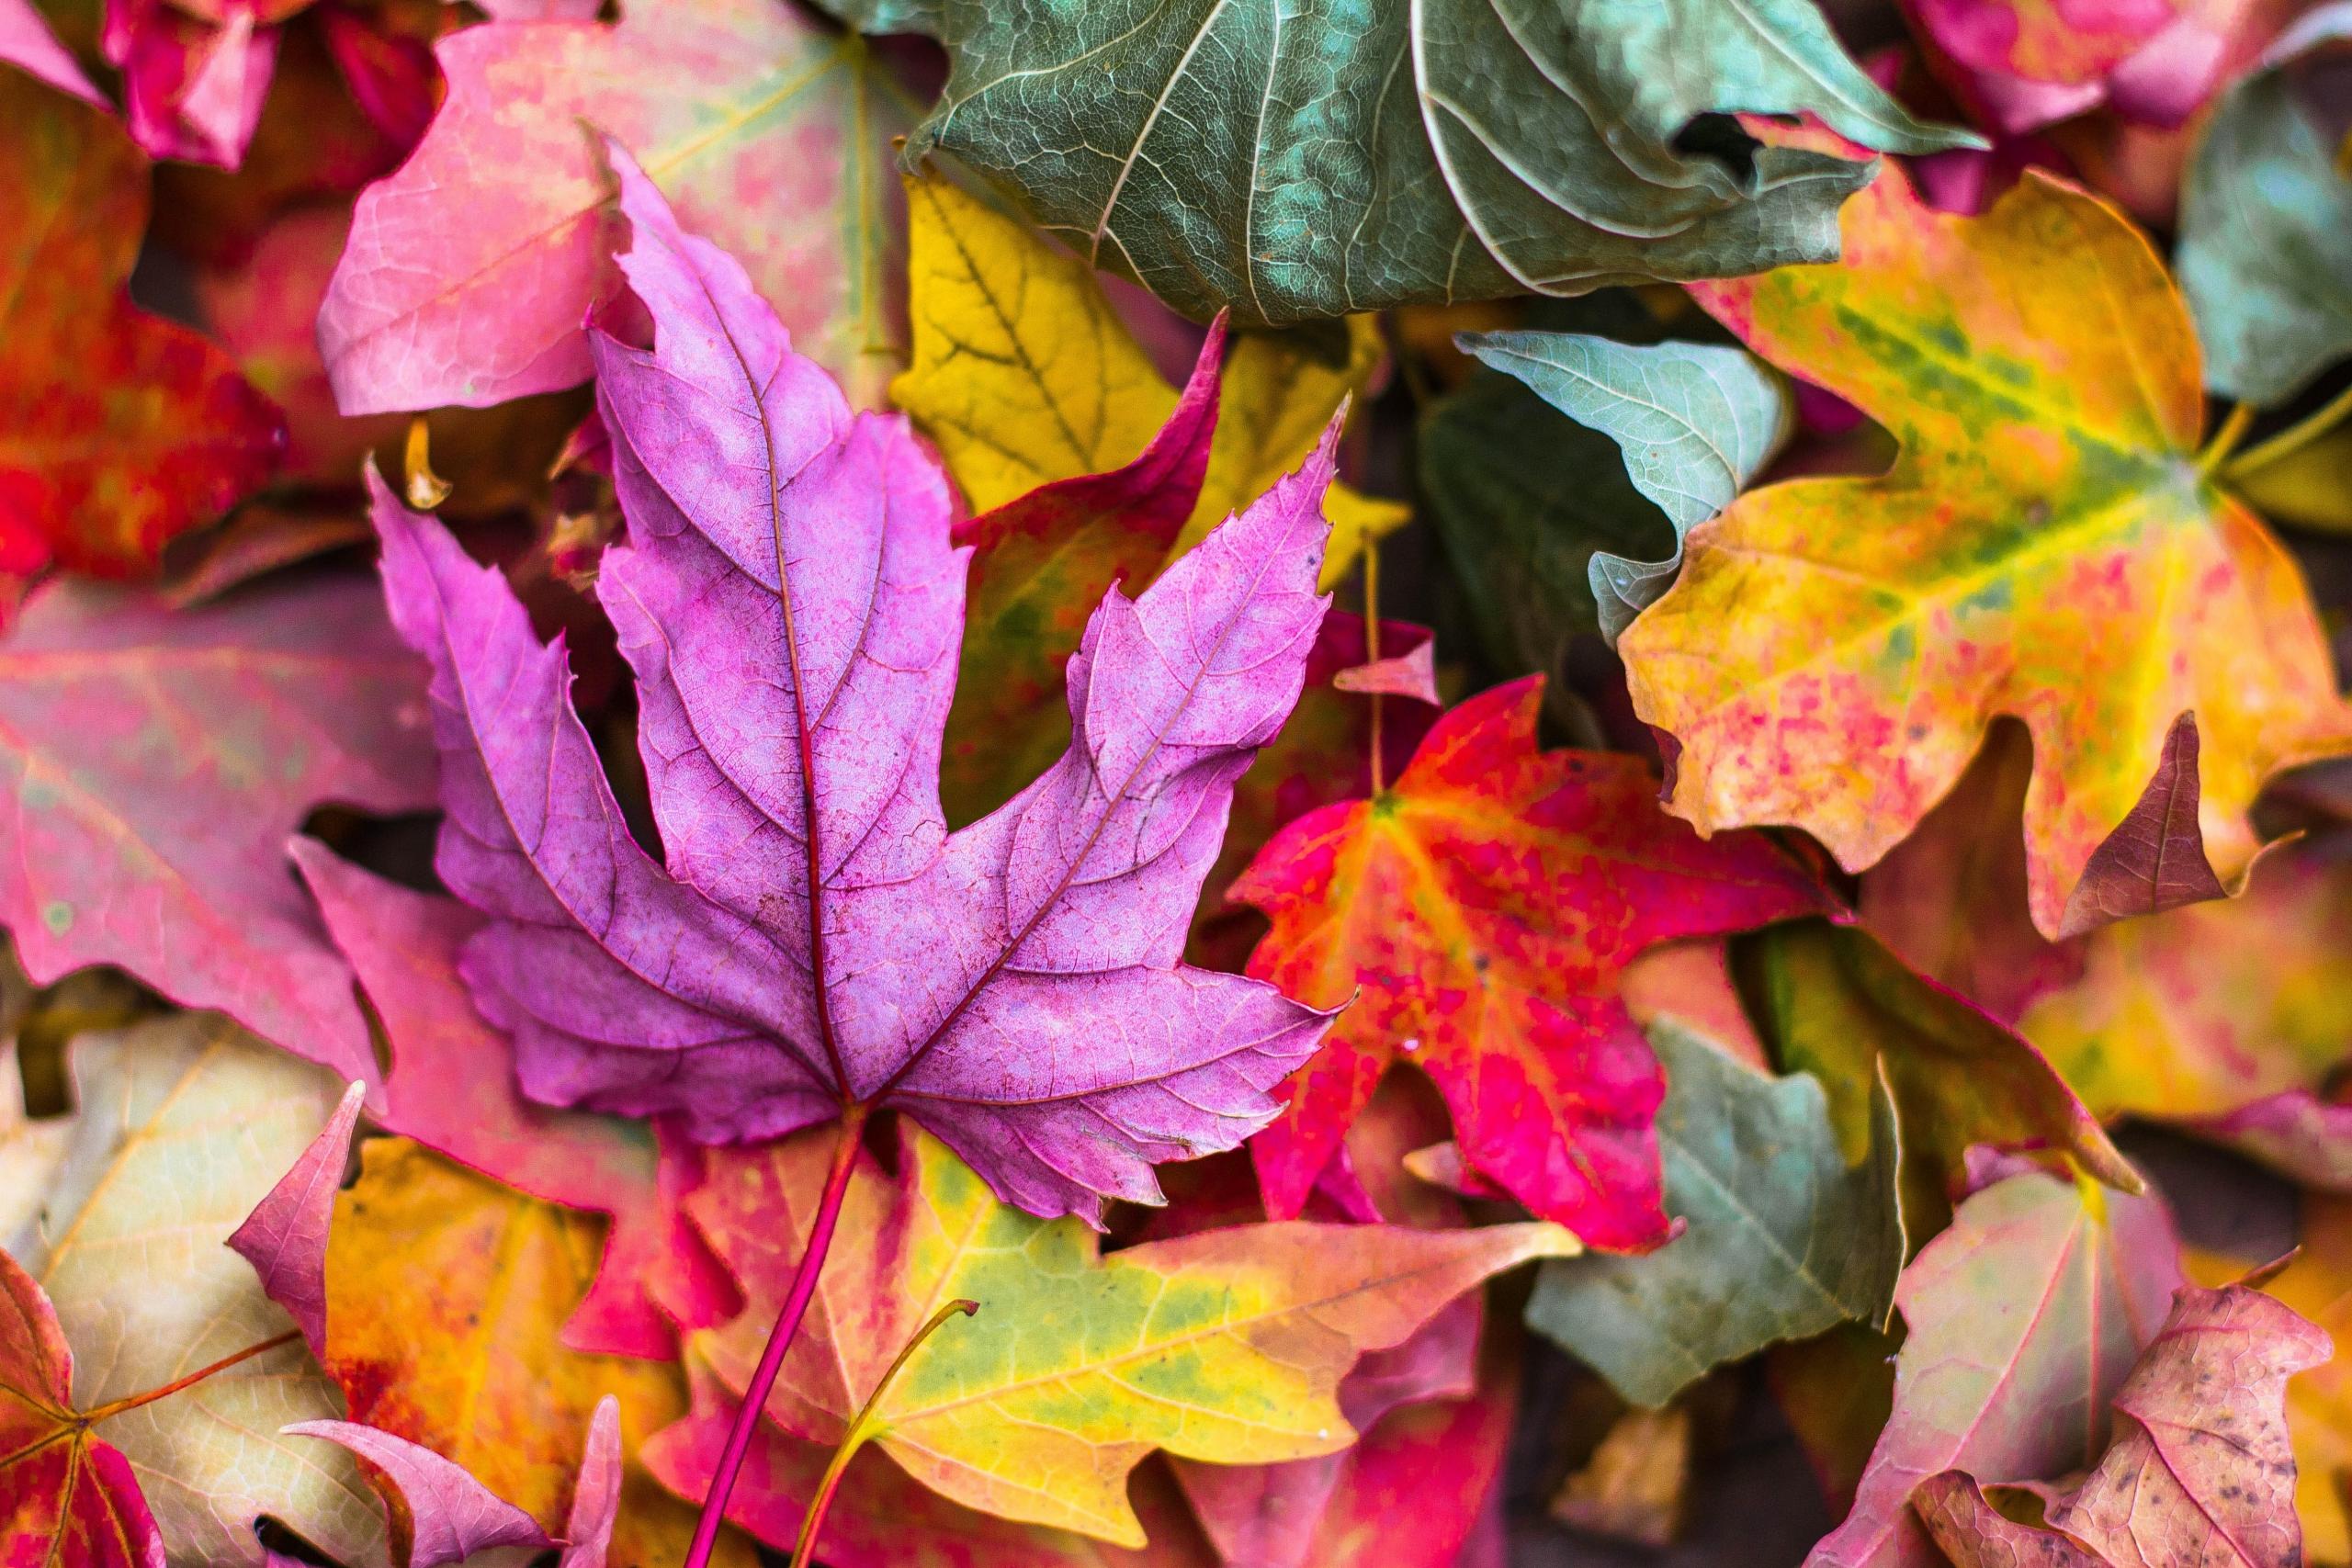
Colour temperature describes the shade of colour in a scene. This could be the orange glow of natural sunlight, or the cold blue colour from a lamp. Before leaping to adjust your white balance settings, the trick is to notice whether the colour of the environment is more skewed towards cold blue hues or warm oranges.
Remember that cameras are not able to recognise this and will automatically correct images if you use the AWB (auto white balance) setting.
If you want more control over your white balance in photography, then you will want to learn how to measure colour temperature.
But how?
Kelvin Scale
Measured in units of Kelvin, colour temperature goes from 1 000 — 2 000 all the way to 9 000 — 10 000.
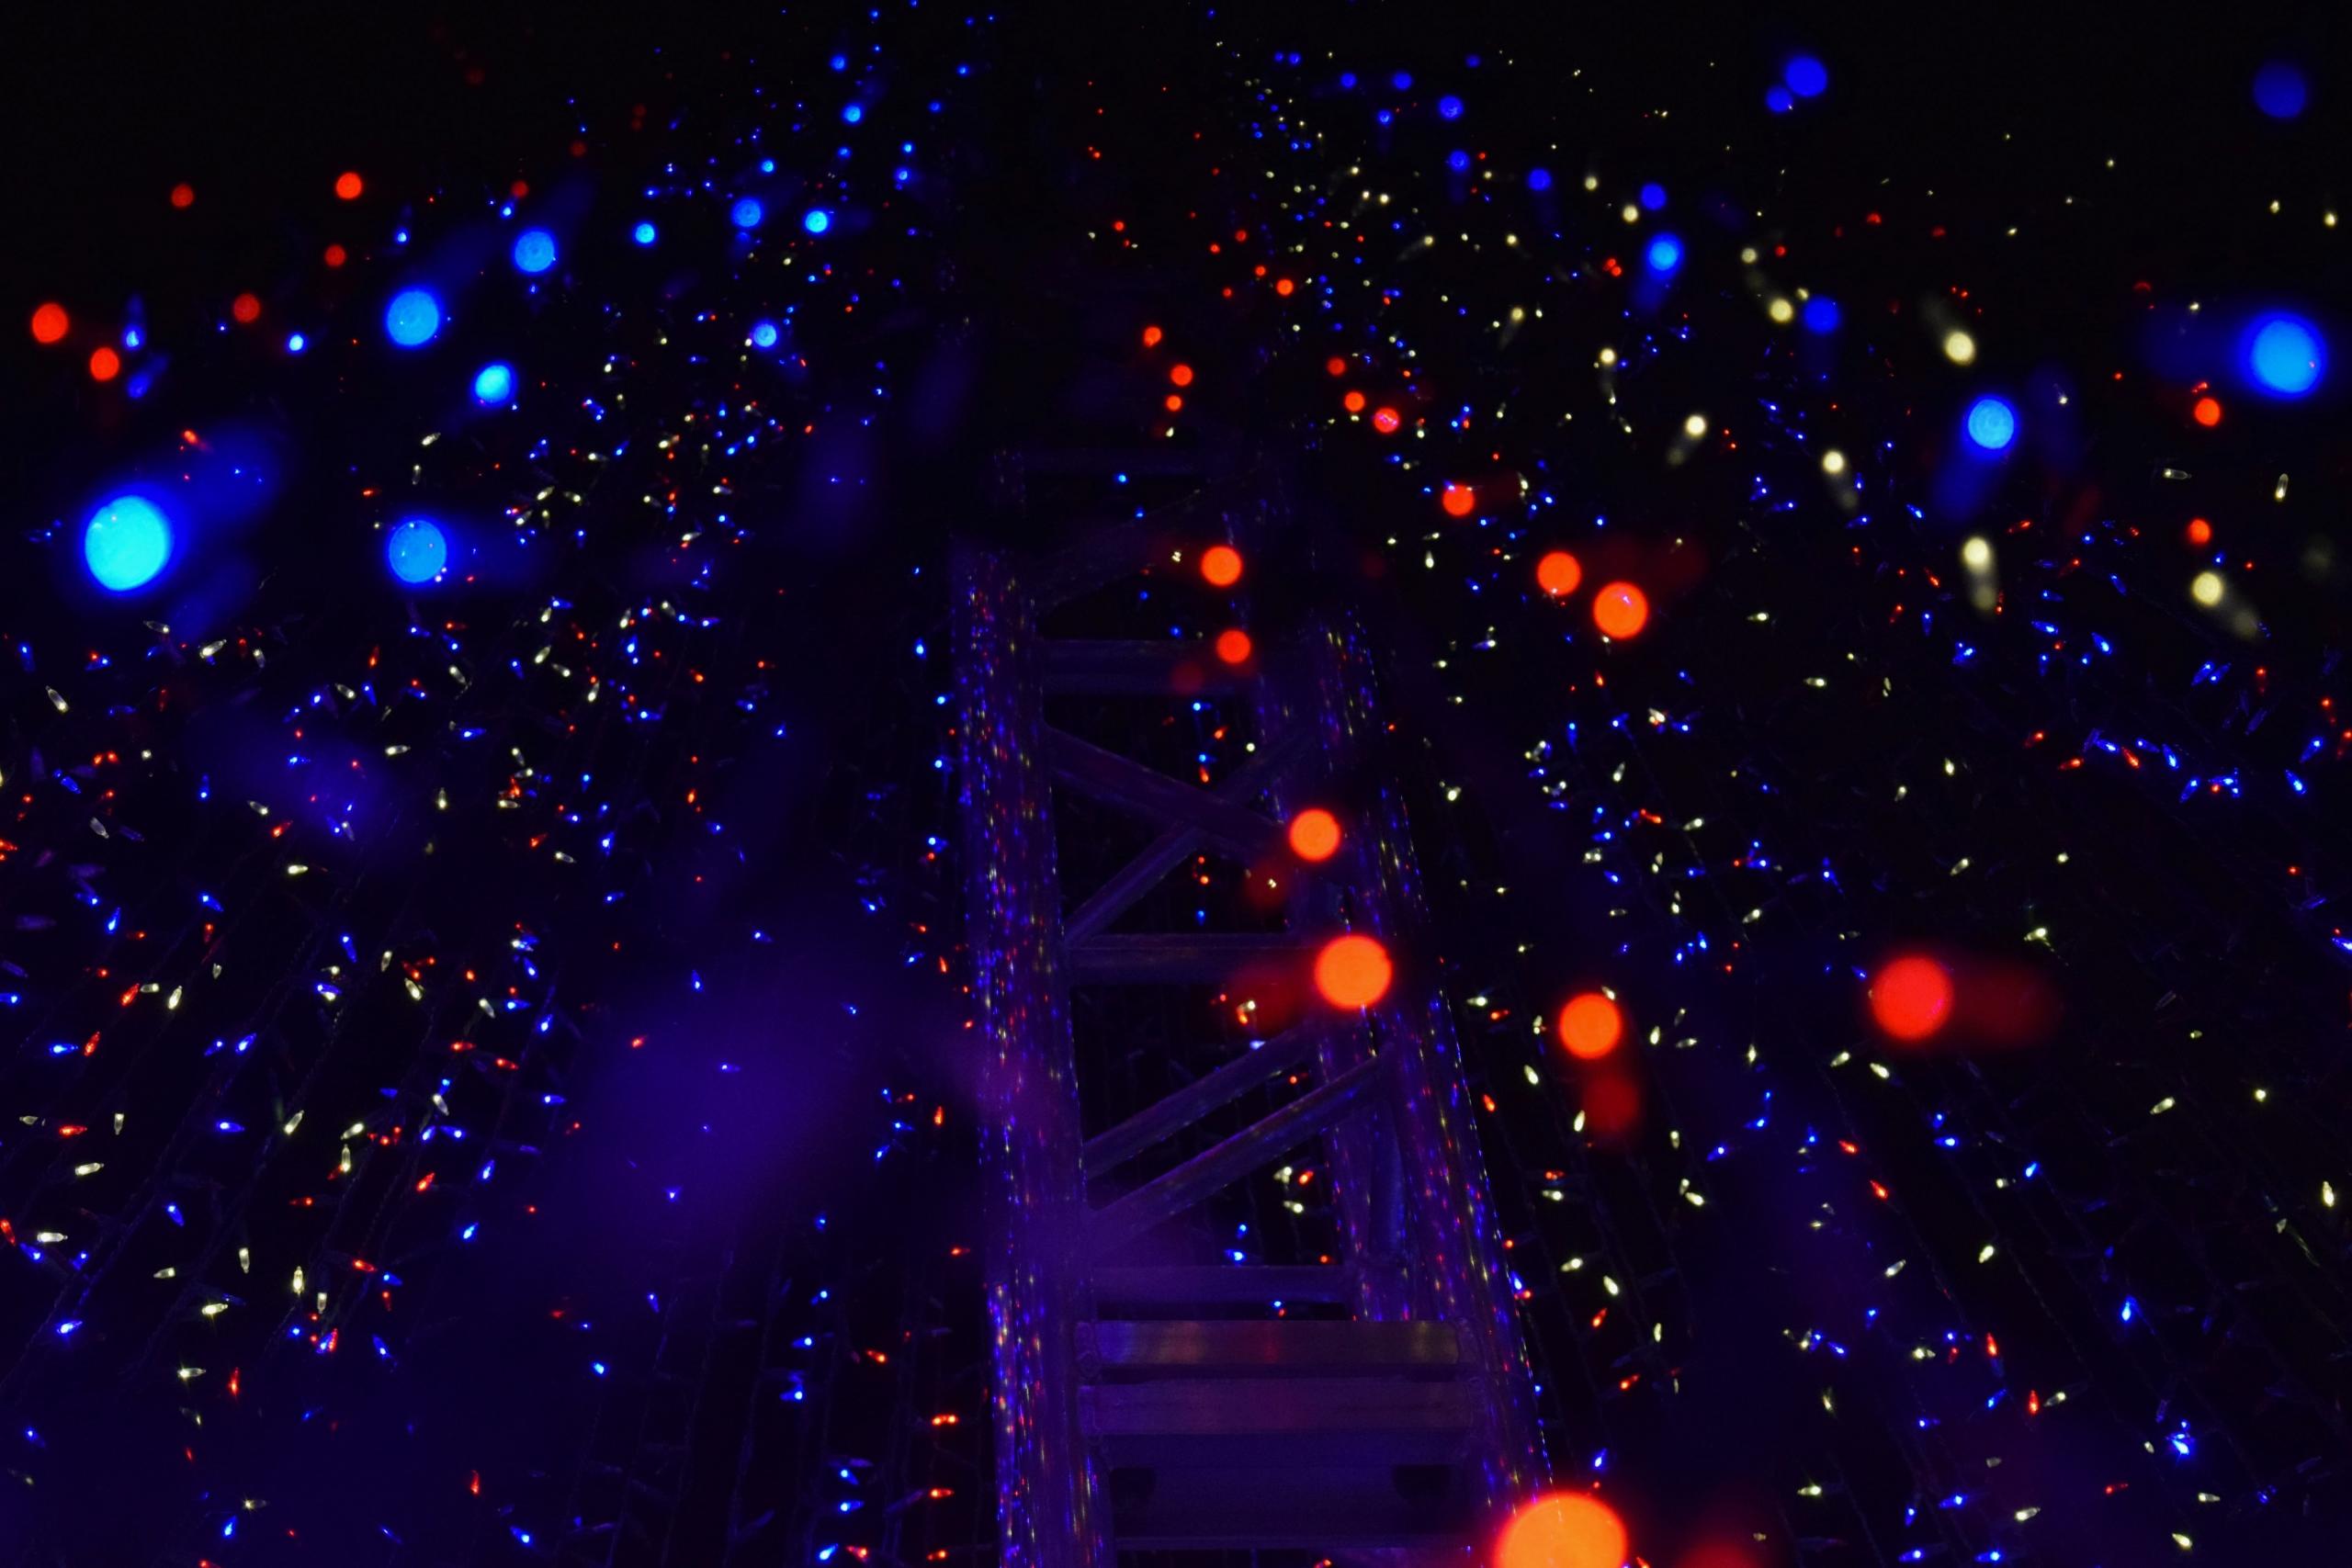
At the scales lower end, you will find intense shades of orange not unlike those created by a burning candle. On the scale’s higher end, you’ll have deep blues like the colour of the sky or ocean.
The middle section of about 5 000 — 6 000 units contains what is known as neutral colour temperature which can be likened to the midday sun.
The interesting thing about colour temperature is that it is not dependent on a single source of origin.
This is known as mixed light and can understandably create problems if you are not familiar with your white balance settings.
Imagine shooting outside where the colour temperature is constantly changing as the sun hides behind the clouds?
This scenario is an example of how to use white balance settings to account for colour temperature in images.
Setting the White Balance According to Colour Temperature
As a beginner, one easy hack is to try to simply remember that the colour temperature of your scene and your white balance settings should be the same.
For instance, if you are indoors in a room with 2 500K light bulbs, then start by setting the white balance of the camera to the same. This way, images will be unaffected by temperature and will look realistic.
Of course this scenario would only work if all your shoots were indoors and you were confident about the lighting that was being used. This is unlikely, for most of us when it comes to white balance in photography there is some guessing involved.
To explain white balance, we have to explain what usually happens. As a photographer, do your best in setting the white balance knowing that there may be adjustment in post-production too.
In fact, since most photographer use post processing software to brush up their images anyway, it is usually not a hassle to add in this extra step.
How to Use White Balance in Photography
To explain white balance means making sure that you know how to adjust it. The first method is in the camera as your shoot begins or as the light changes during your shoot, the second is in post-production.
Let’s go into more detail about these options to help you decide which method is best for you.
In the Camera
Most cameras will allow you to play around and adjust your white balance manually. In some, there are even photo accessories available to help with colour correction.
In many cases there are existing white balance presets to help prompt you regarding colour temperature. For instance, look out for ‘shade’ or ‘sun’ in your white balance settings which makes it easy if you don’t know exactly how to adjust it yourself.
One way to explain white balance is that your camera will either add in blue or orange to the image to correct the colour temperature.
Some cameras have a ‘WB’ (white balance) button within easy reach which makes it very easy to access and adjust presets as conditions change during your shoot.
As mentioned, there is also the option to select auto white balance (AWB) where your camera will attempt to adjust to the environment itself.
In Post-Processing
A lot of people choose to adjust their photos later during post production because it can be done with great accuracy and with more time.
One thing to note, however, is that if you choose to handle your white balance with your post processing software, your images will need to be shot in RAW to allow for this.
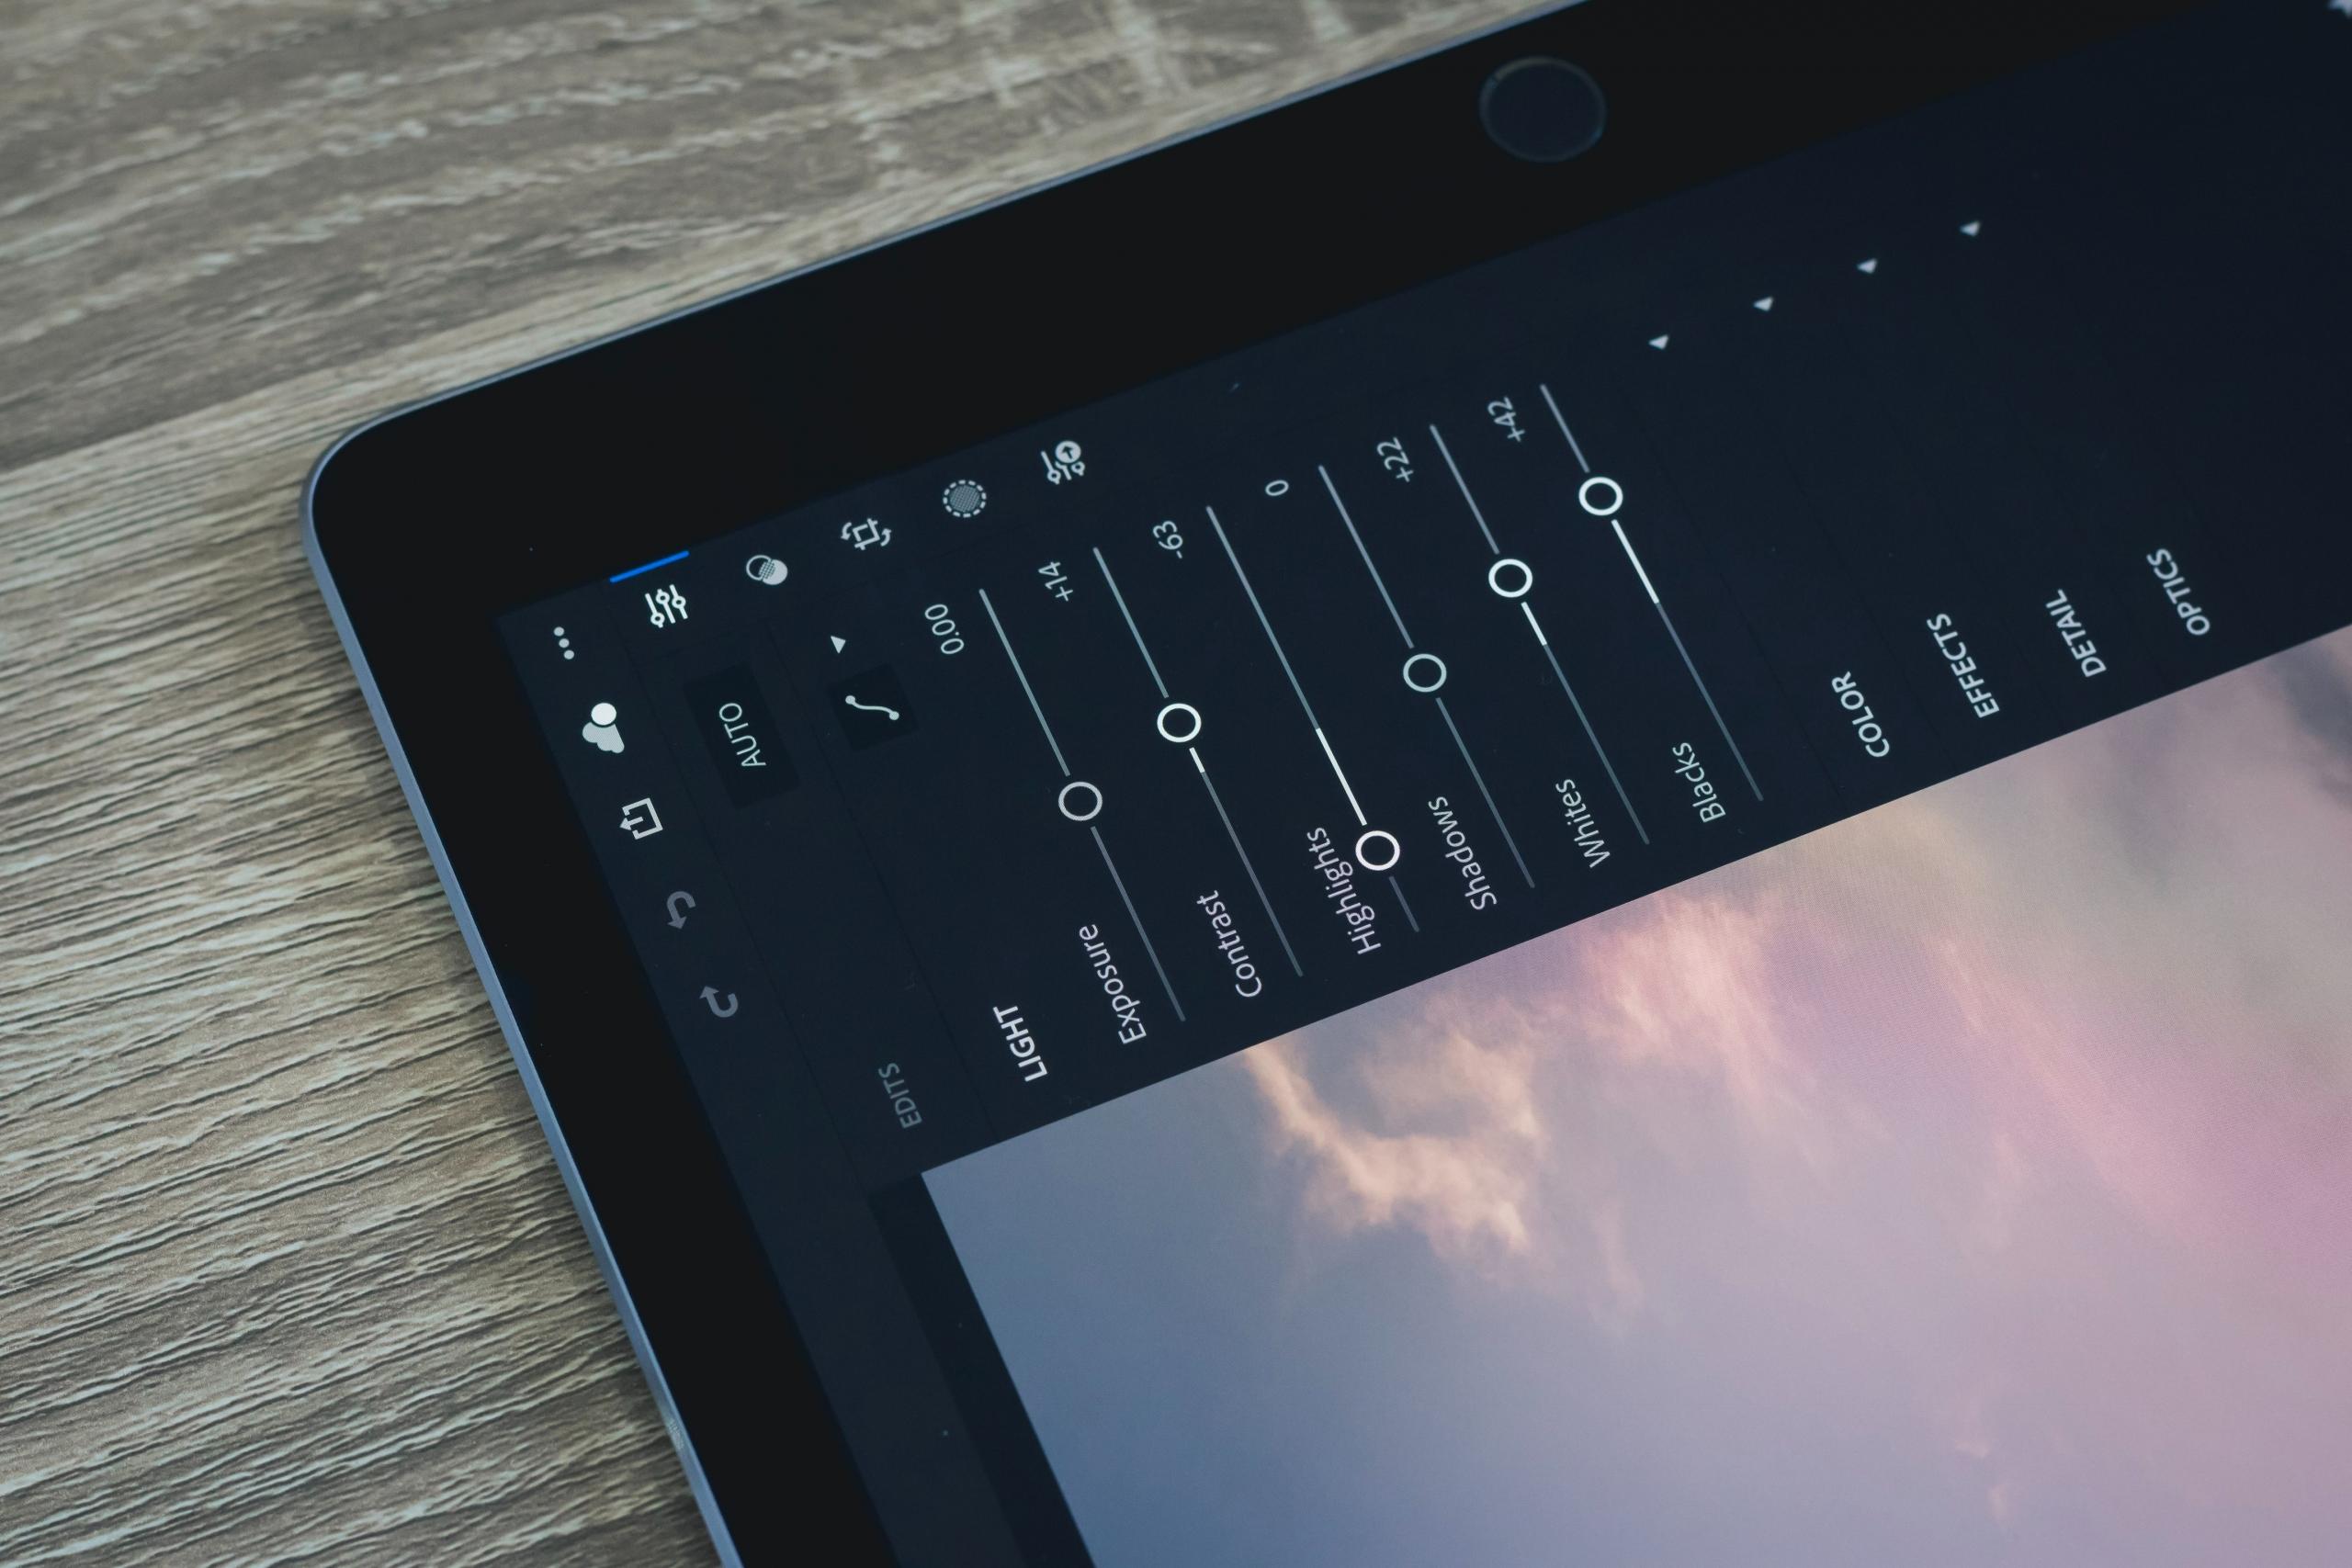
If you use software like Photoshop or Lightroom, it is very easy to go through a colour correction process where you simply adjust the temperature by using a sliding scale.
When you can fine-tune white balance by using a sliding scale, you are able to make tiny adjustments that your camera’s white balance settings would not necessarily be able to do. It is a great way to see what your image would look like if it were a bit warmer, or a bit cooler. Simply find the sweet spot on the Kelvin scale.
Auto White Balance
As a beginner, it’s totally acceptable to rely on the camera’s auto white balance settings to correct colour temperature.
Once you begin to get more proficient and desire to take your photography to the next level, you can move towards including manual adjustments into all the other things you have to remember to take your shot!
The same can be said for many other camera functions.
You could choose aperture priority (AV) or shutter priority (TV) where you do some of the work and the camera does the rest for you. If you are serious about learning photography it is best to avoid the full auto mode, which is why finding a private photography tutor like those on Superprof is highly recommendable.
When it comes to white balance, cameras have a way of somehow over compensating. You may notice that the camera adds too much blue or too much orange, this is especially the case with close-up photography.
So while white balance might be a concept that is tricky to get used to in the beginning, with time it is something you could master and appreciate. Remember that lighting is everything with photography, so the more you know how correct colour temperature, the more likely it will be that you can produce stunning images in various conditions.
Topics like colour temperature and white balance are just some of the things that you will learn about in a photography class.
Summarise with AI:
Enjoyed this article? Leave a rating!