
“Fabrics doesn't make exquisite dresses; it is the stitches.” - Treasure Stitches
Sewing is experiencing a resurgence, as evidenced by the increasing sales of the overlock sewing machine. More and more people in South Africa are embracing the idea of tailoring and creating their garments and accessories. In other words, DIY fashion is back in vogue!
When it comes to sewing, there are a variety of seams and stitches to learn for beginner sewing projects. These include French seams, zigzag stitches, and many more. But what about the overlock stitch- and how can you master this as a beginner?
The overlock stitch is mainly used to join two pieces of fabric from end to end. It's particularly suitable for furnishings, trousers and other hems. Despite its professional appearance, the technique for achieving this stitch isn't overly complicated. By paying attention to the seam allowance and thread tension, you can achieve a clean and polished finish.
So if overlocking is something that interests you, keep reading, in this article, we explore its application and provide the steps you need for your beginner sewing projects.


What is Overlocking or the Overlock Stitch?
Whether you're learning how to sew, crochet, or knit, the overlock stitch is a reliable method to securely join two ends together. This versatile stitch can be accomplished both by hand or with the aid of an overlock machine. While it is a straightforward stitch, it is not used in every sewing project. The key to executing the overlock stitch is to consistently guide the needle through the same side of the fabric, a few millimetres away from the previous stitch. By maintaining this technique, you can achieve a sturdy and uniform connection between your fabric ends.
The overlock stitch looks a lot like the whipstitch, even though they serve different purposes. While the whipstitch gives a finished appearance to fabric edges and prevents fraying, the overlock stitch focuses on securely joining fabric ends. The whip stitch is typically concealed within hems and is commonly achieved using an overlock machine for optimal results.
Do you want to know more about open and closed seams?
Why Use an Overlock Stitch?
The overlock stitch joins two pieces of fabric together while the whipstitch is generally used to improve single pieces of fabric.
The overlock stitch can also be used to attach fabric pieces on top of each other. A pocket on a pair of jeans is a good example of this. Here, by using overlocking, you can make neat solid stitches at irregular angles.
Find out about other common stitches you can try on your beginner sewing projects.
No Overlock Machine?
If you do not have an overlock sewing machine, you can still apply your overlock stitch by hand!
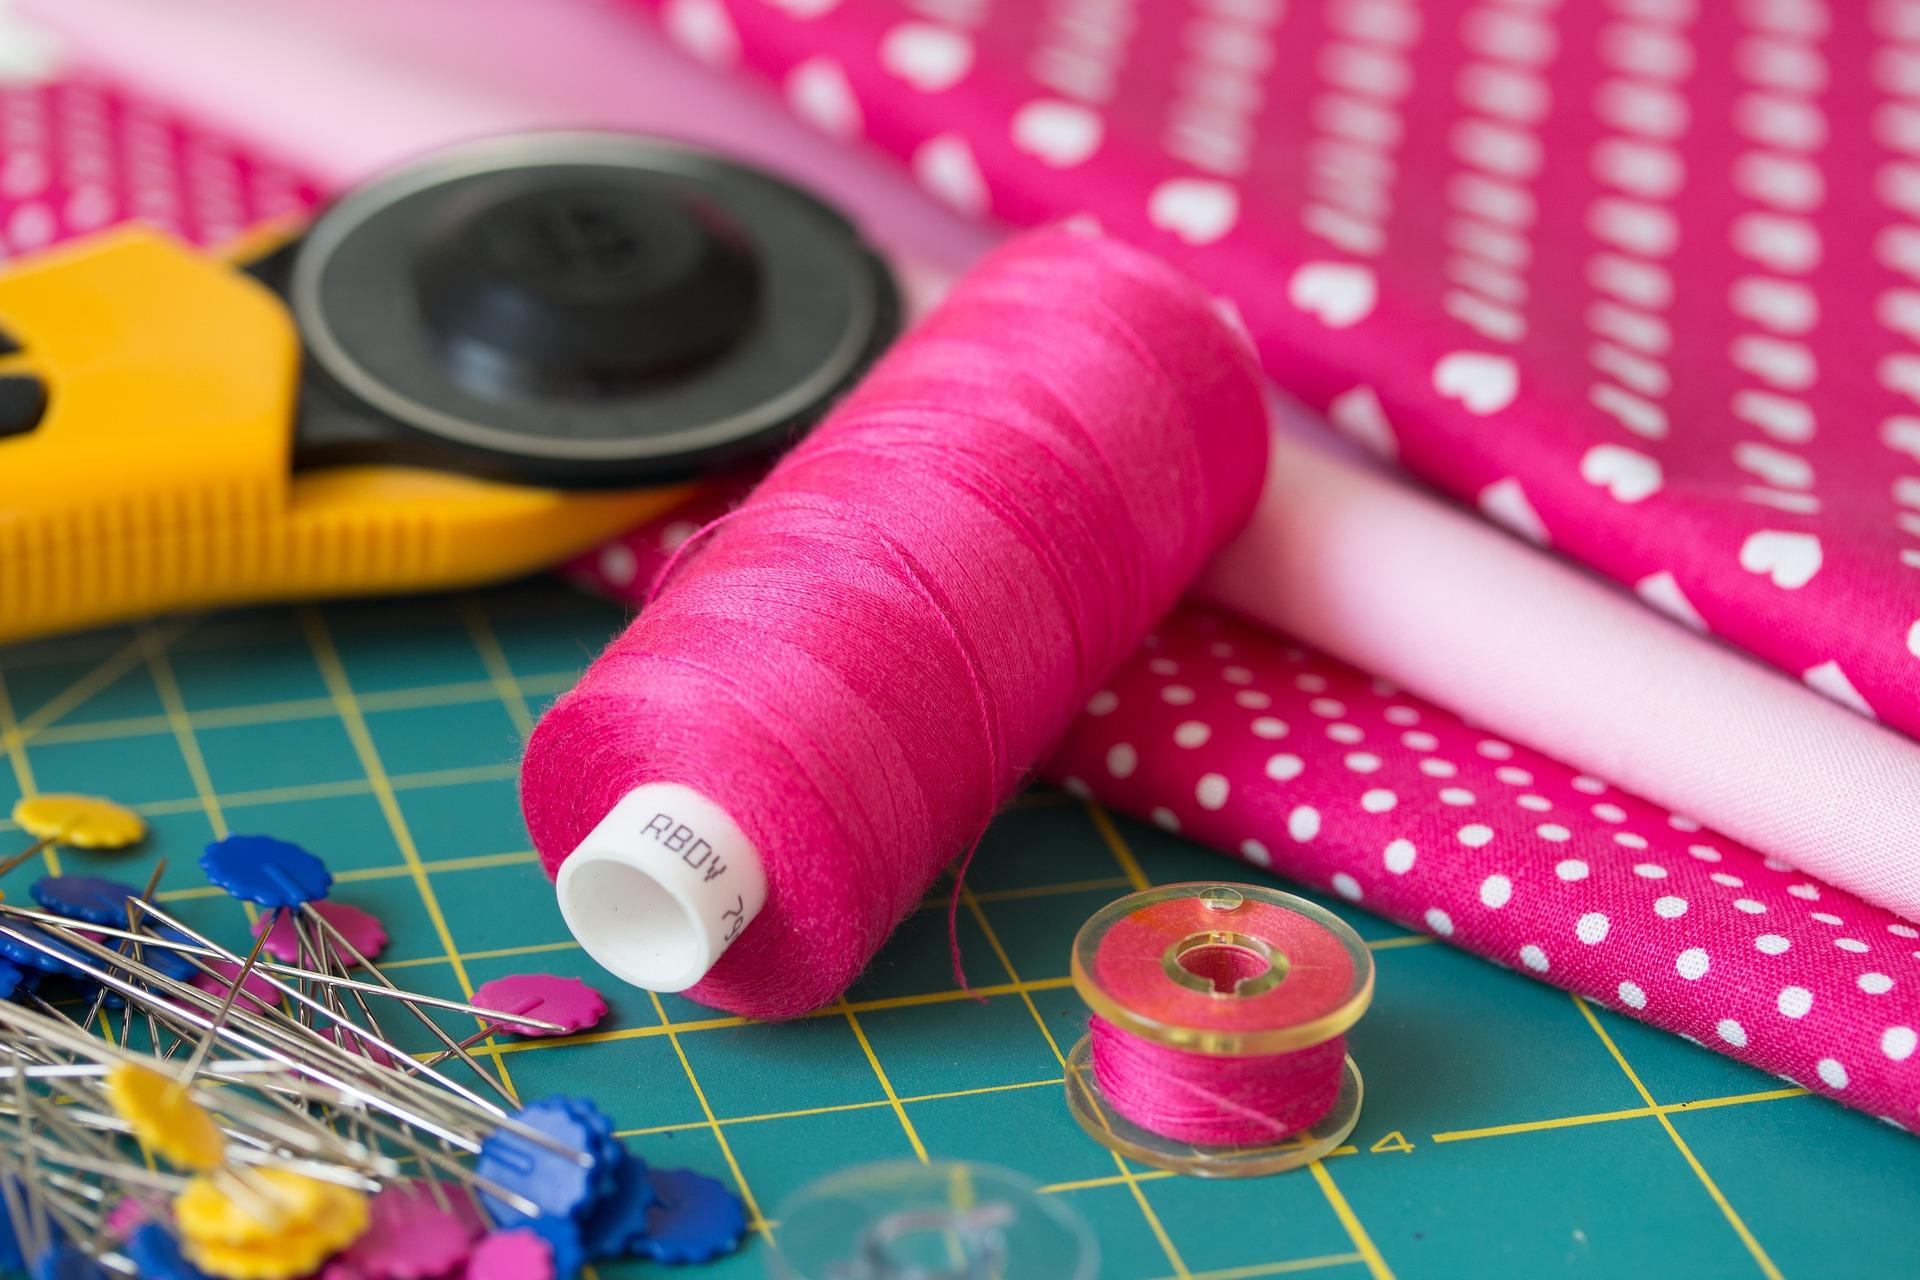
For overlocking by hand, you will need the following equipment:
- Thread to match the colour of your fabric
- A sewing needle
- A pair of scissors
- Pins
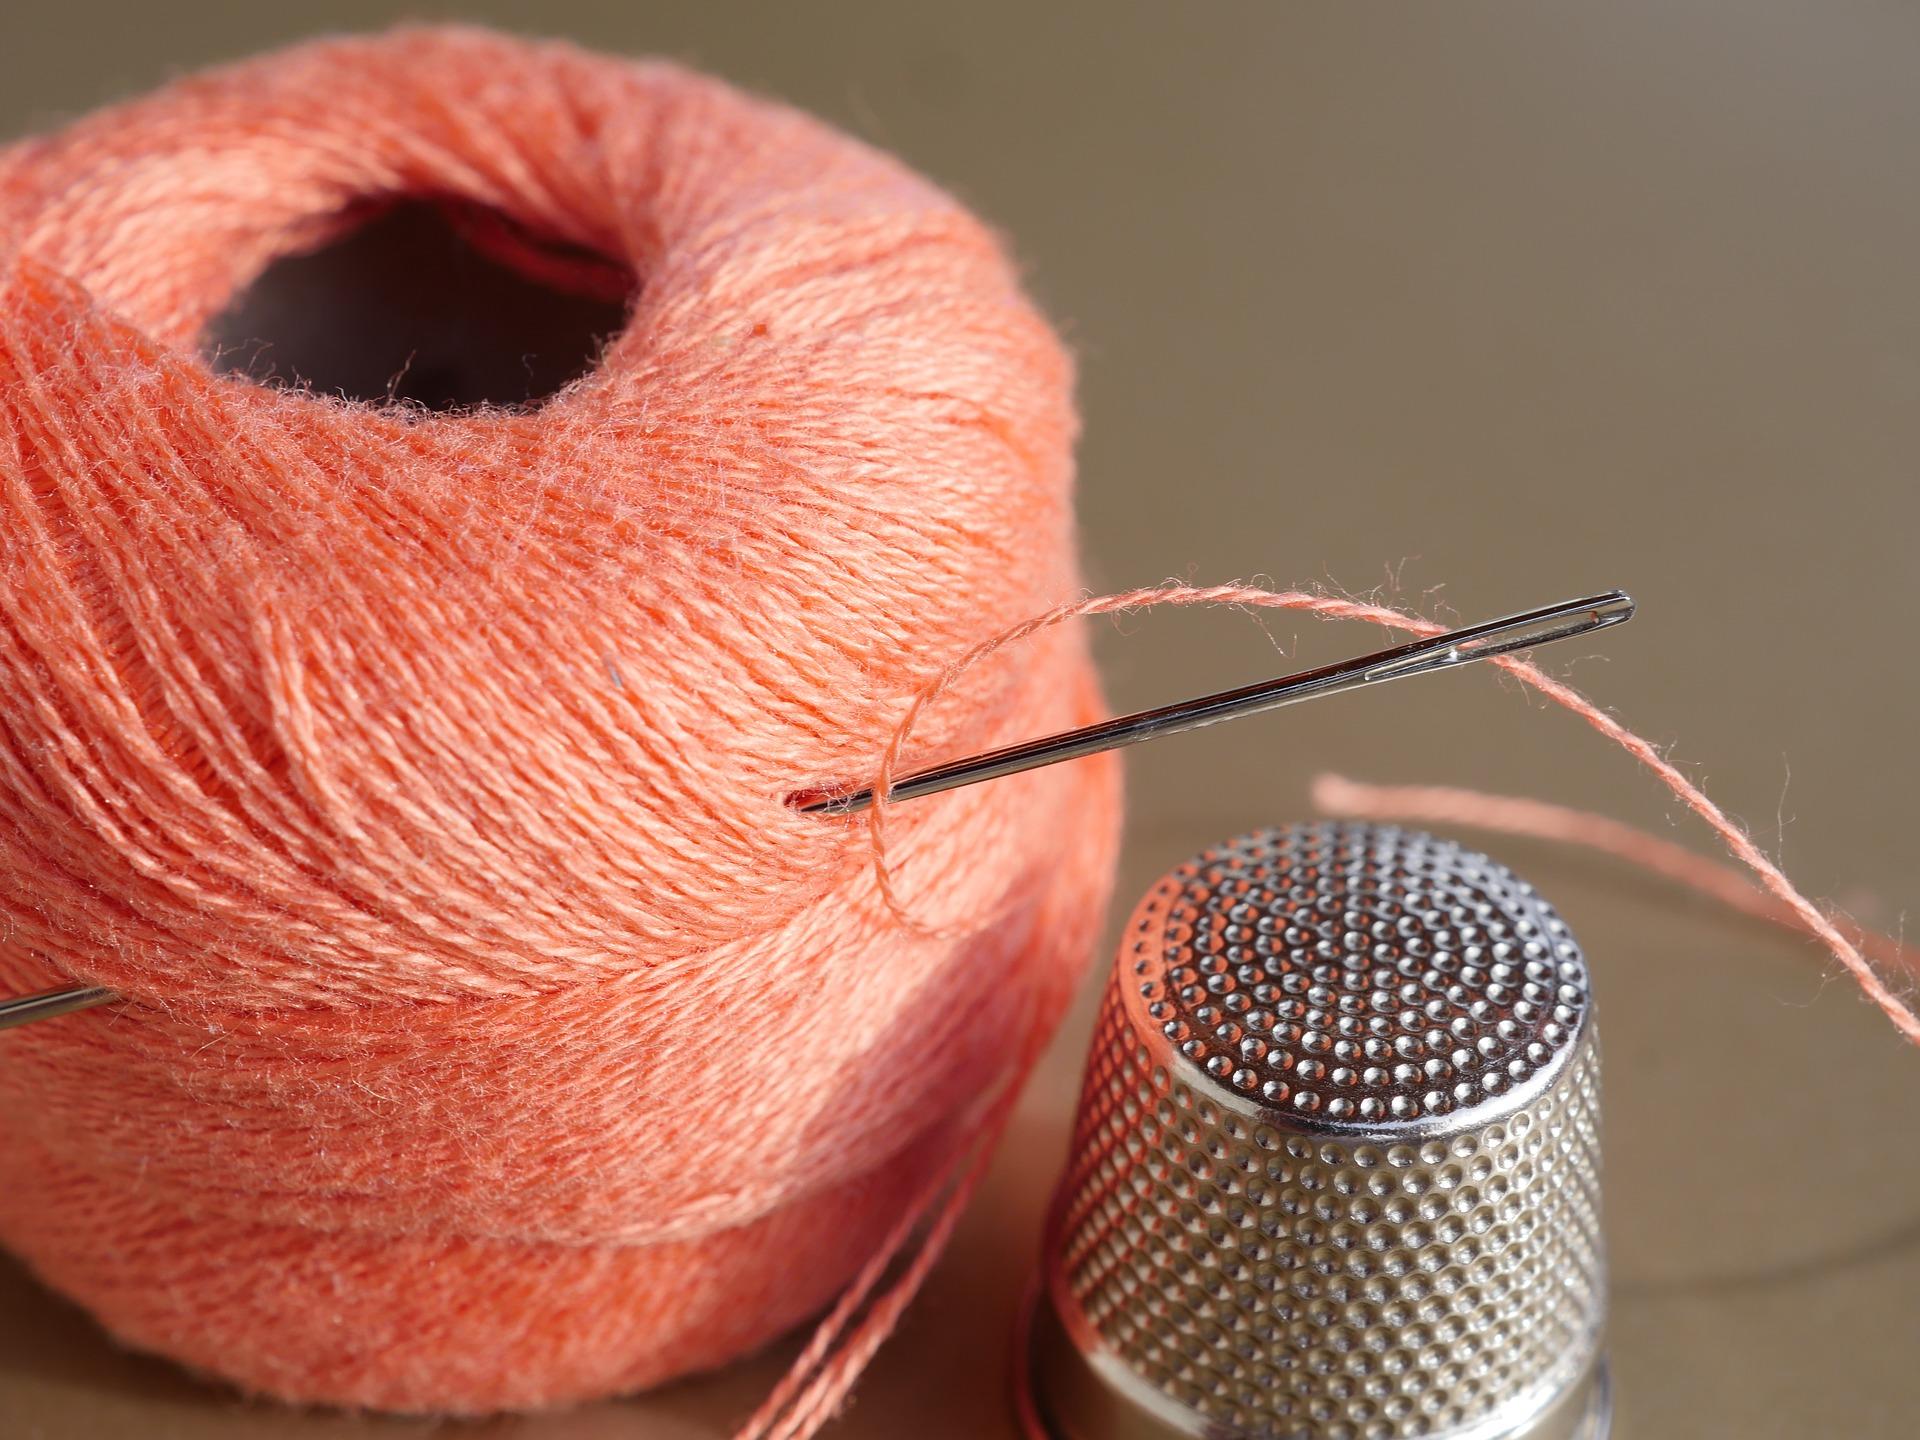
To start, thread your needle, the size of which will depend on the type of beginner sewing projects you choose. For a pair of jeans, you will need a medium-sized needle.
To thread the needle, dampen the end of the thread slightly to keep the frayed ends together. Then, slide the needle to the midpoint of the thread and create a knot by joining the two ends. This technique thickens the thread by doubling it. For added strength, consider using embroidery thread instead of regular thread, although your choice will depend on your specific project requirements.
Once you have prepared your needle and thread, gather your fabric. For practice, start by working on fabric offcuts or scraps to familiarise yourself with the overlock stitch before you attempt it on your beginner sewing projects.
Select two pieces of fabric and line them up with their right sides together. Make sure that the two pieces are properly matched and then secure them with pins in a perpendicular seam direction.
Begin by inserting the needle through the outer piece of the fabric without piercing the other piece. Ensure that the needle passes through the right side of the fabric. By sewing between the two fabric pieces, the earlier knot will be concealed within the stitching. Maintain a seam allowance of 3 or 4mm, which refers to the space between the seam and the fabric edge.
After pulling the needle out, sew back along the existing stitch, and join the two fabric pieces together until you reach the initial hole. At this point, loop the thread around the seam allowance, to create the first overlock stitch. Ensure that the thread is tightened enough to bring the fabric inlays together without causing creases. Now, it's time to make the second overlock stitch.
The second overlock stitch is essentially the first complete overlock stitch, as the initial stitch started at the centre of the fabric pieces. To make the second overlock stitch, start again by stitching around the fabric edges then join the two pieces together until you return to the right side. The two stitches should be slightly spaced apart but close enough to maintain a solid seam of about 3 to 4mm.
As you stitch, be sure to maintain the same spacing for the rest of the seam. To finish, use a half stitch to conceal your ending. Once complete, pull your needle through and cut.
So, as you can see you don’t need an overlock sewing machine for neat overlocking!
For added durability, consider a double overlock stitch which in essence, is just a repetition of the process above, but in the opposite direction. Doing so will create small crosses on the fabric to reinforce your stitching. Keep in mind that even though it will require more time from you, it will also ensure the longevity of your stitches especially if you are using embroidery thread.
Find out how to make a felled seam, here.
Using an Overlock Sewing Machine
There’s no doubt, an overlock machine can make your beginner sewing projects very easy to finish.

As though you were sewing by hand, place the two pieces of fabric together with a pin and gently guide the fabric through your overlock machine which will do all the work.
Working with elasticated fabric? Try the zig-zag stitch.
How to Learn the Overlock Stitch
Mastering the overlock stitch may seem daunting at first, however, it is quite simple to learn, even without an overlock sewing machine. So while having an overlock machine can help it is not essential.
To practice and familiarise yourself with the overlock stitch, start by practising on fabric offcuts or scraps. In addition, there are many online videos available that provide visual demonstrations and step-by-step instructions to help guide you through the technique.
By experimenting with two or three seams using different materials, you will gain a solid understanding of how the overlock stitch works and gradually master it. Remember, being a beginner is not a limitation when learning to sew without a machine; as motivation and enthusiasm are the most important ways to progress.
If you feel you need more structured guidance, consider visiting your local haberdashery to find out about sewing workshops in your area. Workshops are a great way to learn specific techniques.
Alternatively, invest in the assistance of a private sewing tutor who can teach you various techniques from zig-zagging to French seams, buttonholes, hems, and much more. When you use a platform like Superprof you will notice that there is a wide range of tutors who provide sewing lessons for beginners in many different formats.
Superprof offers three main types of tutorials: face-to-face, online, and group sessions. Face-to-face tutorials involve one-on-one instruction with a private tutor and allow for tailored tuition to suit your specific needs. While these sessions may come at a premium cost, they are the most cost effective in terms of making use of the tutor's time when it is solely for your benefit. Online tutorials are similar, except the tutor is not physically present, however using platforms like Zoom and Google Meet makes remote online instruction, not only possible but very effective. Sessions like these are well suited to theoretical subjects, while practical subjects like sewing are best learnt in person.
Group tutorials are another option that is not only well suited to beginner sewing projects but is also economical. Although you may receive less individual attention, group sessions can be a great option if you and your friends are interested in learning together.
Finally, whether you choose to practice on your own, attend workshops, or sign up with a private tutor, there are various avenues available to help you learn the overlock stitch and other sewing techniques. The key is to find the method that is best suited to your unique preferences and learning style as this will be a major contributor to your sewing success.
Summarise with AI:
Enjoyed this article? Leave a rating!