“Elegance is when the inside is as beautiful as the outside.” - Coco Chanel
Some kind of version of arts and crafts is a popular pastime for most South Africans. In recent years, there has been a resurgence in activities like embroidery, knitting, crocheting, and sewing. Whether you're crafting garments, creating gifts for loved ones, or giving your curtains a makeover, engaging in these creative sewing pursuits can be very satisfying.
So, whether you want to dive into the world of sewing to bring your unique creations to life, or whether you want to upcycle some old garments, this article is for you.
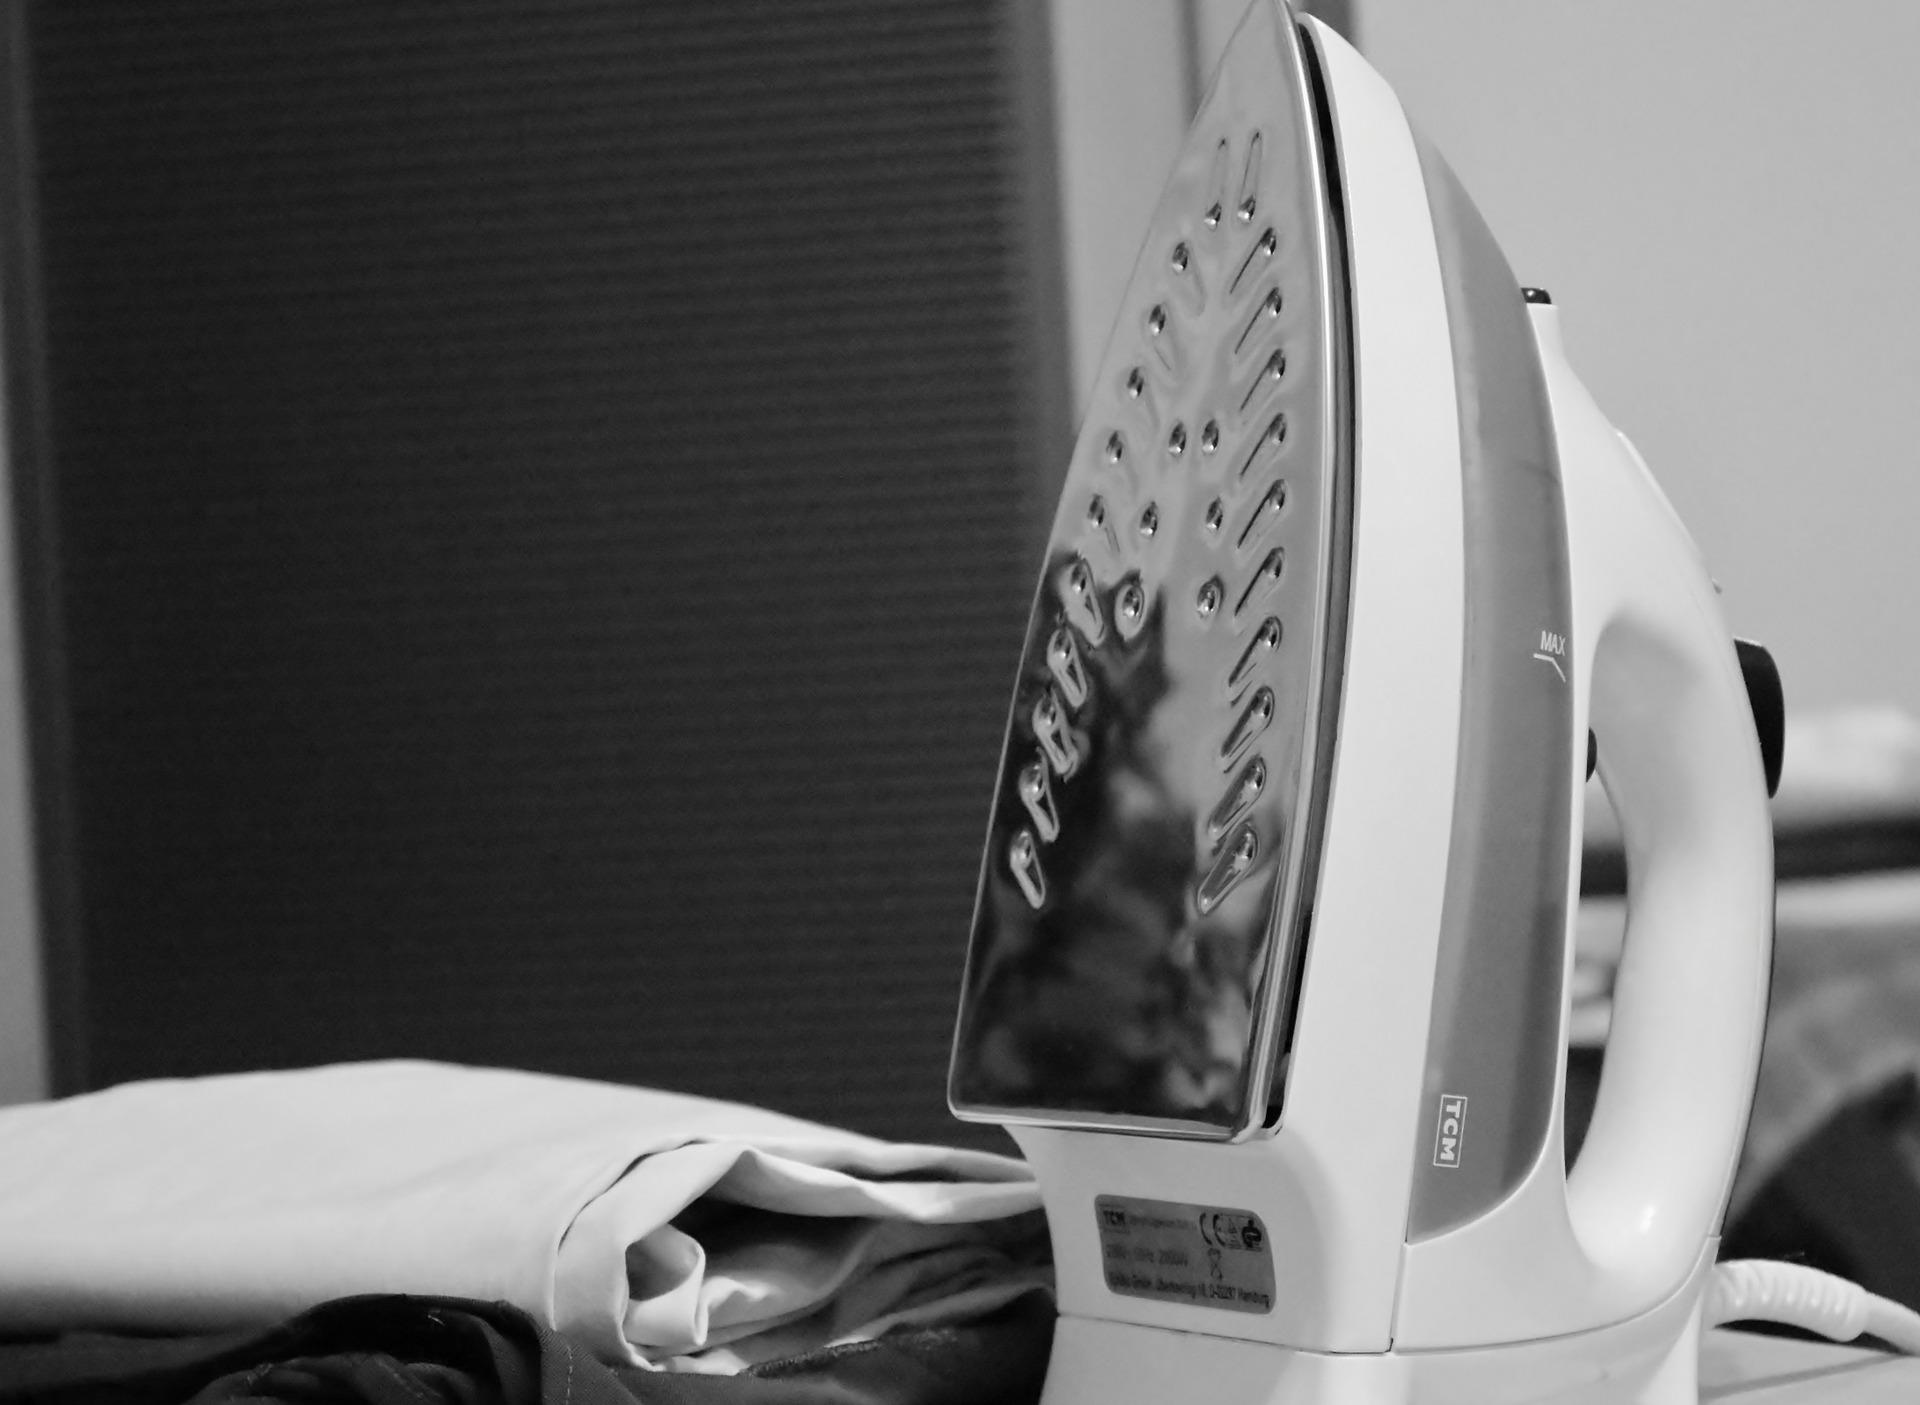
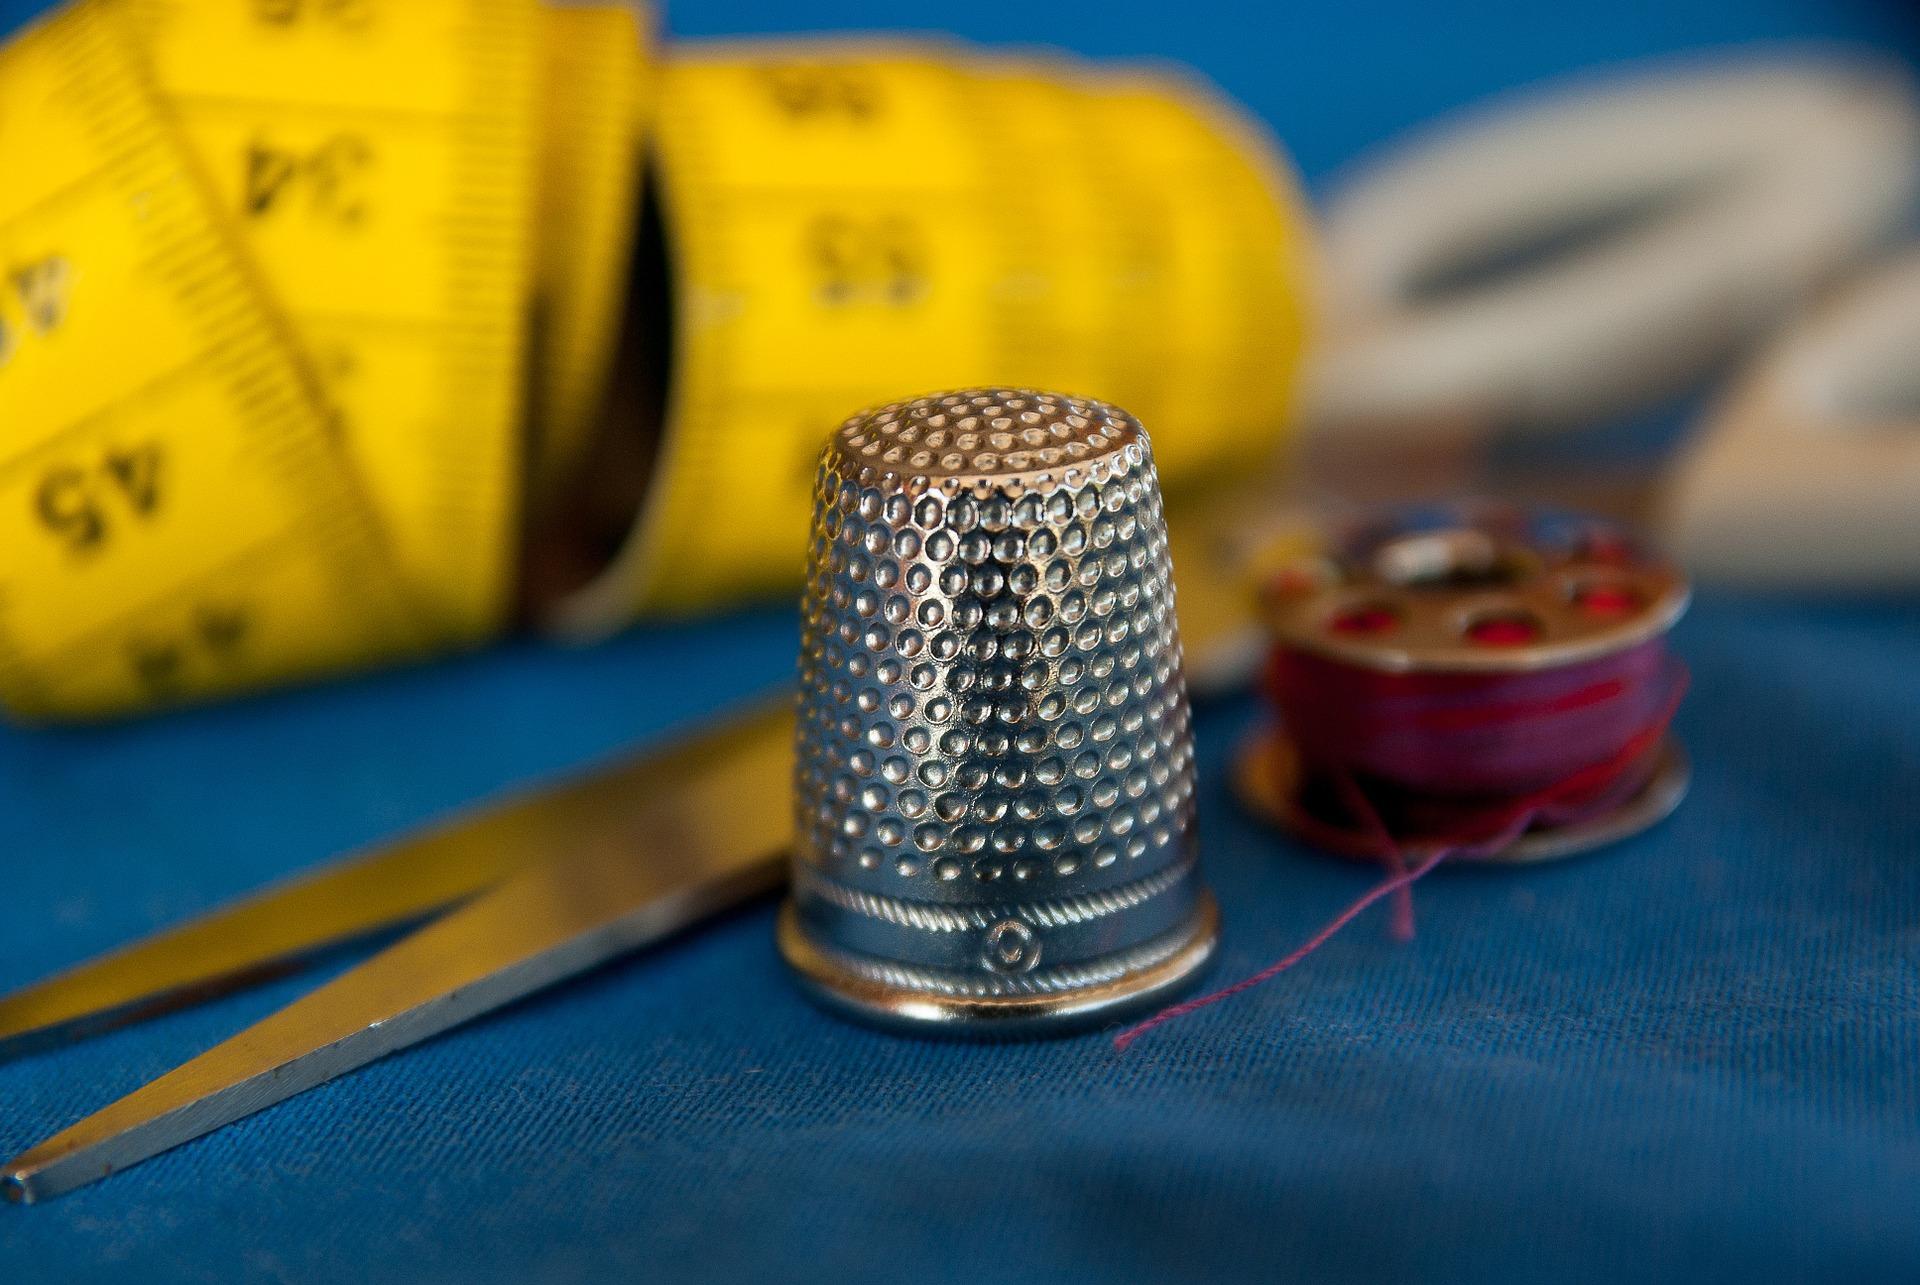
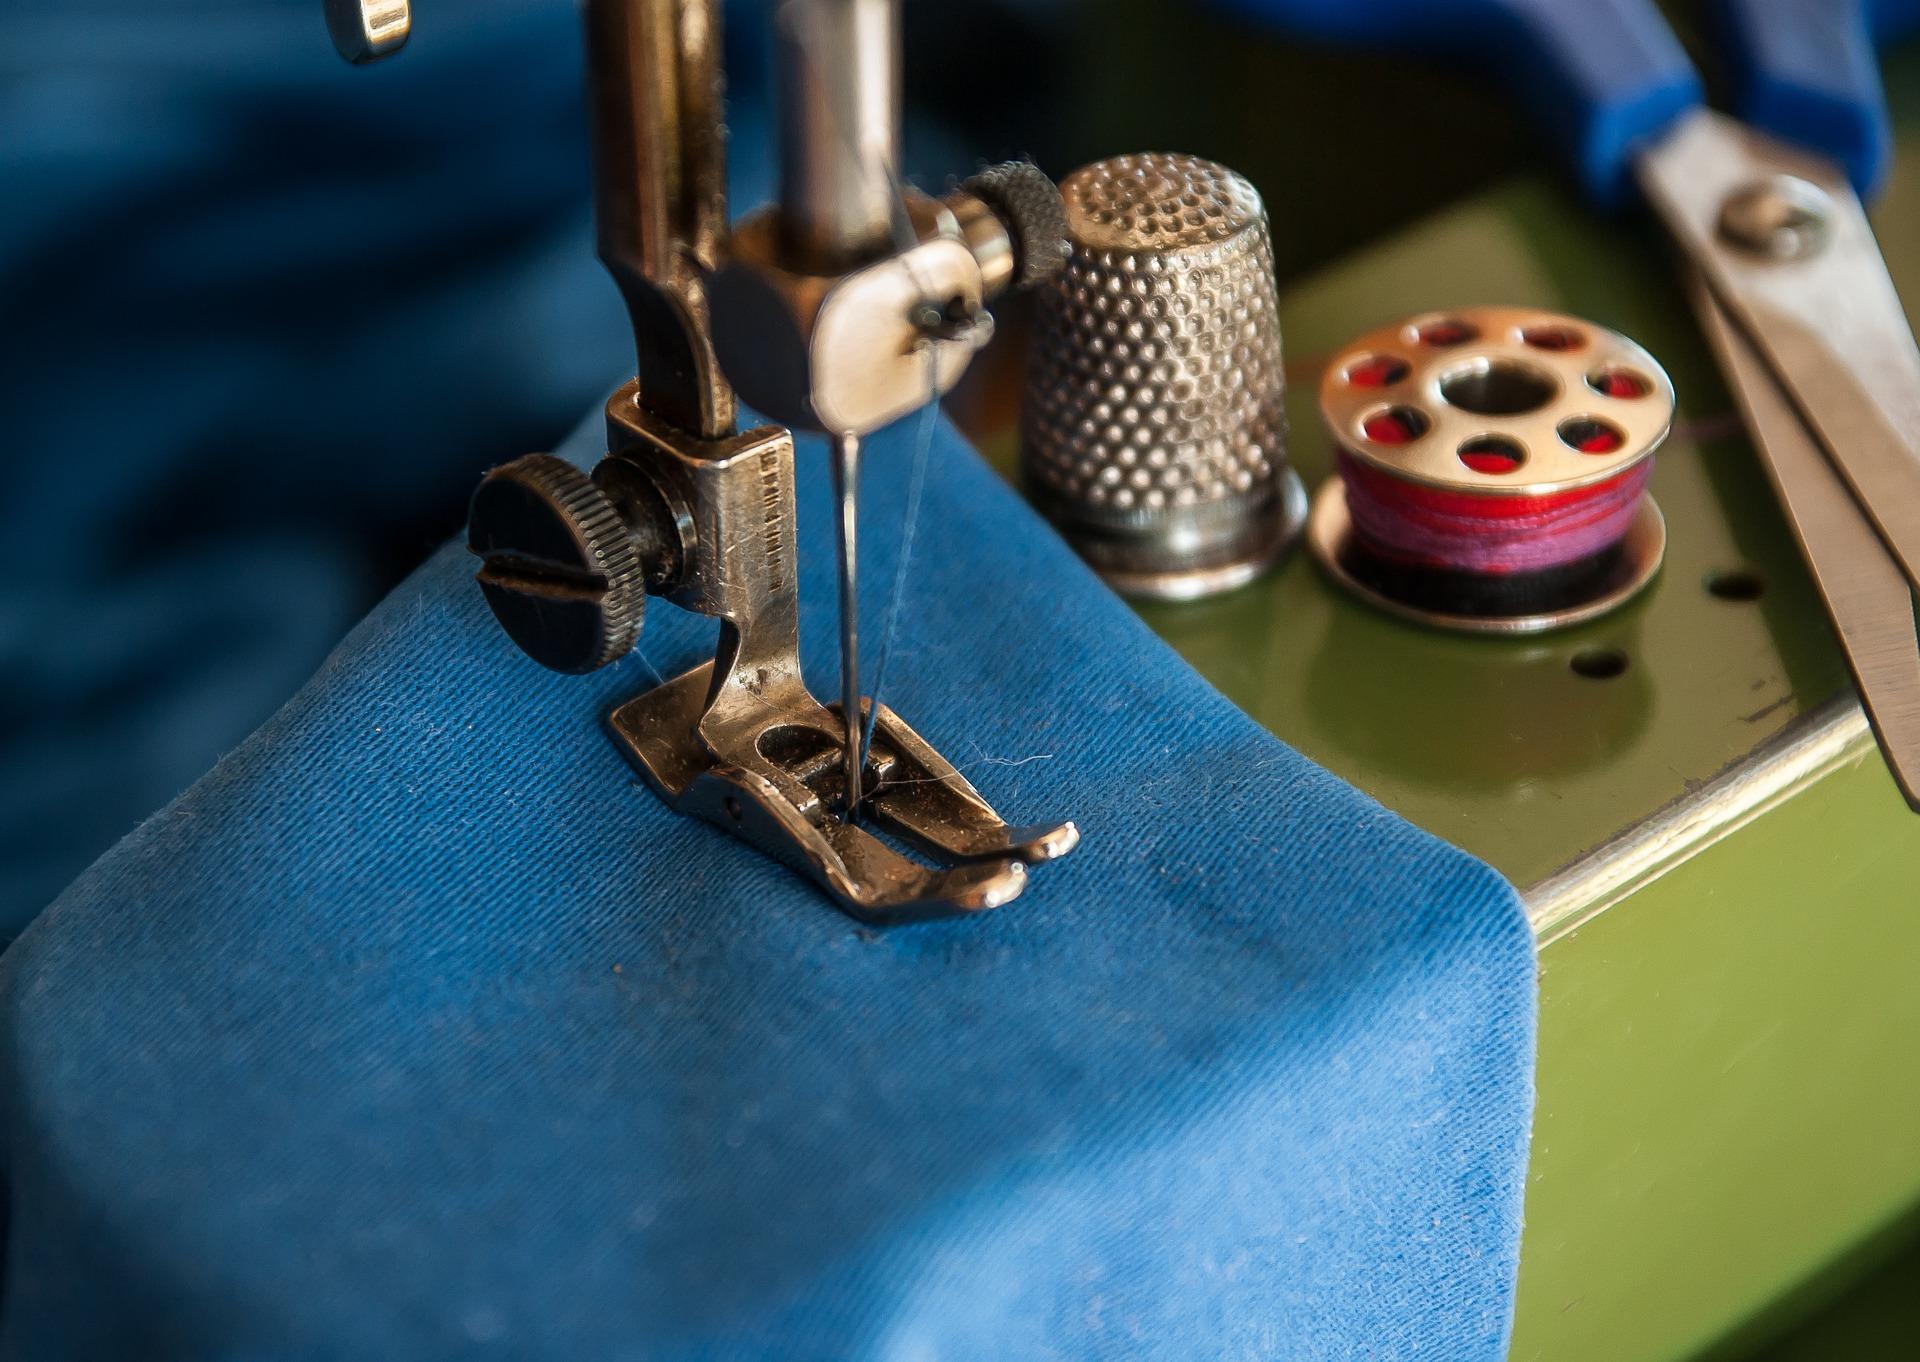
Once you have a basic sewing machine and all the other sewing equipment you will need for altering or making clothing, there are two essential sewing techniques to master: open seams and closed seams. So, before you begin, gather your sewing equipment, including pins, an iron, interfacing, needles, and more and let’s get started.


What Are Open Seams?
Sewing might seem complicated at first but once you understand lingo and know a few basic hand stitches, you will notice that your learning will flow. When it comes to essential techniques, open seams are the simplest.
Open seams provide a practical solution for joining two fabric pieces without creating excessive thickness. This technique is particularly beneficial when working with fabrics that are already thick or heavy.
Whether you are a novice or an experienced sewer, open seams are a necessary technique and offer great versatility. They are well suited to garments that use heavy fabrics like coats, trousers, skirts, purses and more.
To create an open seam, the folds of each fabric are separated and then sewn together. This ensures that the seam does not contribute to a significant increase in thickness. For neat and crisp results finish off your open seam by using an iron to flatten it completely.
If you are a beginner, learning to perform this seam is relatively straightforward. Once mastered, you can incorporate open seams regularly into your sewing projects.
How Do You Make Open Seams?
As mentioned earlier, the open seam is a relatively straightforward sewing technique and often one of the first methods you'll learn in your sewing journey.
To create an open seam, begin by overcasting or serging the edges of the two fabric pieces you intend to use. This helps prevent the thread from obstructing your sewing process and ensures a cleaner finish. However, if you are short on time, you can skip this step.
If you opt to overcast or serge, take two fabric pieces and align their right sides together. To keep the two pieces securely in place, use pins to hold them together, this will also help to achieve more accurate and satisfactory results.
Using either a basic sewing machine or sewing by hand, begin stitching approximately a centimetre away from the fabric's edge. This distance from the edge, known as the seam allowance or inlay, provides space between the edge and the seam. Typically, the seam allowance ranges between 1cm and 1.5cm.
To ensure clean and secure stitching, remember to start and finish your stitches properly, securing them at both ends of the thread.
Once the stitching is complete, open up the fabric pieces that have been sewn together. Place the wrong side of the fabric facing upwards and position the two fabric pieces with their right sides facing down. The excess fabric will overlap.
Take the overlapping section and fold it over, a process known as pressing open the seam. Use an iron to flatten the fabric until it is as smooth as possible. Flip everything over and iron the side with the stitching. Apply firm pressure to ensure the stitching remains flat. The goal is to eliminate any noticeable ridges or bumps from the stitched ends.
Do you want to know about other common seams?
Closed Seams
Closed seams are the opposite to open seams in the way that the seam allowance is on the same side. You don’t need to separate the two sides but rather place them together.
This technique is usually used for sewing light fabrics on clothing such as shirts, blouses, or lingerie. Unlike an open seam, a closed seam adds to the thickness. A closed seam on a thick fabric would be too noticeable from the outside.
A closed seam includes a lot of the same steps as an open seam. You’ll need to have your iron on hand and overcast the fabric, if necessary.
Learn how to do a felled seam.
Making Closed Seams
Similar to open seams, a closed seam begins by aligning two fabric pieces with their right sides together. Secure them in place with pins to prevent any shifting during the sewing process. Be sure to use the recommended seam allowance which is 1cm for a closed seam. This measurement ensures that there is not too much excess fabric and allows for ease of handling.
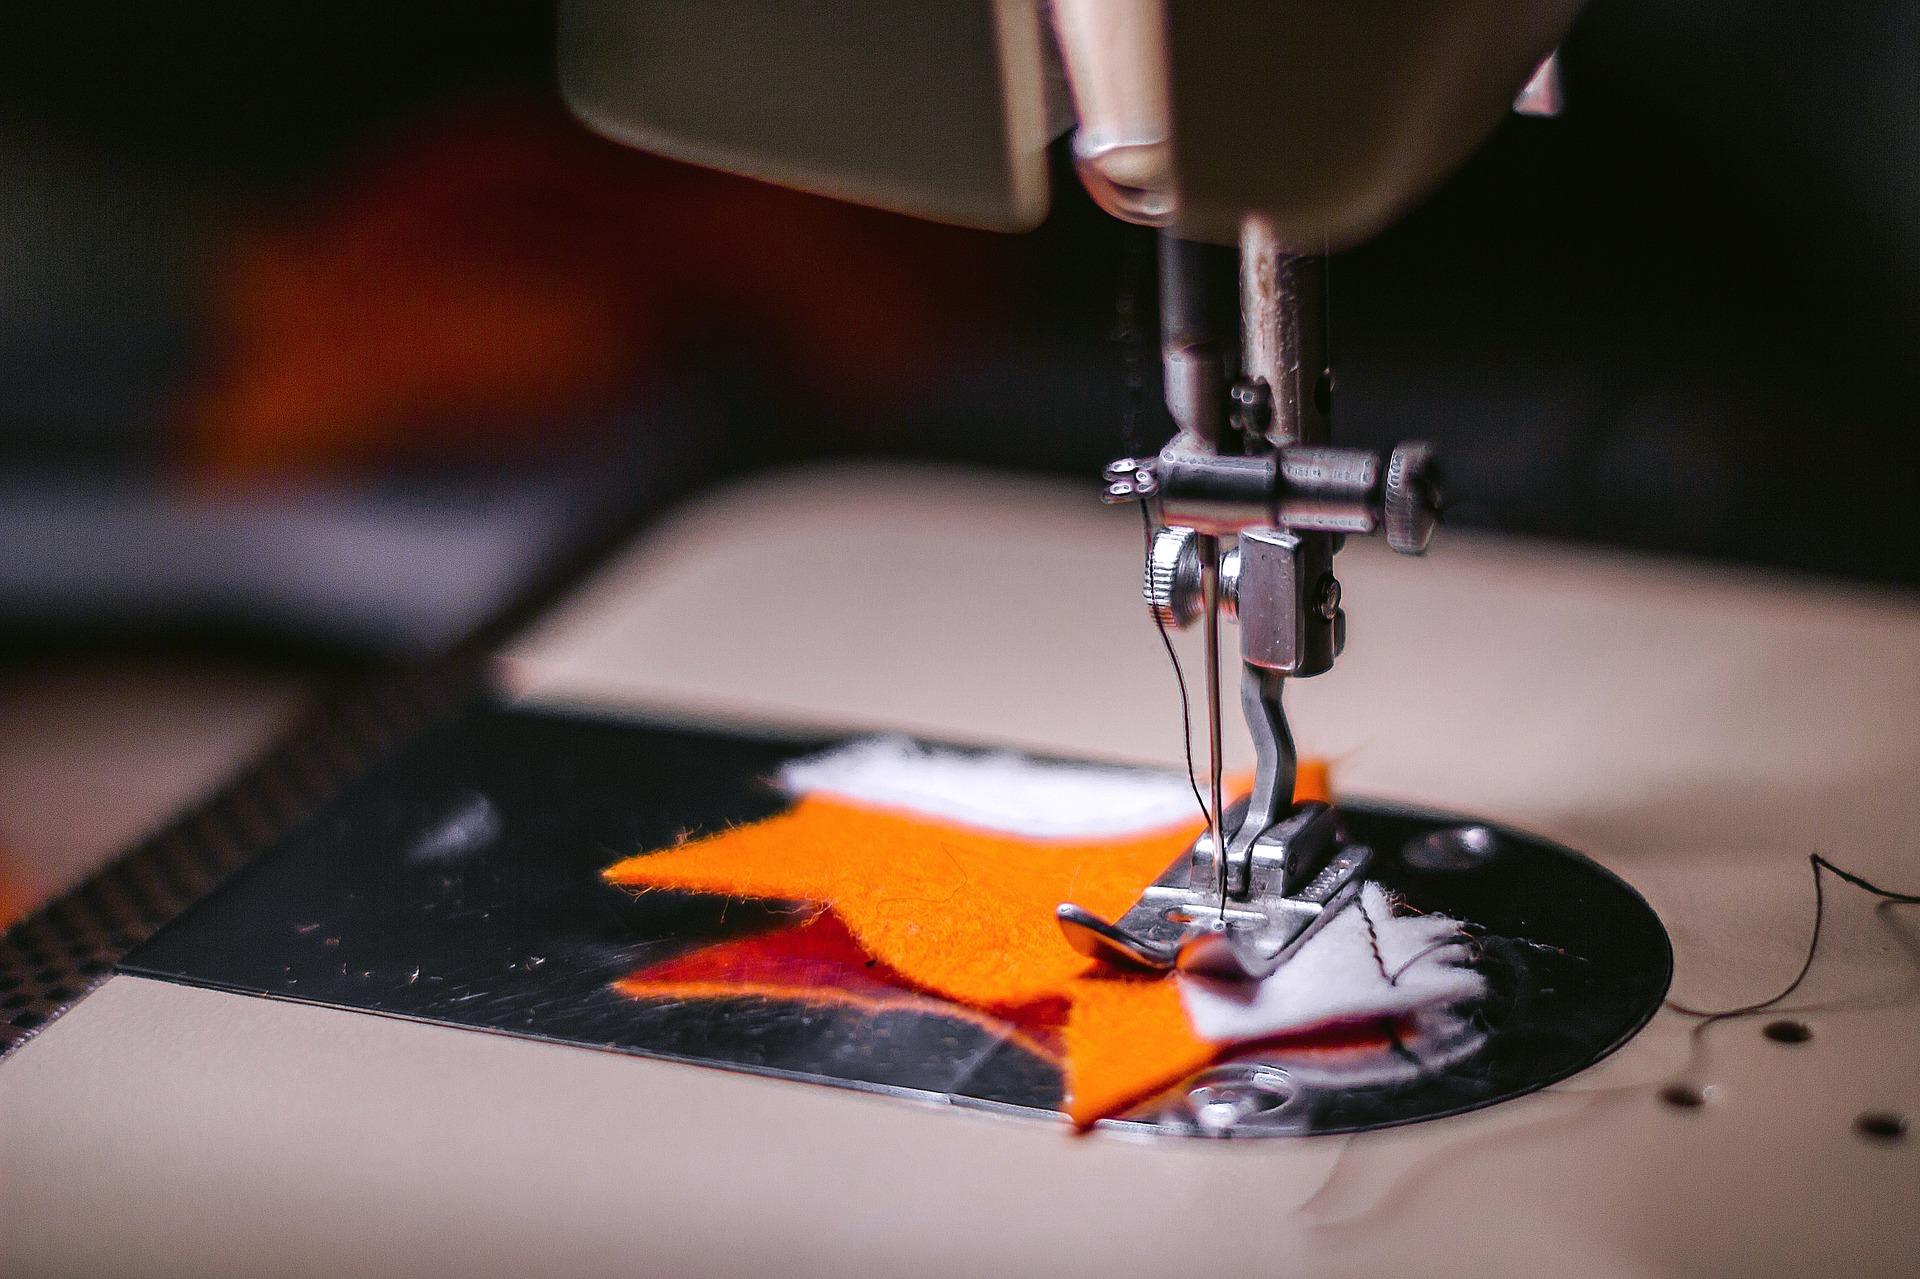
When using a basic sewing machine, there are often markings or guides that indicate the appropriate distance for the seam allowance. If you prefer to sew by hand, you can use pins or a pencil to mark the desired allowance.
Once the stitching is complete, remove the pins and place your work with the right side facing down. The wrong side should be facing you, allowing you to see the fabric edges. Ensure that both edges are positioned on the same side.
Using an iron, carefully flatten the fabric edges. Start by pressing the fabric from the wrong side, then flip it over and iron the other side. If needed, repeat the ironing process to achieve a neat and smooth finish.
To further enhance the seam's appearance and prevent fraying, you can overcast the two ends of the fabric edges. This will add a cleaner and more finished look to your seam. Finally, trim any excess thread, and your seam is complete!
Find out about the uses of the overlock stitch too
Consider enrolling in sewing lessons for beginners to start your journey in the world of sewing. These classes provide step-by-step guidance and hands-on practice, perfect for learning the basics and building your confidence.
When Should You Use Open Seams and Closed Seams?
In a nutshell, the main difference between open and closed seams is how the edges are finished.
So which one is best to use?
After practising your open and closed seams on both a basic sewing machine and using basic hand stitches, it’s a good idea to test which would work best for your project. If you have two fabric edges to join, evaluate whether a closed seam would result in excessive thickness. If it does, consider opting for an open seam instead.
In sewing, once you commit to a method it is not easy to reverse your decision. So, be wise, make sure you have all the sewing equipment you need before you start and do tests like the one above on a fabric sample.
Find out how to zig-zag stitch.
Sewing Equipment for Open and Closed Seams
Methods for open and closed stitches are uncomplicated and require only basic hand stitches or a basic sewing machine.
When it comes to learning how to sew, there are various options to get you started once you have your basic sewing equipment. One approach is to teach yourself by following step-by-step guides or online tutorials available on platforms like YouTube. Alternatively, you could ask a friend to teach you and having company could be a fun way to experiment with embellishments that use both closed and open seams in your projects.
If none of your friends have sewing knowledge, you find a private tutor to teach you basic sewing skills. For anyone wanting to take sewing seriously, this is the most recommended option.
With a private tutor, you can learn advanced techniques like adding zippers, using a serger and basic sewing machine, mastering seam allowances, creating hems, using sewing patterns, and much more. On the whole, skilled tutors are experts at teaching a variety of essential and advanced sewing techniques.
On Superprof, you could find talented tutors who offer face-to-face, online or group tutorials. Face-to-face tutorials provide personalised attention, while online tutorials, using the internet and a webcam, are cost-effective and convenient. Group tutorials are the most affordable per person, which makes them suitable if you and a few friends want to learn together.
With all these options available, there are no excuses to delay your sewing journey any longer. Start sewing and explore the creative world of fabrics and stitches!
Summarise with AI:
Enjoyed this article? Leave a rating!