
Learning to draw is exciting, easy and something you can do almost anywhere. But a lot of beginner artists don’t know where to start. They haven’t attended art school, might have very little drawing background and are generally unsure whether they can draw?
The good news is everyone can draw with a bit of time, guidance, practise and commitment.
Children start to draw at an early age and as adults we lose that skill because we don’t do it frequently enough. We’ll help you understand and learn about some of the fundamentals of drawing and painting. We’ll also give you tips on how you can become better at drawing and give you a couple of helpful, basic drawing exercises.
Before we set off on this new adventure, we want to encourage you to look at drawing and painting as something you’ve never experienced. Just like children, try and approach it with a new creative angle and curiosity while you completely let go of any judgement. The more fun you have, the more you’d want to do it and the better you’ll become.


Mastering the Fundamentals of Drawing
Starting something new can be frustrating at first. You must learn how to approach it like a pro and if you don’t have the right tools and loads of patience, you might end up losing hope.
Luckily many people have been through the steps and can help you with the process. Articles like this one, a good drawing tutor, videos, books and exercises can all prepare you to become better at drawing and painting.
Students in art classes or art school always start with the basics. They need the fundamental skills of drawing before they even start painting as it helps them with the more complex aspects like shape, form and composition. The exercises in this article will help you to explore some of these drawing fundamentals. With time you will master them and will improve enough to break the rules and create ground-breaking, surprising drawings.
Websites are a useful tool for beginners. Check out this article on the best drawing websites.
Still Life and Understanding Shape, Light and Shadow
Being able to draw shapes is essential to establish form in drawings. Most of the elements we see are made up of different shapes, even the human body. Your understanding of these shapes and using them as a grid to overlay your drawing on, will ensure you draw something that has the right shape, size and proportion.
In an art class one of the most common, first exercises artists will do is the drawing of still life. This is where a fairly simple object is placed in front of students, and they have to redraw it using their pencil and paper.
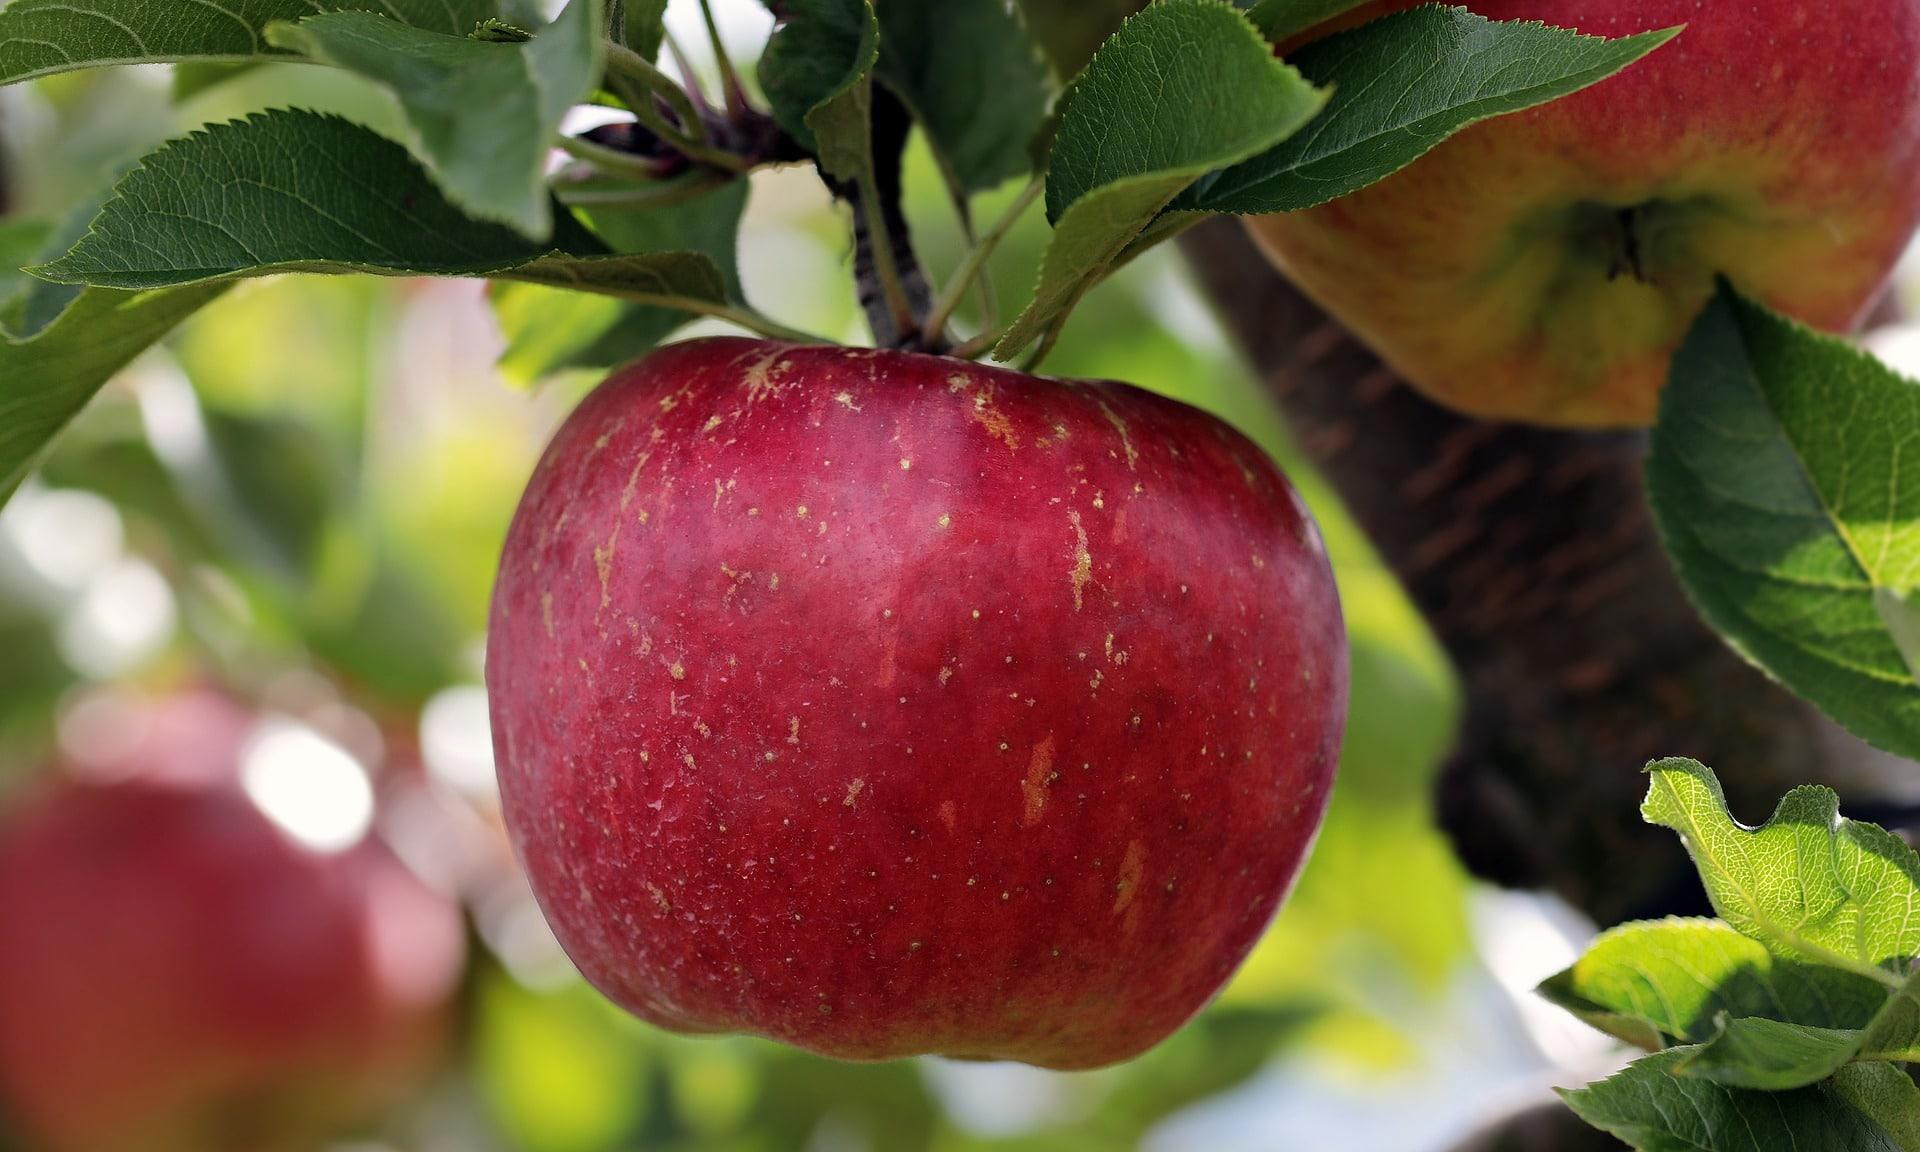
Our first exercise for this article is to draw a pencil sketch of an apple. Find an open space and place the apple there. You will need a clean piece of paper and a pencil as you’ll only use the lines of the pencil to create shadows and form.
Being an artist means you start to look differently at objects, a process that starts with pure observation. Can you see the circular shape, where it breaks, and is it possible to draw a fine and almost invisible circle as a guide for yourself?
Line by line you start to now create the outline of the apple, using soft and thin lines instead of solid lines. Once the form and outlines are established you can make the lines clearer and darker. You will now start to add the shadows in the way they appear on your apple while leaving the lighter spaces that reflect light, open.
Pro Tip: To centre your apple you can draw a vertical and horizontal line through your page and have the centre of your apple where these lines meet.
Learn Perspective in Drawing and Proportions
If you study old, historical and Renaissance art you’ll notice these art pieces tend to appear flat. Don't think that these artists weren’t good at their craft. Perspective and depth of field was simply not as important as what it is today. In paintings today people try and create realistic 3D art where you see shadows in the right places while elements in the forefront appear bigger.
The best exercise to practise perspective and depth of field is to draw an urban landscape. If you study the landscape you’ll notice how everything become smaller the further they are. A range of imaginary lines run from the forefront and end at a single point in the distance, generally the horizon, also called the vanishing point.
If you are looking down a road with buildings on either side the lines will start far apart from each other and move closer the further they are, showing the edges of the road. In the same way the buildings will become smaller and move closer to each other. Once you’ve drawn these imaginary lines you can start to add the other elements like windows, doors and roofs of the buildings.
Pro Tip: Be sure all vertical lines are at an angle parallel to the respective invisible guide line running to the vanishing point, including doors, windows, etc.
There are some great free resources to help improve your drawings.
The Art of Colour
Before you can master colour you have to understand that there’s a way in which colours work together to complement each other. Beginner art classes will allow students to work with the primary colours of red, yellow and blue and we’d like to encourage you to mix and play with these three to see how they create secondary colours like green, orange and purple.
You can also seek out a colour wheel, showing you exactly the varieties of colours you can use and once you understand how to read it you can also see which colours will be complimentary to each other. The warm colours will be on the left half and cool colours on the right. Designers and artists will use complimentary colours, appearing directly opposite each other on the colour wheel, and analogous colours that are directly next to each other, to create striking images.
Colour exercise: Buy red, blue and yellow paint and see if you can create the secondary colours on your own by mixing them. Then paint a simple object, like an apple, and see if you can play with different colours. Analogous colours will give you a more realistic feel, but complimentary colours can create a dramatic effect.
Practice Makes Picture Perfect
Doing research and watching YouTube tutorials will be a great help, but it’s only once you put pencil to paper that you really start to learn and become better at drawing. Like everything in life, the more practice you get, the more you'll improve.
Set 15 minutes aside every day to practise your drawing. You can draw whatever you want and even something as simple as scribbling what is right in front of you will benefit you. You can work on a single drawing by adding to it every day or if you just want to learn, explore and practise you can take something new every day and draw that.
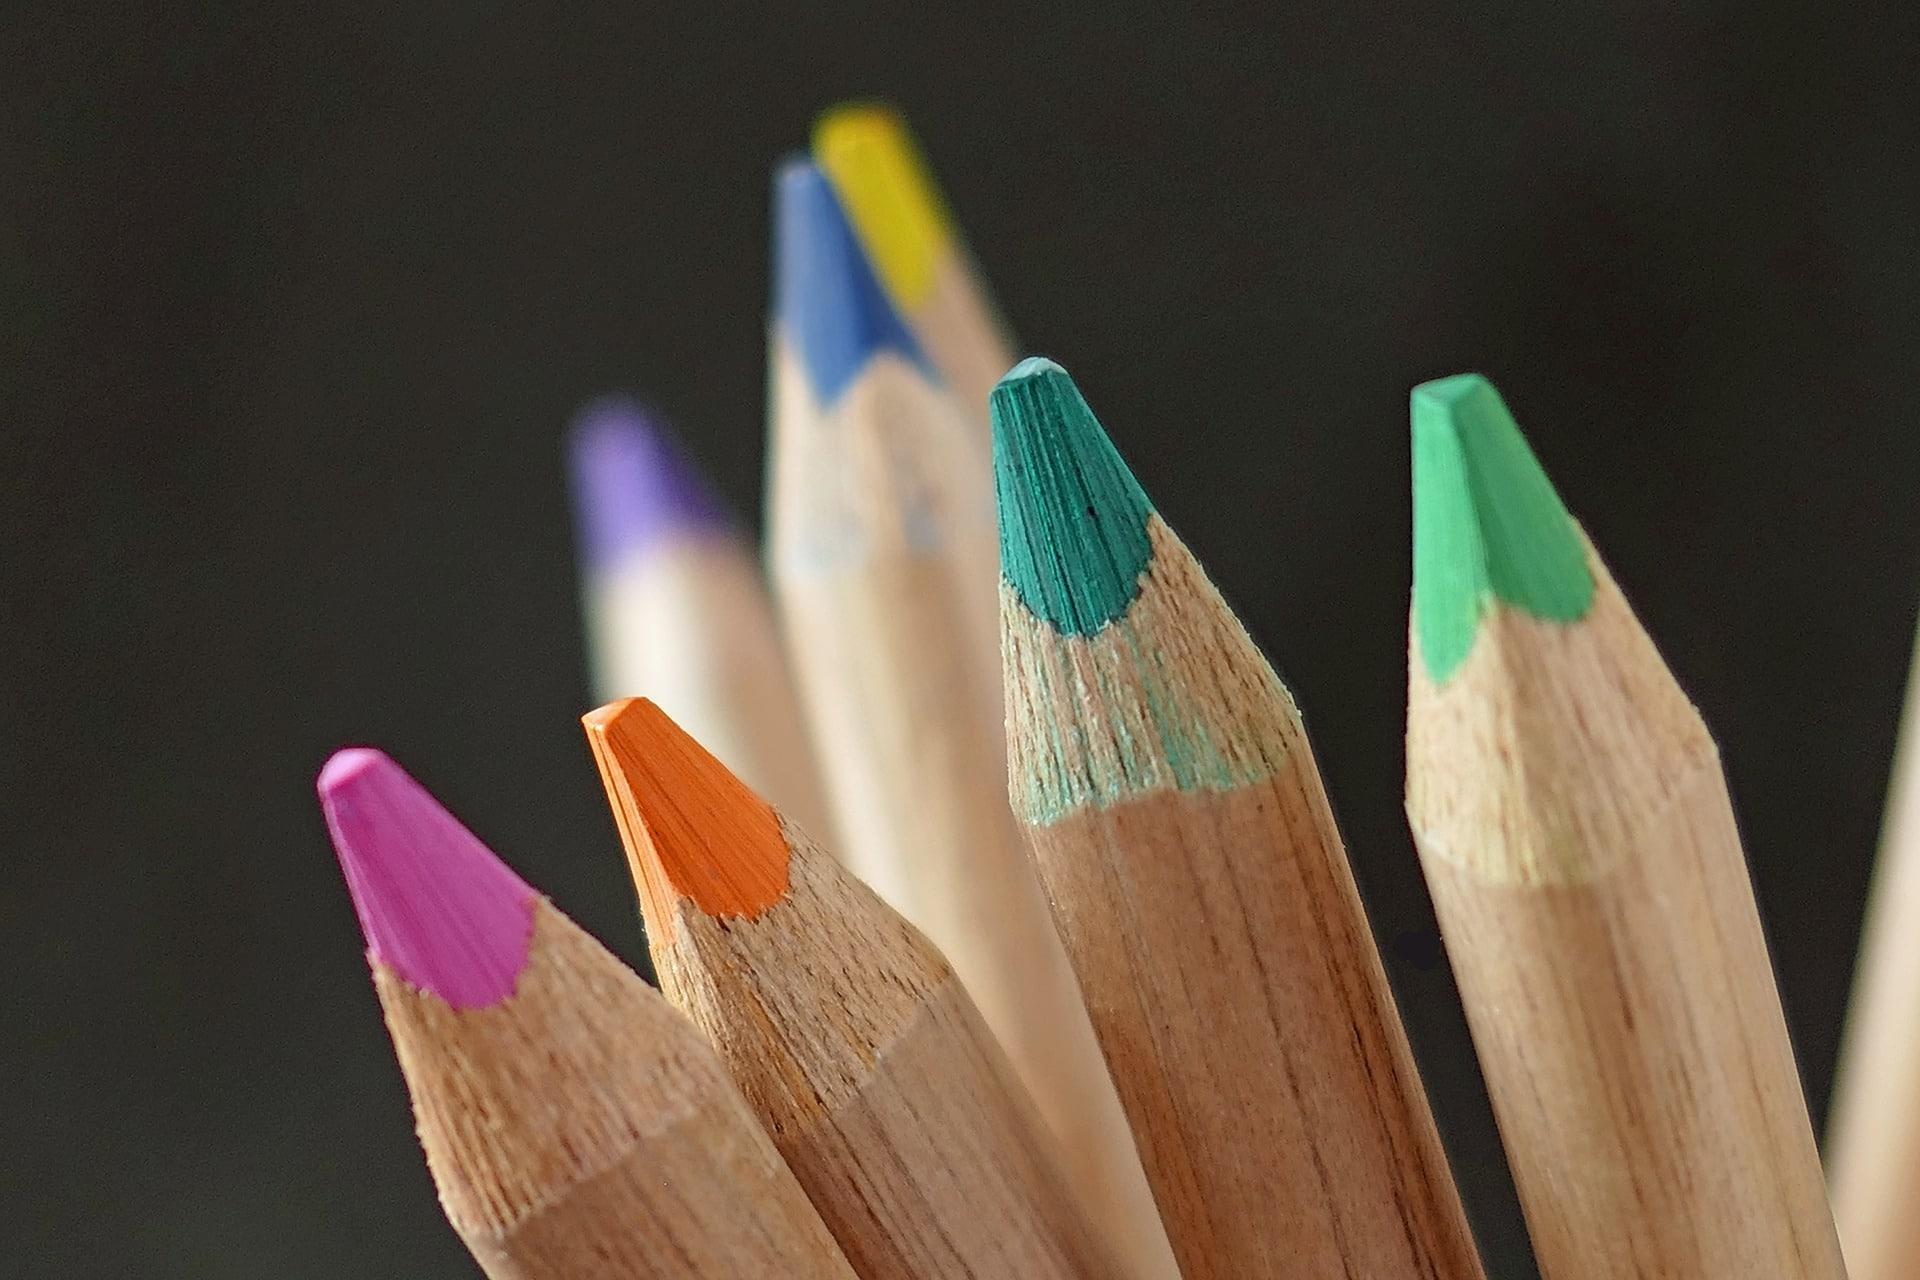
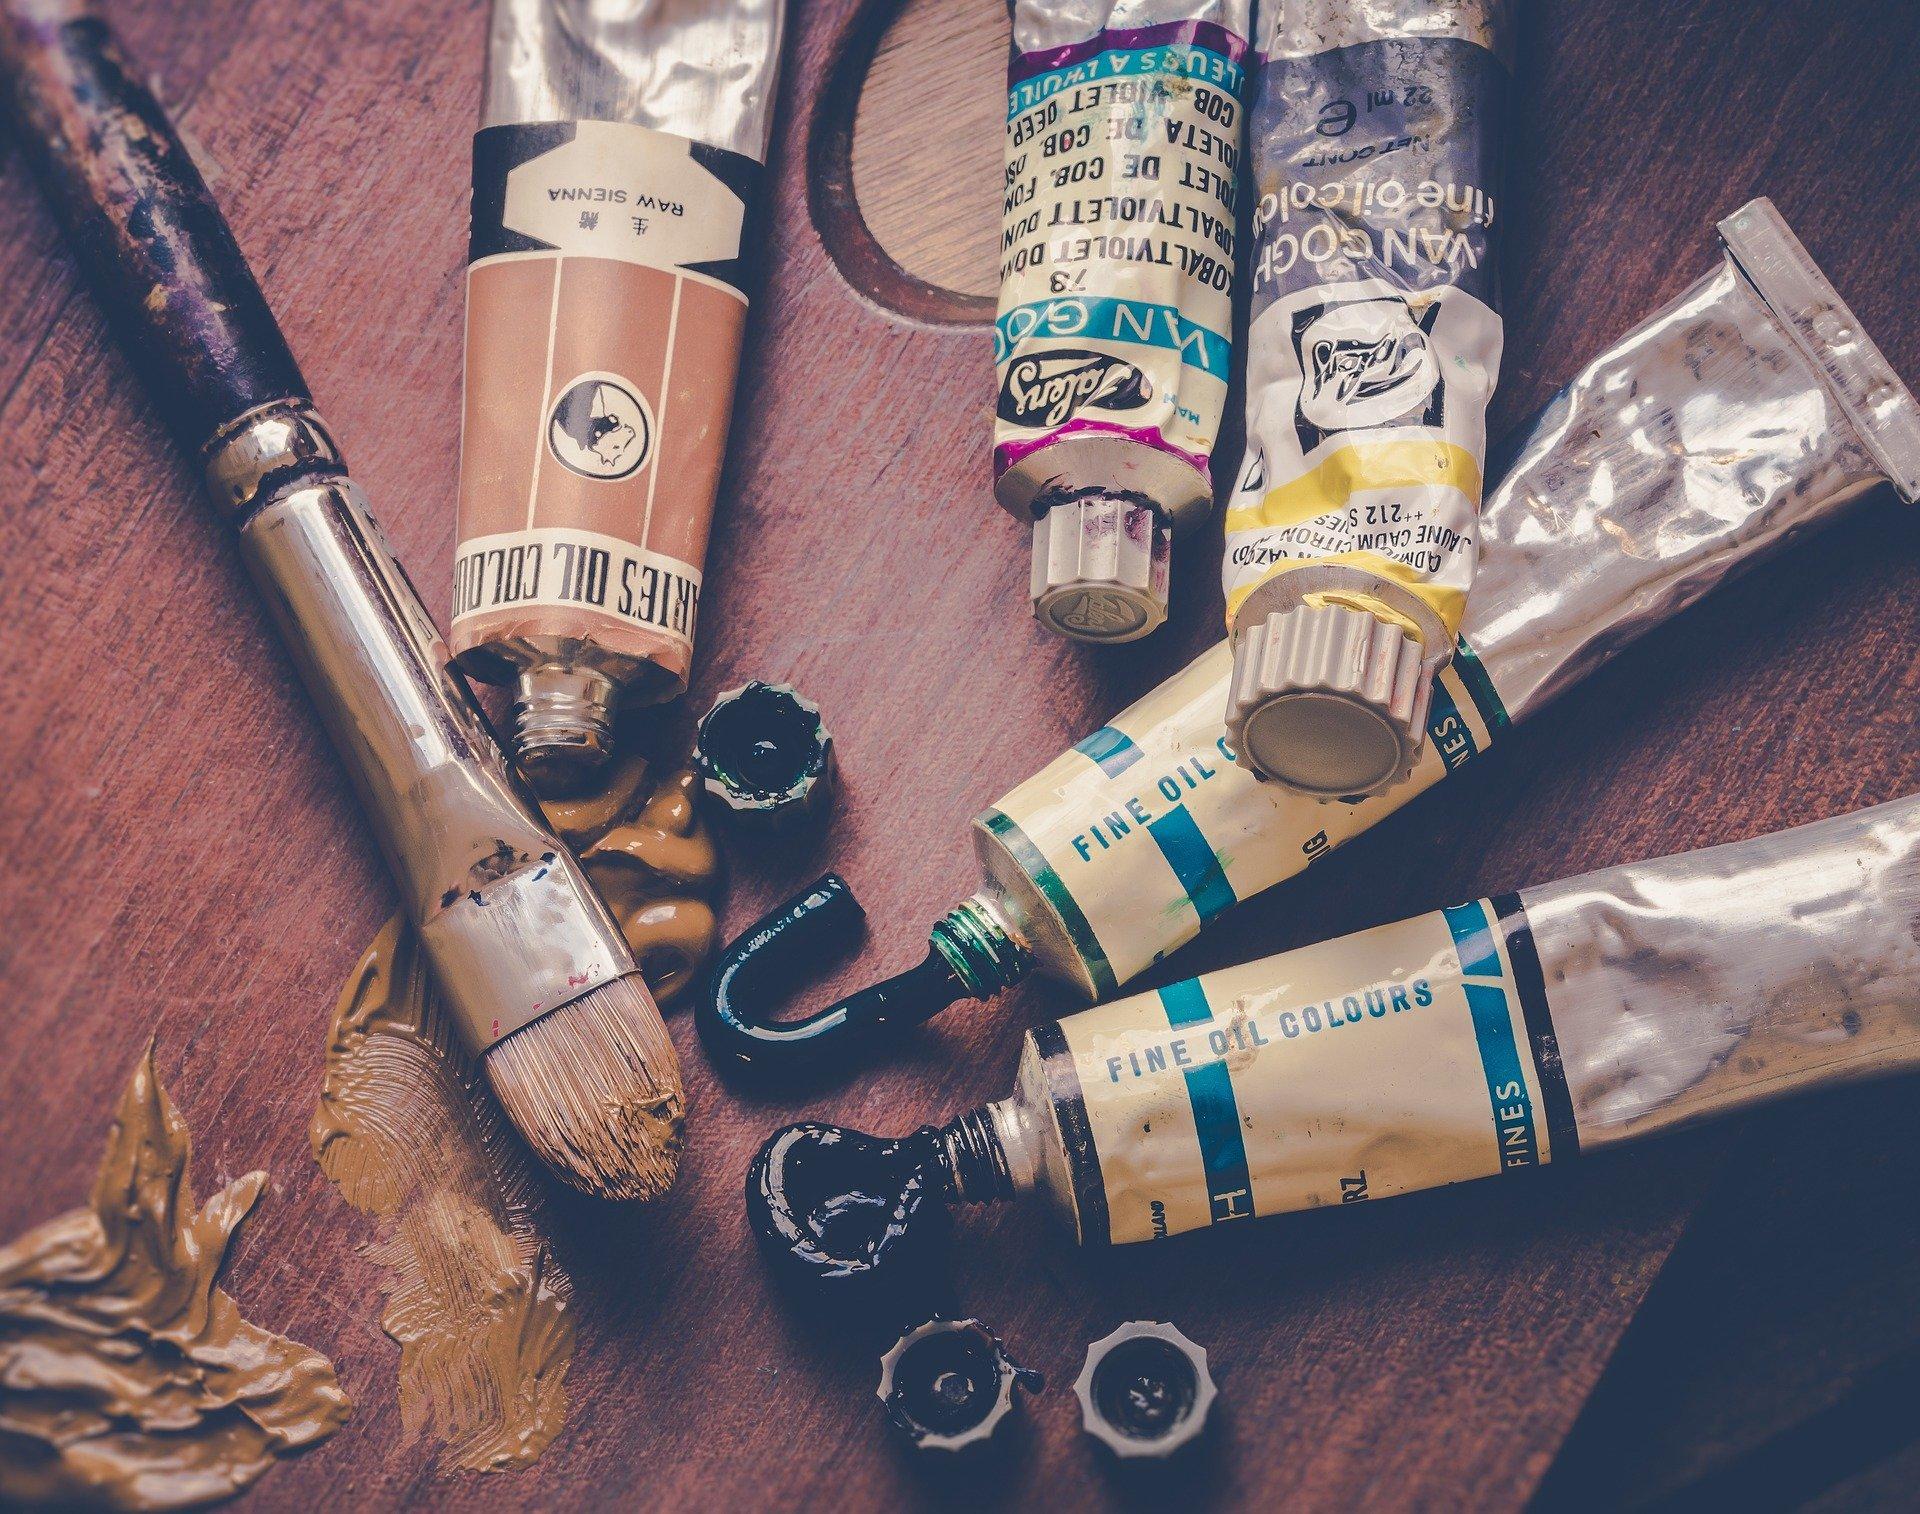
Experience and exploration is just as important when it comes to working with different materials. Be sure you try out charcoal, pens, Indian ink, coloured pencils and even felt-tip pens and the really adventurous artists can mix these.
Pro Tip: Take all the guesswork out of your everyday drawing and make the most of your time by making a list of things you want to draw. Will it be landscapes, people, fruit or fairies?
Find out more in this article on how you can learn to draw for free.
Drawing Faces
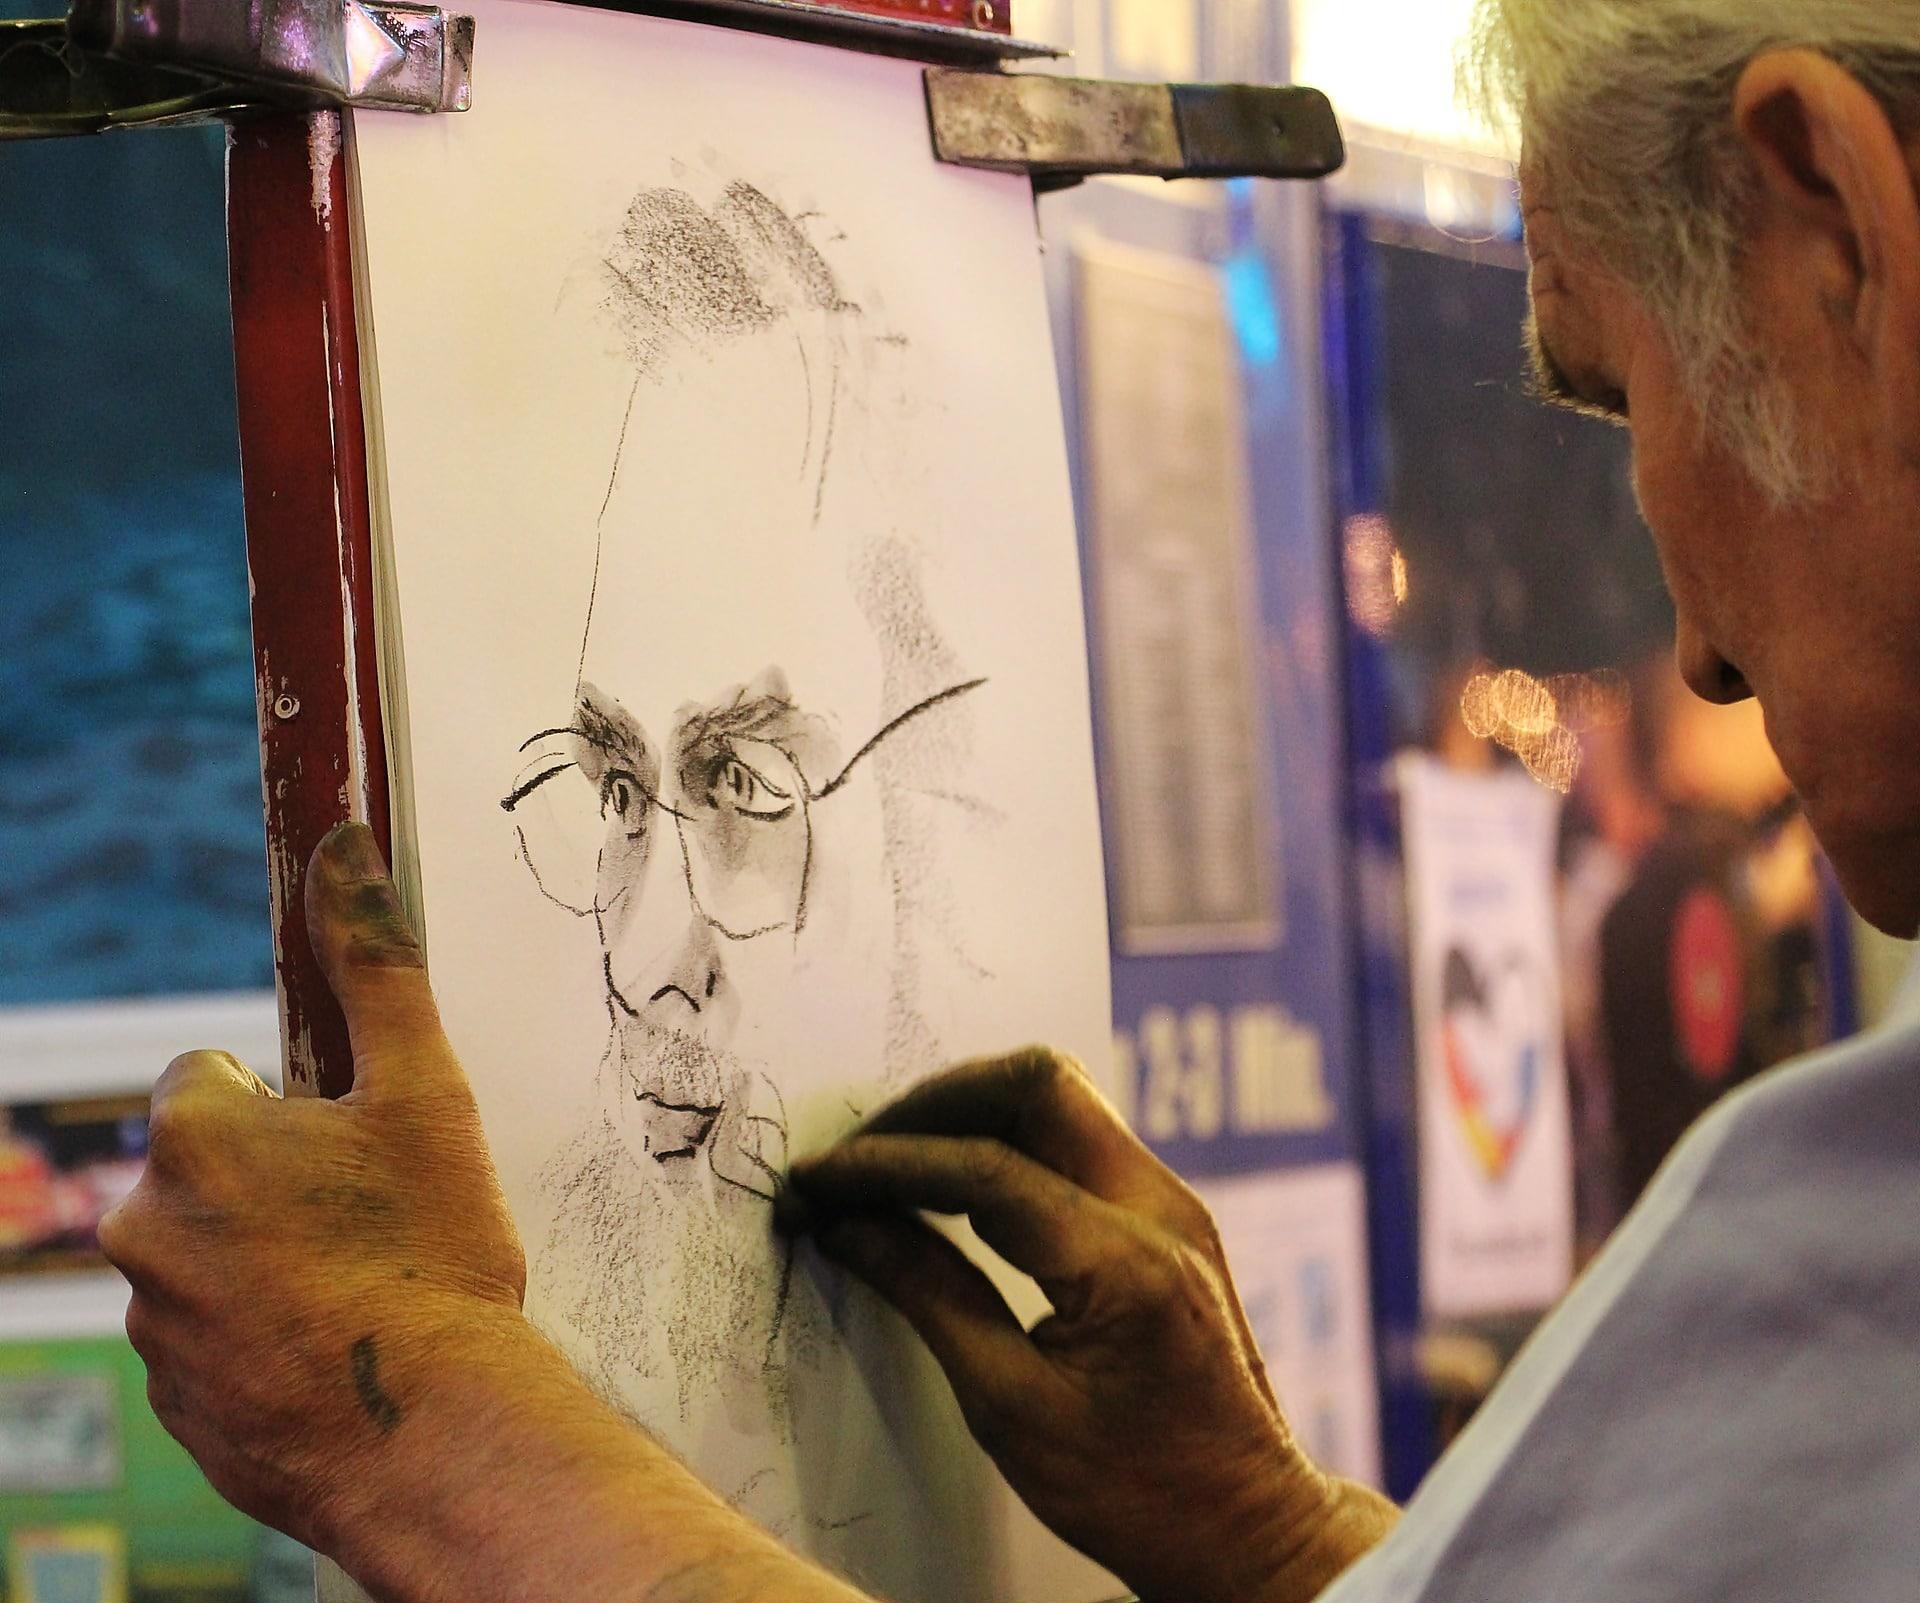
Drawing people portraits can be quite challenging as all the various principles in art around composition, light and shadow, proportions and realism comes into play. Allow yourself to make mistakes and rather draw many fine lines until you are certain about the form and shapes before you make these darker and add shading.
You can draw a picture of someone you know or ask a friend or sibling to pose for you. Real life figure drawings is even trickier as the model will only be still for a while, therefore start by drawing faces before you move into drawing the human body as a whole.
Pro Tip: Start with the eyes and the nose in your drawing. Draw the mouth afterwards and the outline of the face. Finish the drawing off by lastly adding the ears and the hair.
A Quick Lunch-Break Sketch
Artists are great observers and by sketching wherever and whenever you can, you practise this skill to immediately see the lines and shadows that make up a scene. Although you don’t want to set a timer, doing quick sketches will allow you to focus on the fundamental shapes and elements that make up the image rather than the detail.
Pro Tip: Make sure you don’t always aim for perfection when you are sketching, not in the beginning as you are still learning. Have fun and allow yourself to learn and make mistakes.
Recreating Another Image or Famous Artwork
Redrawing or painting an existing artwork is another practical and useful way to become better at your art. It will not only allow you to better understand the style and methods of the artist, it will also help you with practising new techniques and the fundamentals.
Finding famous artworks on the internet or in art books is easy and you can even look at images of wild animals, landscapes or people in magazines and try and recreate them in the art medium of your choice.
Want to learn to draw on a tablet or phone? Check out these drawing apps.
Pro Tip: Create a grid that divides the artwork you plan to redraw into smaller squares. On your paper you will then create the same amount of squares, and while you redraw the image you ensure that you scale and create each block to the same position and size they look like on the original artwork. It’s much easier to work in smaller sections when it comes to details and proportions.
Get The Help of a Tutor
To get good at drawing takes a bit of discipline and research, and a lot of practise. Joining a drawing group or getting a drawing teacher to give you drawing lessons can cost a bit more, but will certainly also make it easier for you to learn.
We have a list of experienced drawing tutors on Superprof who will create exciting art exercises to help you with your painting and drawing skills. They will use the time of each lesson to work on the skills you want to learn and guide you step-by-step into understanding the basics of drawing.
Pro Tip: A great way to make classes more social is by choosing a group class and splitting the cost of your lessons.
Armed with information and enough ideas, the only thing left now is getting started.
Grab a pen and pencil and happy drawing.
Summarise with AI:
Enjoyed this article? Leave a rating!