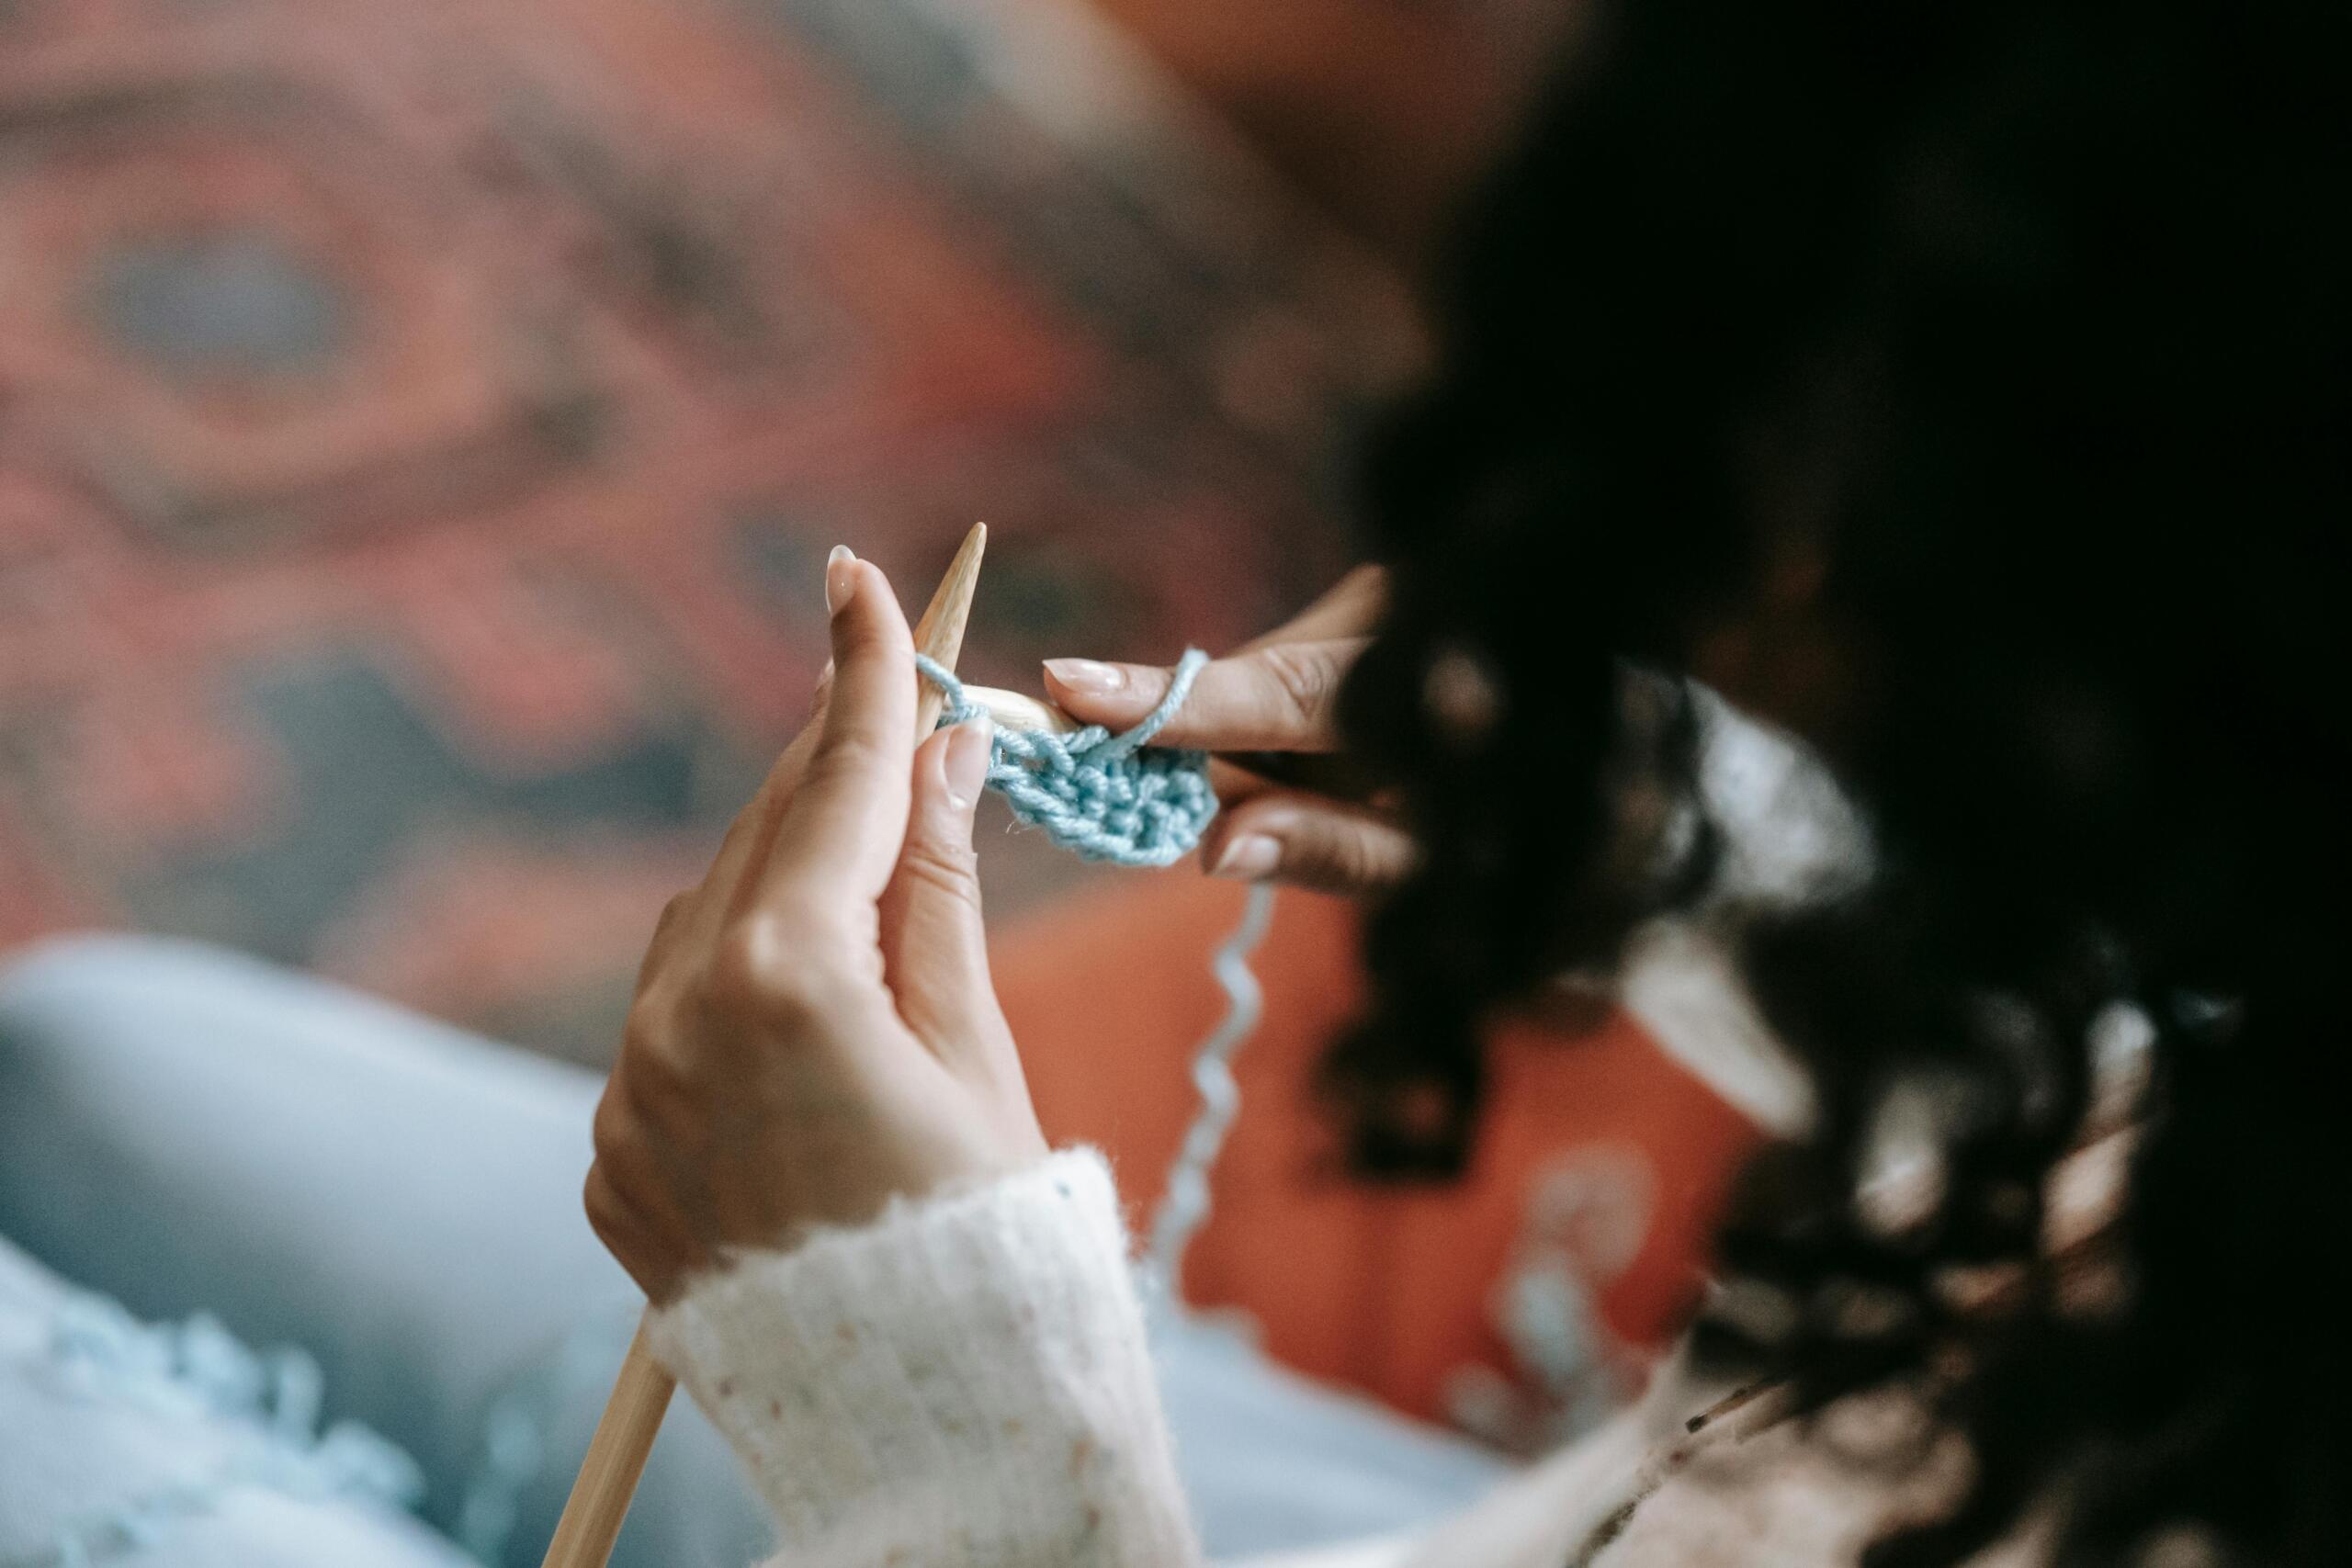
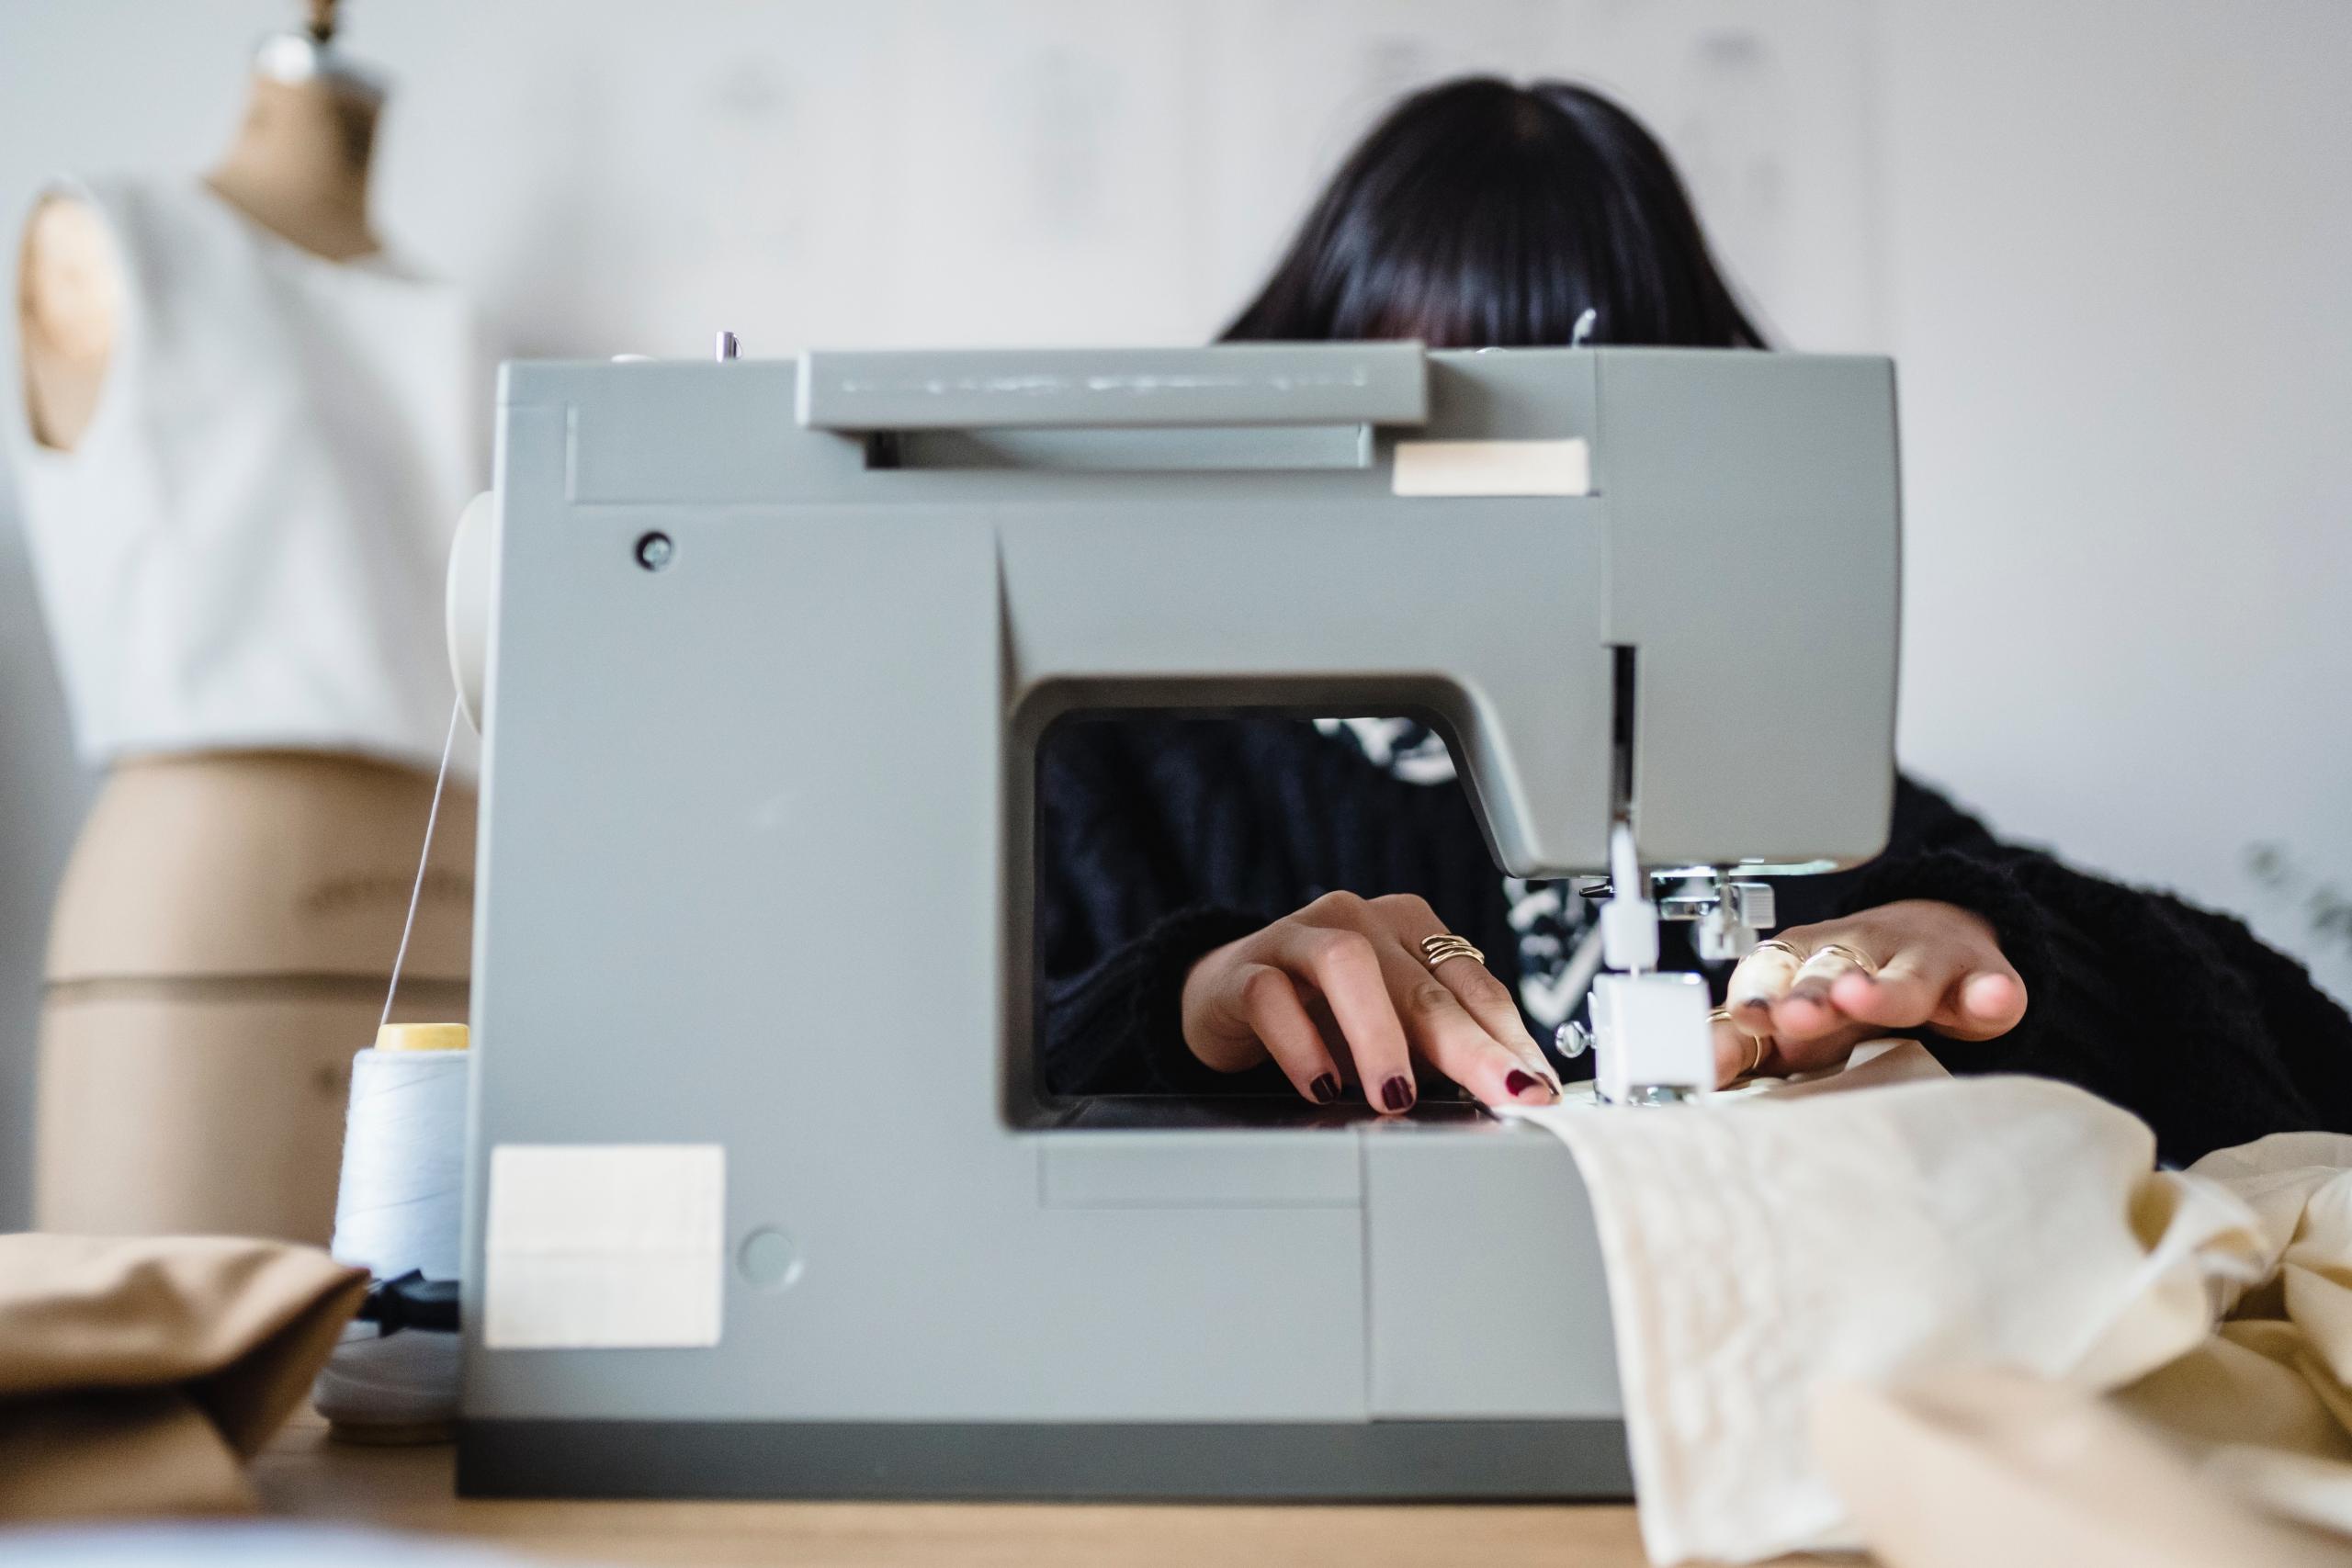
Year after year, the number of novice sewers continues to rise. As arts and crafts such as embroidery, knitting, crochet, and cross-stitch gain popularity among the younger generation, it shows that there is a marked ending to the stereotype that you need to be old to want to know how to perfect your hand-sewing stitches.
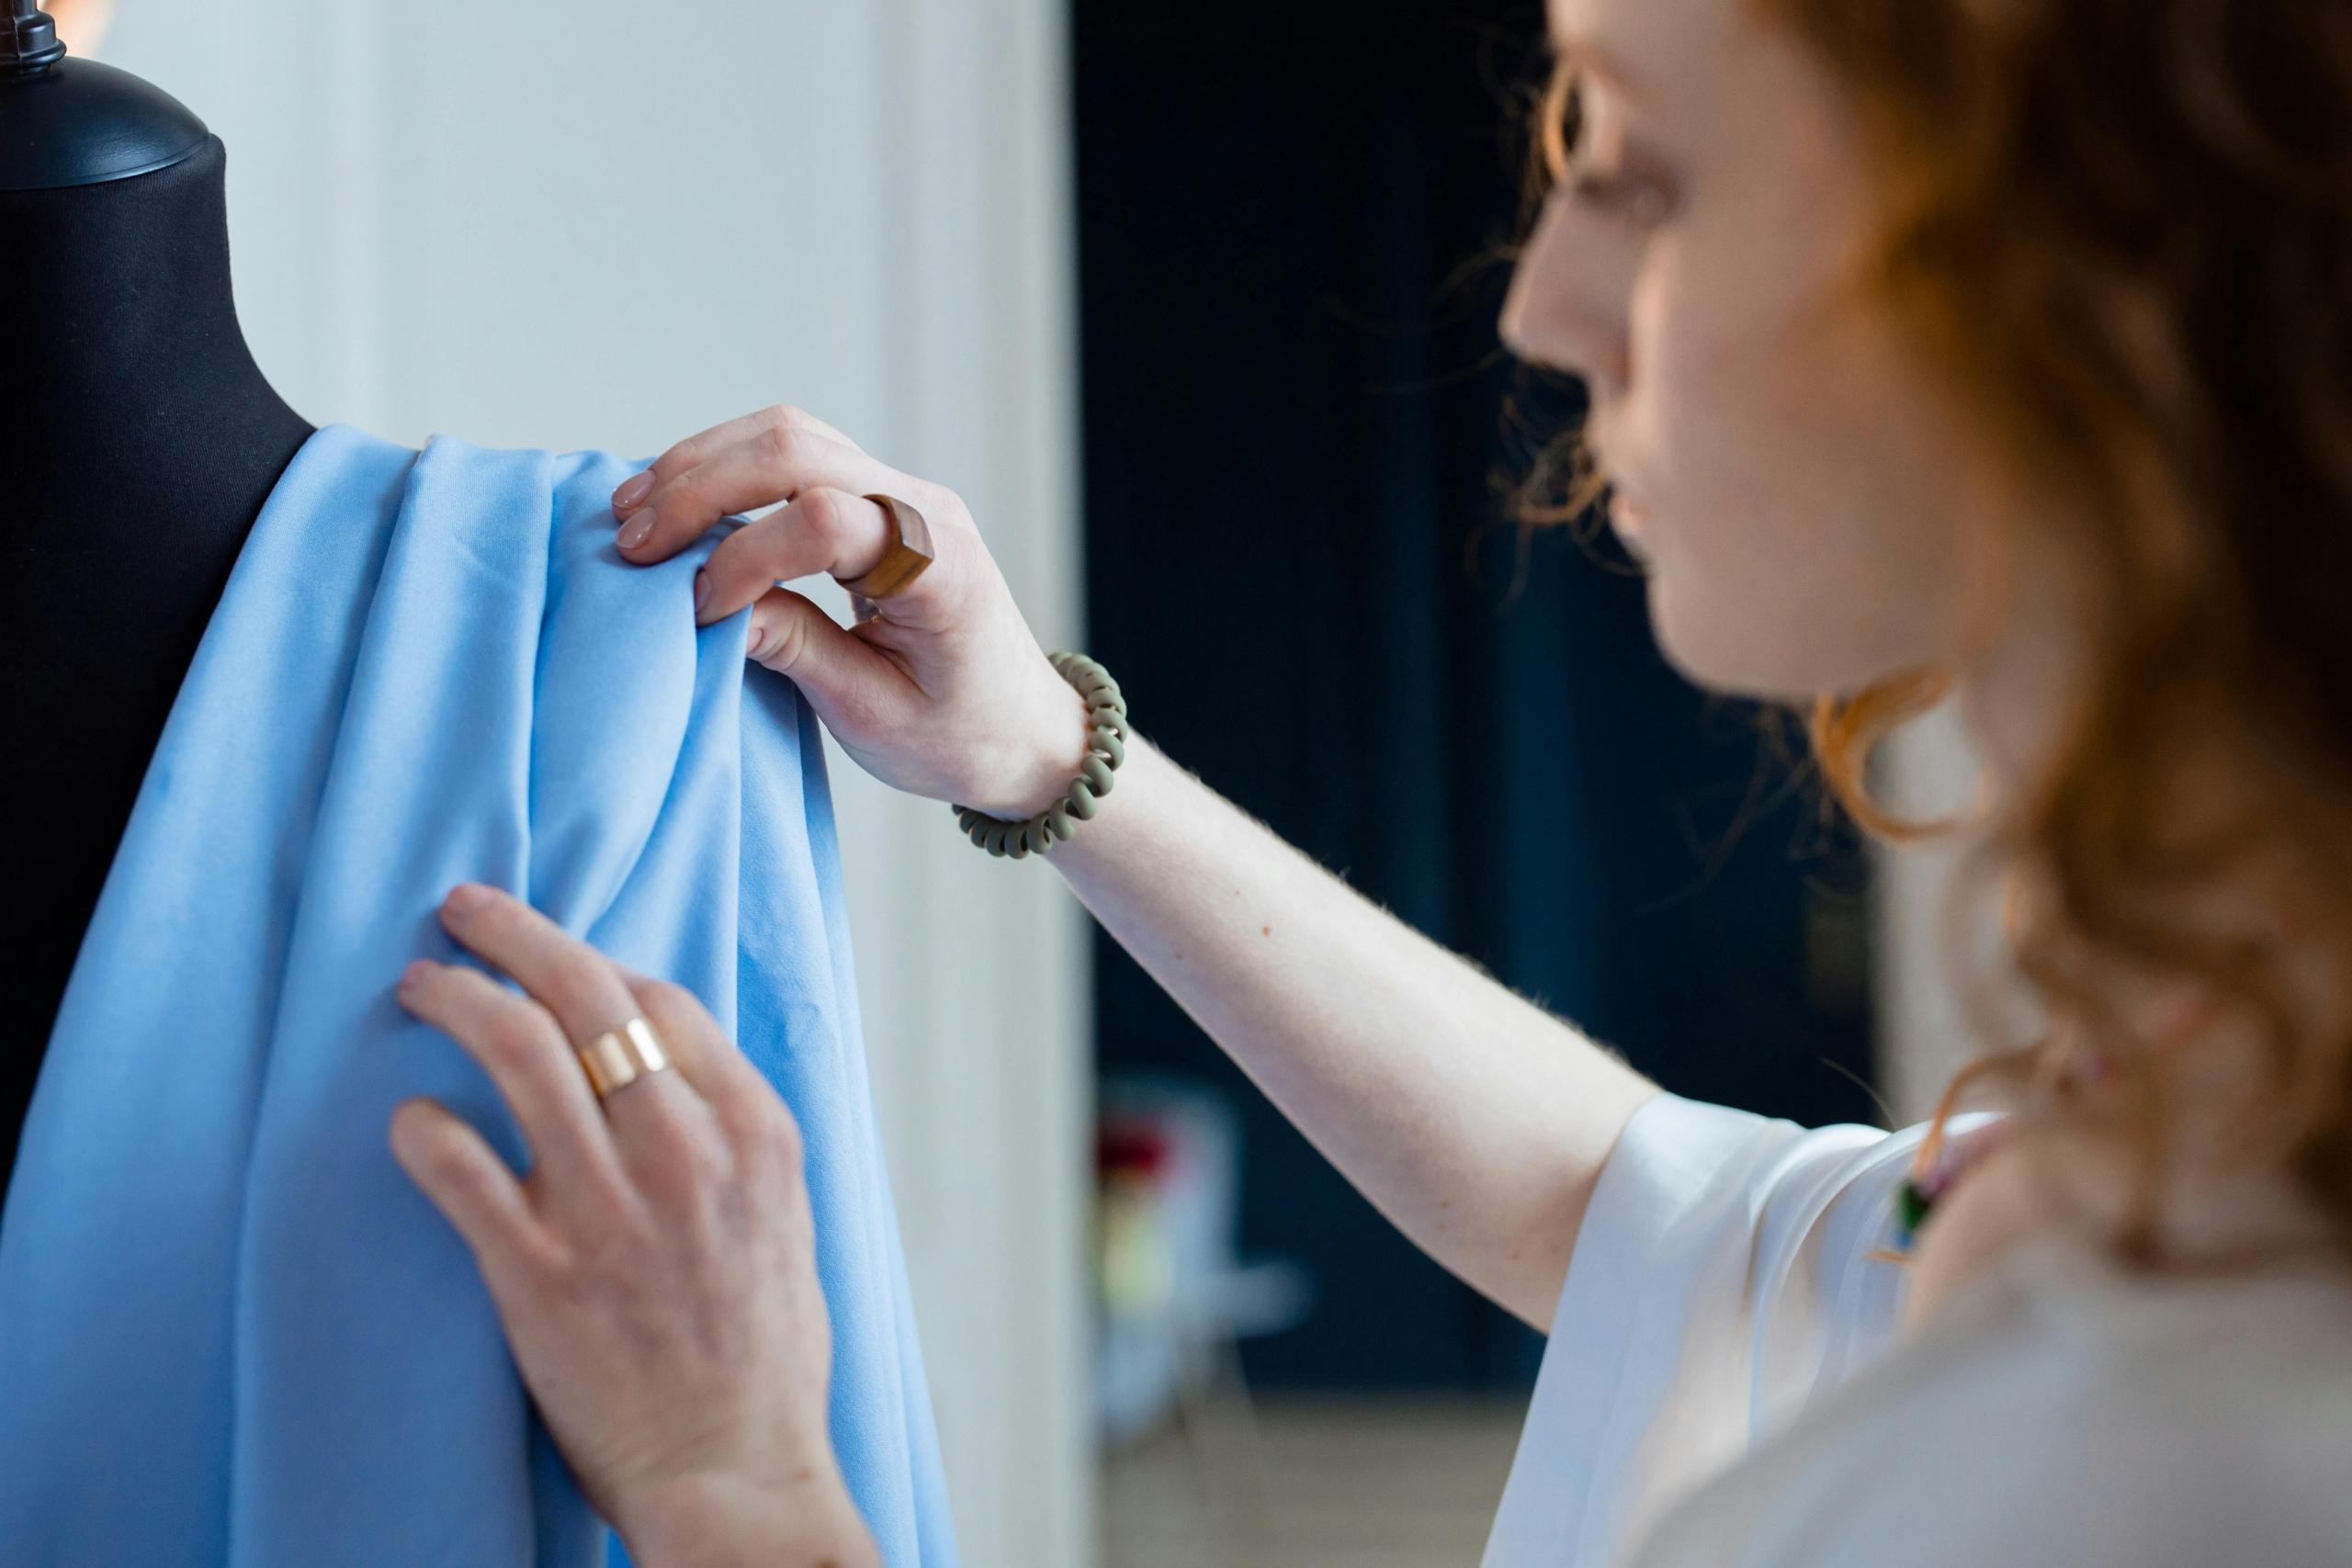
The question is, is this merely a passing trend or is there a genuine shift in the sewing landscape? One thing is sure: there are numerous advantages to sewing. Whether it's creating your garments, crafting homemade gifts, refining your curtains, or revamping your living space, sewing demands creativity and imagination.
So if you are looking for ways to perfect your sewing techniques, whether those are how to invisible stitch, straight stitch or blind stitch, then this article is for you, keep reading.


Sewing Techniques for the Closed Seam
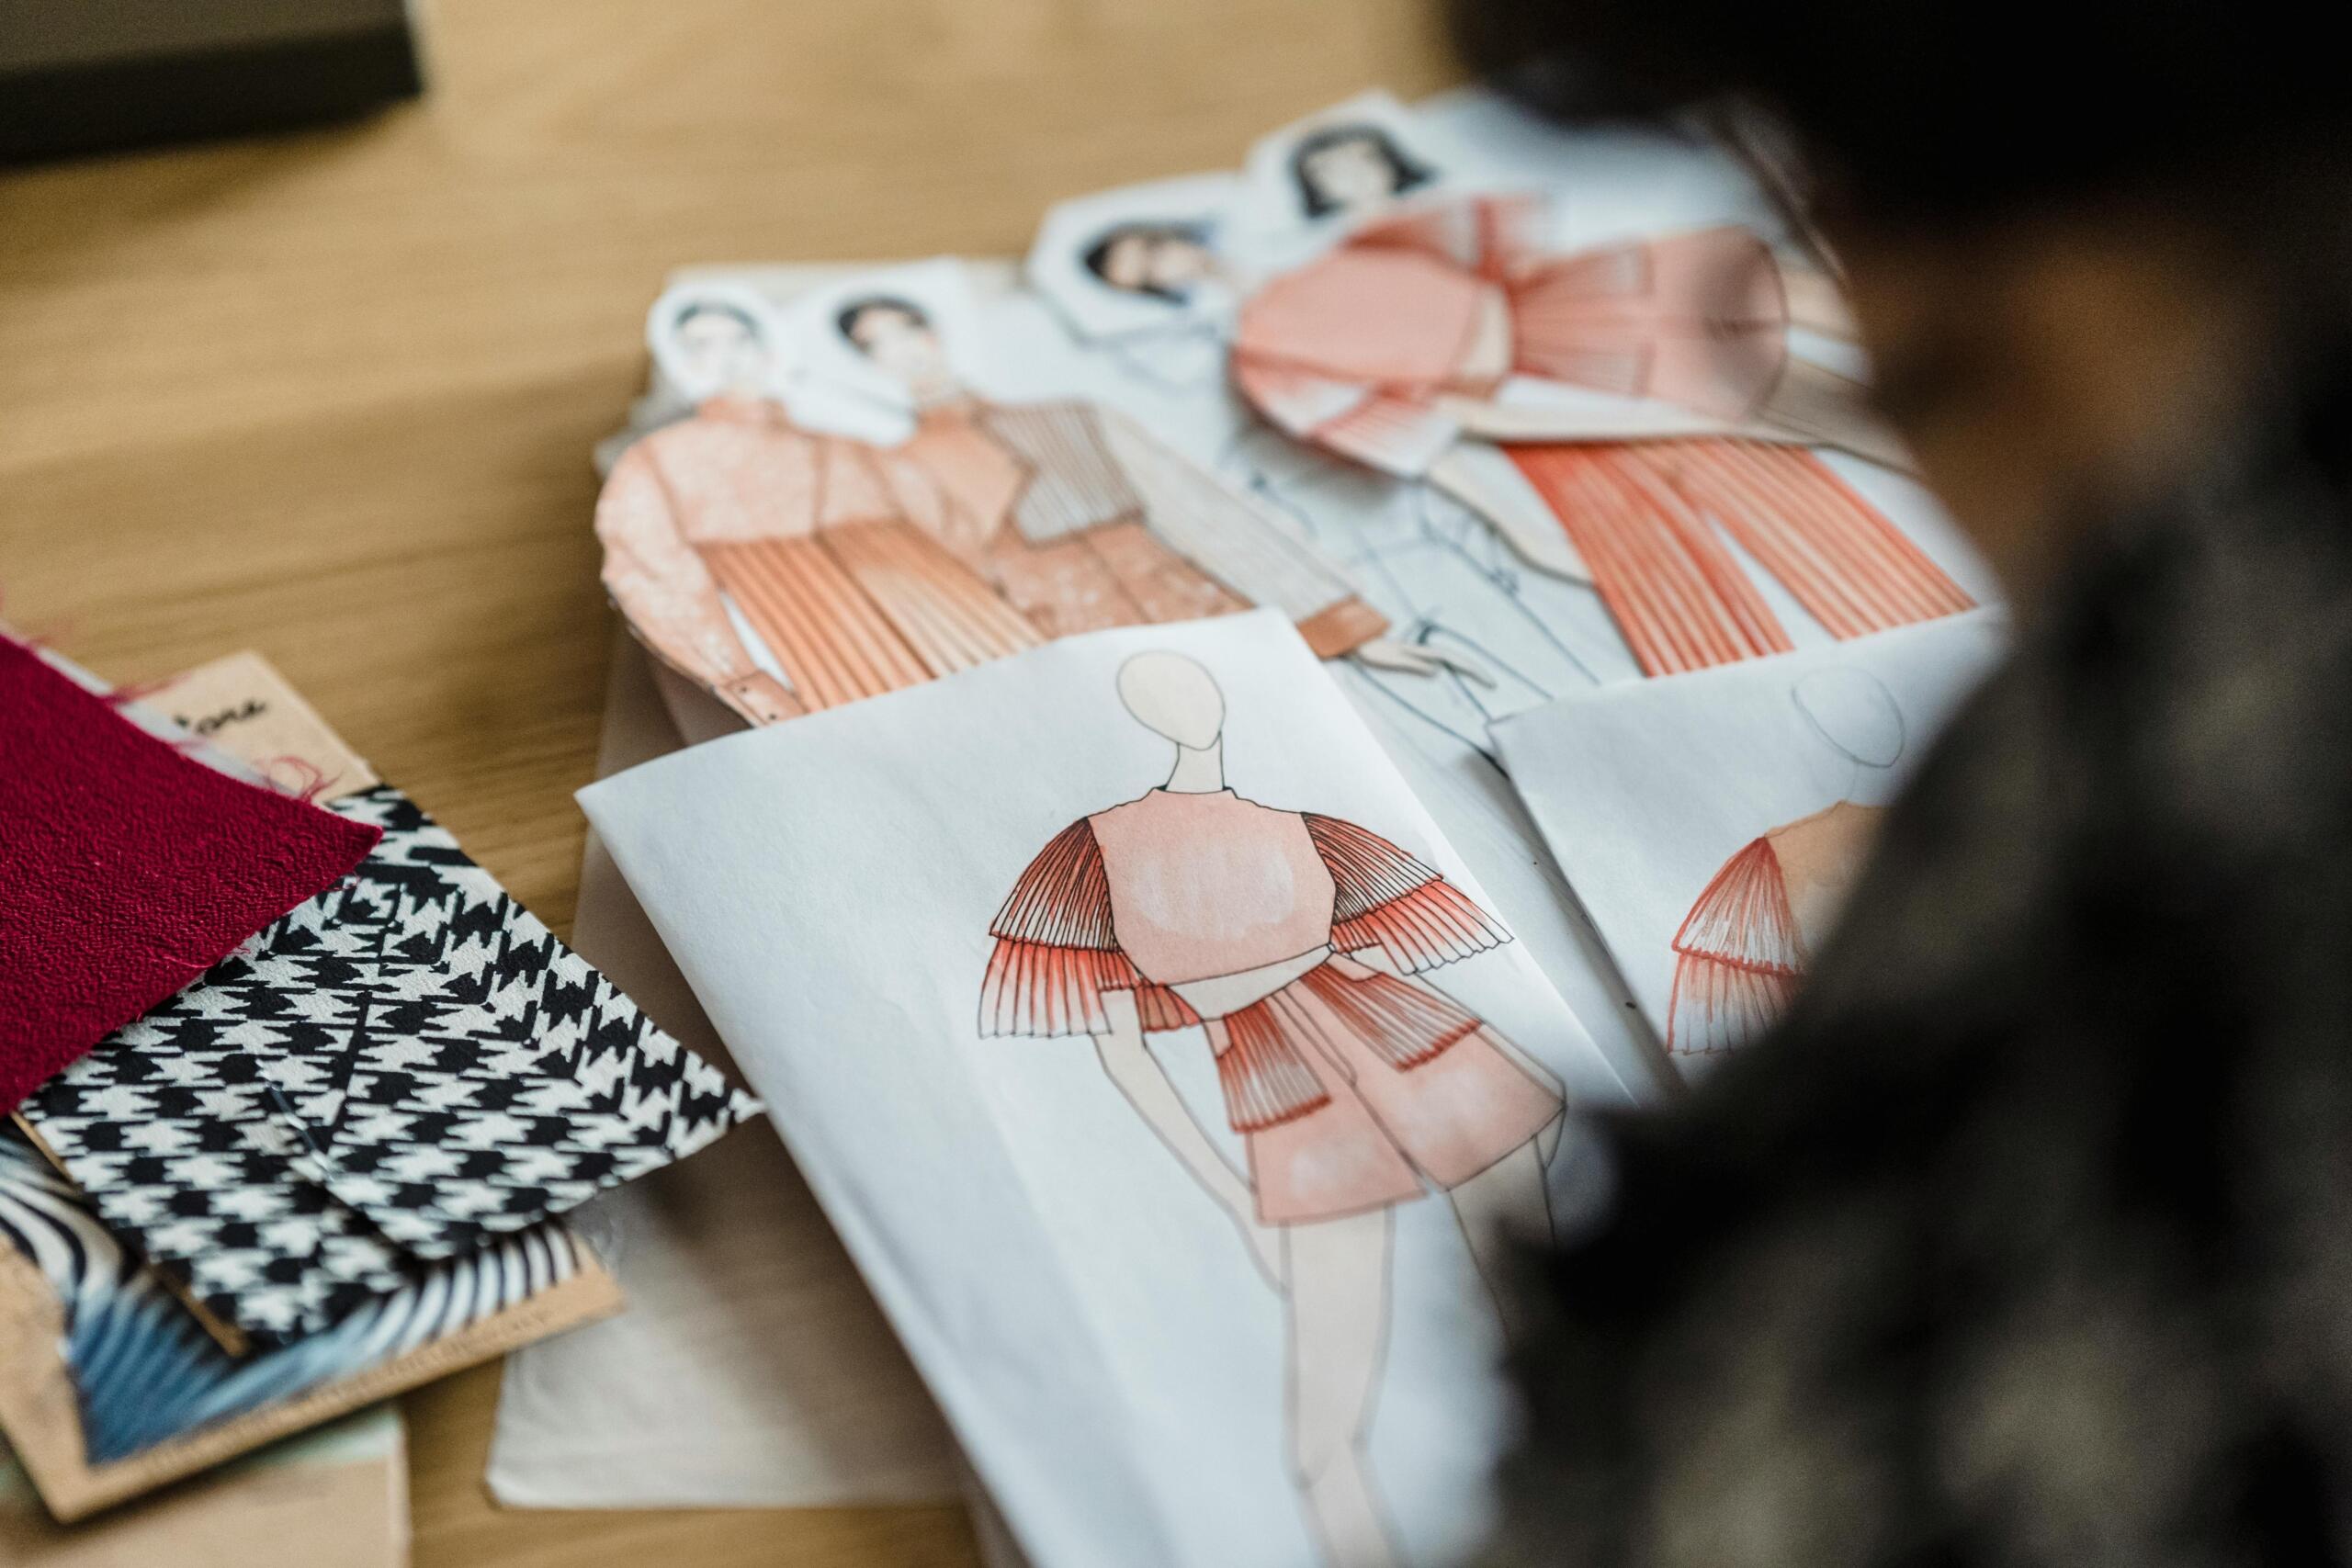
Before you begin to sew buttonholes, tote bags, zippers, or patchwork, it is important to understand that there are various approaches to sewing and stitching something together correctly. Whether it is a straight stitch, invisible stitch or blind stitch there are ways to bring it all together using the best methods for an optimal outcome.

When it comes to open seams and closed seams, there are different methods used in sewing.
In general, thicker fabrics are typically used for sewing open seams. In this method, the two fabric pieces are separated and pressed down, with the folds not aligned on top of each other. This ensures that the seam remains inconspicuous and avoids excessive thickness when viewed from the outside.
To create an open seam, begin by aligning the right sides of the two fabric pieces and securing them with pins. Then, using either a sewing machine or sewing by hand, stitch approximately a centimetre away from the edge.
After completing the sewing process, fold the excess fabric and press it on both sides. This will create a crisp fold that remains in place.
Open seams are commonly used for trousers, skirts, and jackets.
Conversely, delicate items like shirts, blouses, or lingerie often use closed seams. The primary distinction between open and closed seams lies in how the two fabric edges are treated. Closed seams fold both edges to the same side, which eliminates the need to separate them. For fine fabrics, it is best to avoid separation. A serger can also be used to join the two edges of a closed seam and if the closed seam appears too bulky, it can be converted into an open seam.
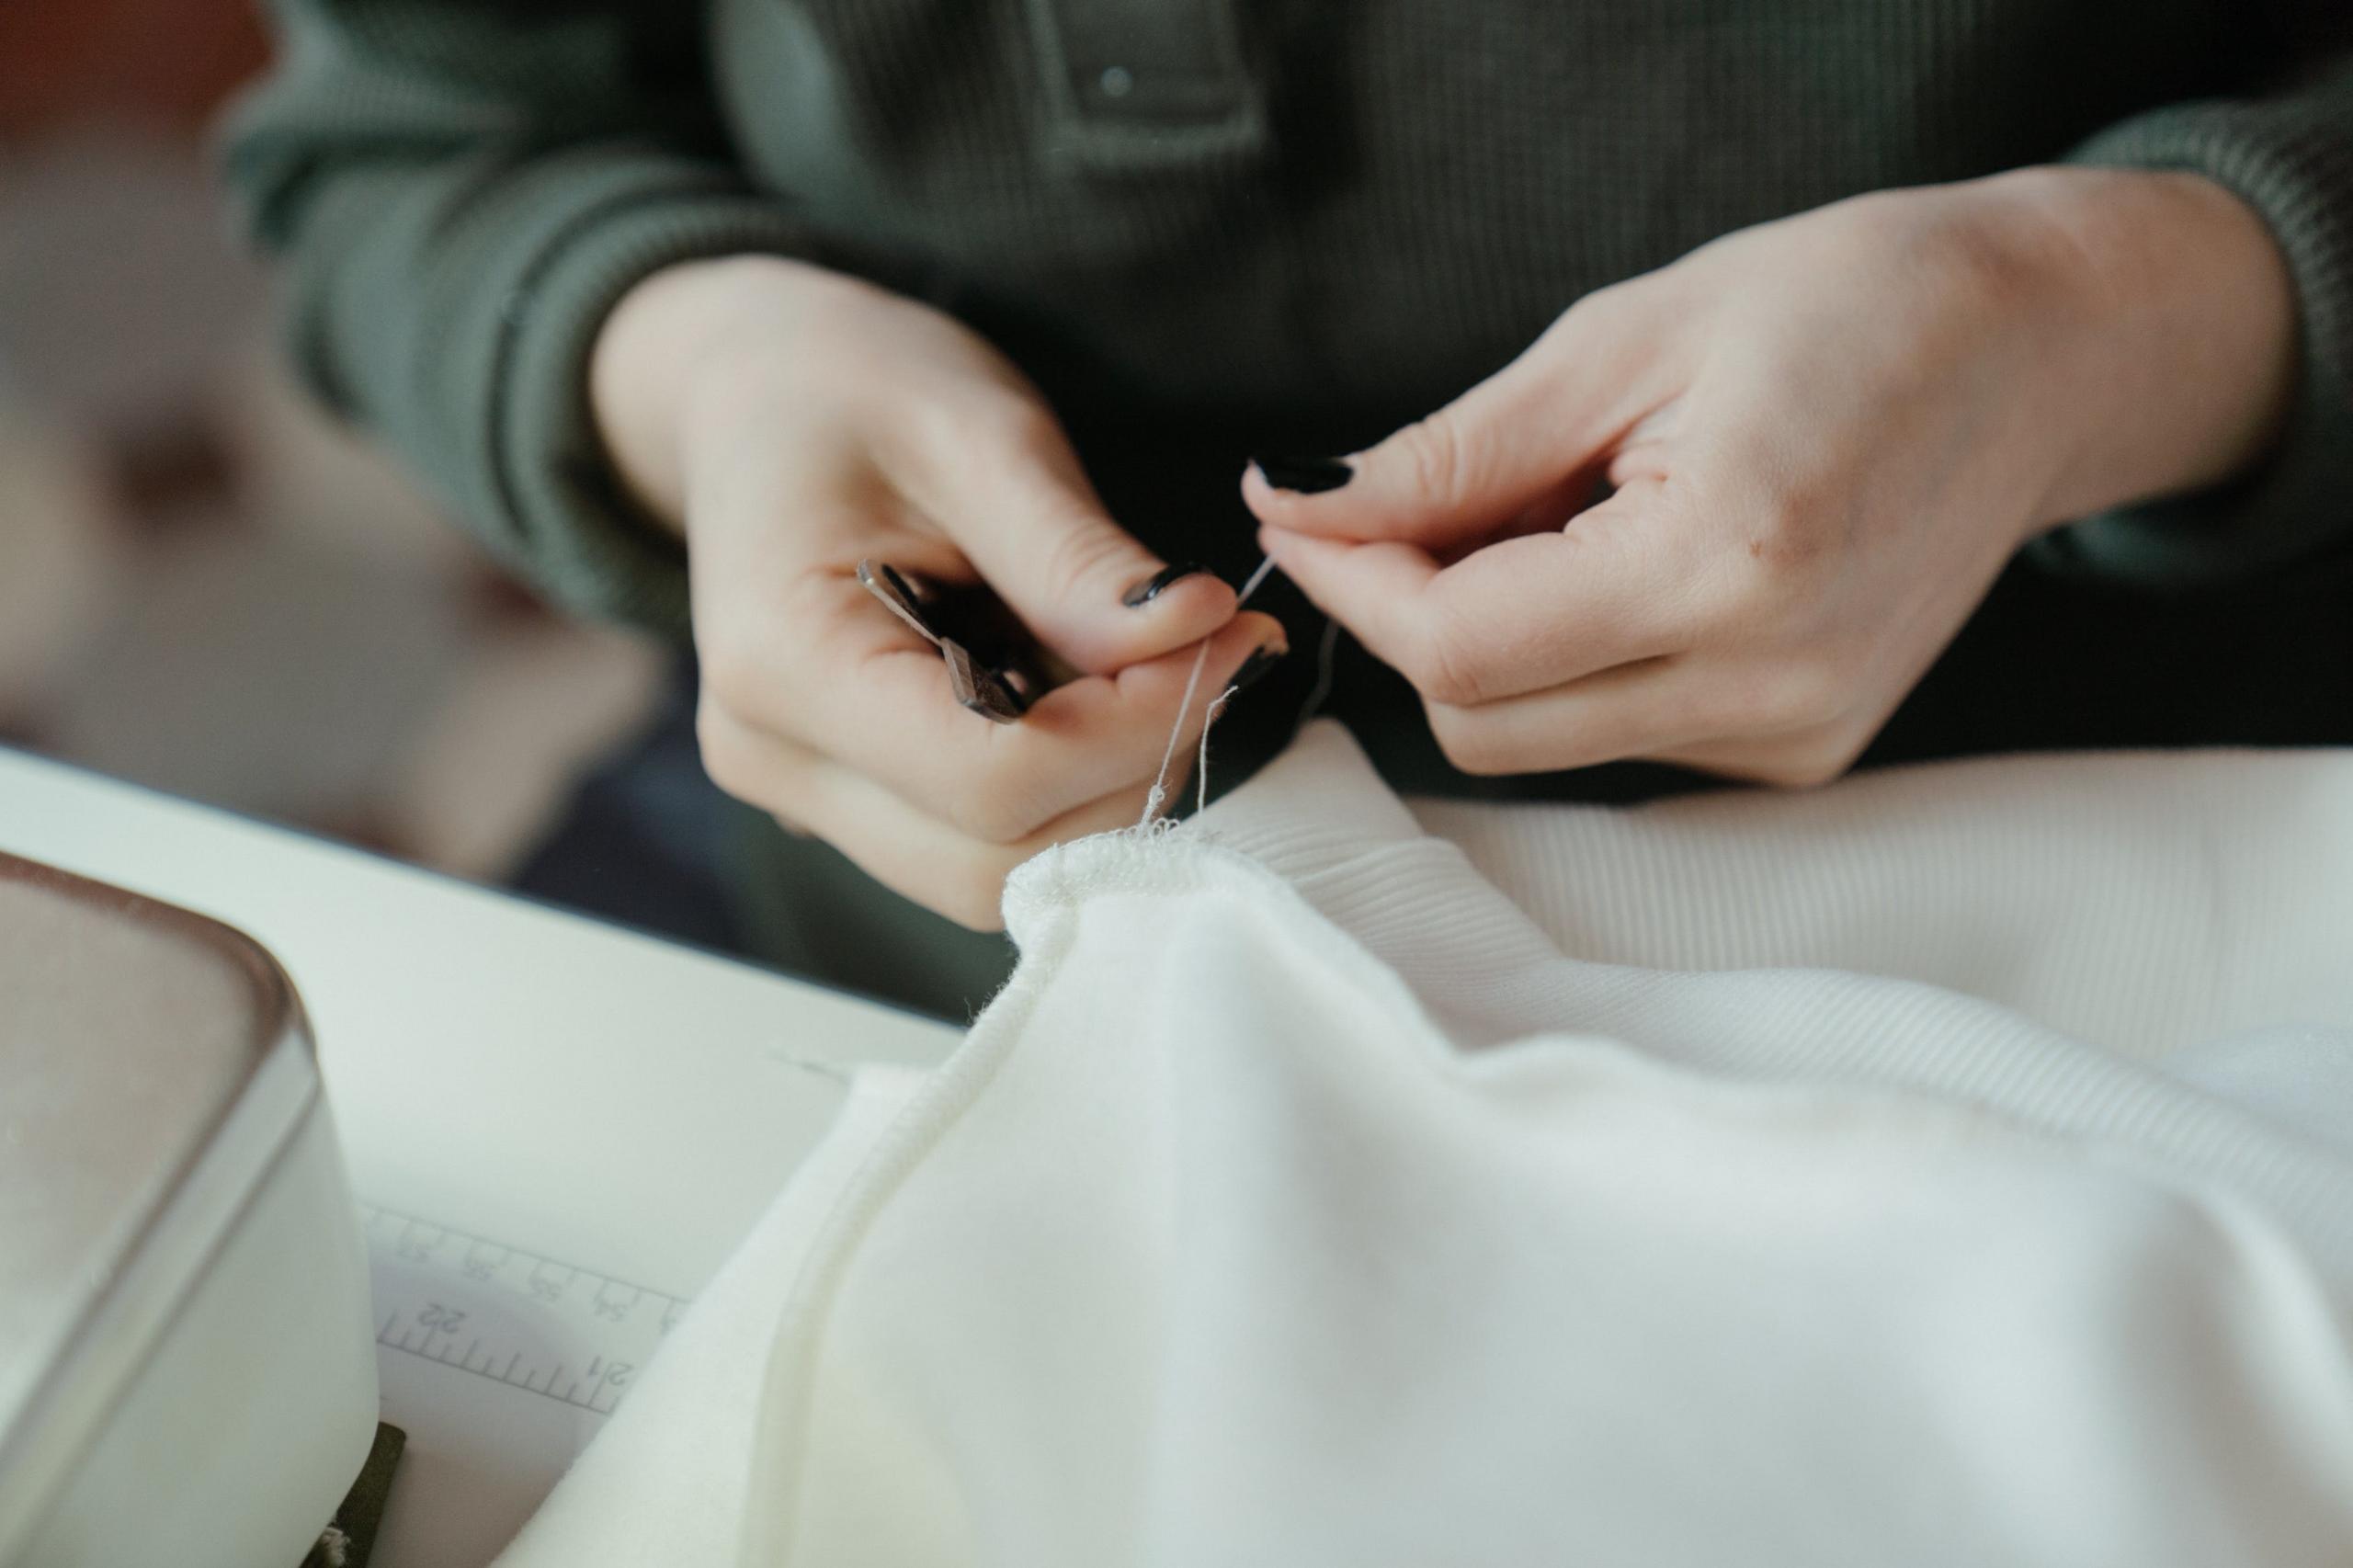
Both techniques are relatively straightforward to learn and can even be self-taught. However, if you need help, there are private sewing tutors who can teach you all about sewing techniques from the best hand sewing stitches to how to blind stitch, straight stitch and even, invisible stitch.
Creating a Felled Seam
Among the myriad sewing techniques, the felled seam stands out as one of the sturdiest and most reliable. This method, also referred to as the flat-fell seam, involves stitching two parallel lines.

The felled seam technique is often used for embellishing shirts, sewing jeans, and creating durable furnishings. It is particularly useful for reinforcing high-stress areas in clothing, like trouser inseams. To make the most of this technique, you could seek guidance from a private sewing tutor or participate in a haberdashery workshop held by an expert. Alternatively, self-teaching is also an option, although regular practice will be essential to master the skill.
To begin, select two pieces of fabric pieces and align their right sides together. Ensure that the two pieces are offset, allowing one section of fabric to fold onto the other. To ensure this, securely pin the fabric pieces together to make sure that no shifting occurs during sewing. When using a sewing machine, make sure that the needle passes through the top layers.
Once the first seam is completed, separate the fabric pieces and lay them flat with the right sides facing up. Next, fold the longer edge over the shorter edge and stitch again to achieve a felled seam.
The key challenge with this technique lies in making sure that both seams remain parallel to each other, but with diligent practice, you will certainly achieve the precise results you need. whether you choose hand sewing stitches or a machine, a felled seam is a must to learn.
Overlock Stitches
An overlock stitch is one of those common sewing techniques used for pieces that will need to be folded. A good example of this would be a pair of jeans.
The overlock stitch is achieved by guiding the needle and thread around the fabric while consistently working on a single side. This technique forms loops along the fabric's edge and is commonly used to secure hems and prevent fraying.
To enhance proficiency in the overlock stitch, it is advisable to practice fabric scraps before attempting it on your item of clothing. To do this, take two fabric pieces and align their right sides together. Just like with other sewing techniques, secure the pieces with pins to prevent any shifting.
Begin stitching from the inside, starting on the right side of one fabric piece and continuing until you reach the other side. Once the needle emerges from the fabric, loop around the top of the two edges and stitch towards the second piece. This time, allow the needle to pass through both fabric pieces at the same time.
Observe how the thread encircles the edges of both fabric pieces, creating a consistent overlock stitch along the seam's length. For each stitch, ensure the needle passes through the same side. This uniformity is maintained throughout the sewing process.
In some instances, the overlock stitch may be reinforced with a double overlock stitch. To accomplish this, repeat the same process, only in the opposite direction.
Remember, practice is key for all sewing techniques whether you are overlocking or learning how to blind stitch, straight stitch or invisible stitch.
To reinforce your overlock stitch, you can use embroidery thread because it is much more thick and resistant.
How to Zig-Zag Stitch
Besides sewing techniques like your blind stitch, straight stitch, invisible stitch and learning hand sewing stitches you will want to learn the. Zig Zagging, much like the straight stitch, is useful for just about every type of fabric.

If you’re not hand sewing stitches, the zig-zag stitch is a versatile sewing technique that is used for creating hems, buttonholes, and reinforcing stretch fabrics. When working with flexible and elastic materials, achieving the right thread tension for a clean seam can be a challenge, but the zig-zag stitch is usually a very easy way to get around this.
One of the key advantages of the zig-zag stitch is its adjustable length and width which allows for customisation to suit various sewing requirements.
So, how do you achieve the perfect zig-zag stitch?
Zig Zagging is one of the hand sewing stitches but is generally created with a sewing machine for greater speed and efficiency. Simply select the appropriate setting on the machine, raise the presser foot, insert the fabric, lower the presser foot, and begin sewing.
When sewing by hand, the process may take more time.
After reaching the end of the seam, the zig-zag stitch is formed by stitching in one direction and then returning in the opposite direction. During the second part of the seam, the needle passes through the same holes but in the opposite direction, joining the sections where the thread has not yet passed.
Once the seam is complete, ensure the thread tension is properly adjusted to be not too tight or too loose.
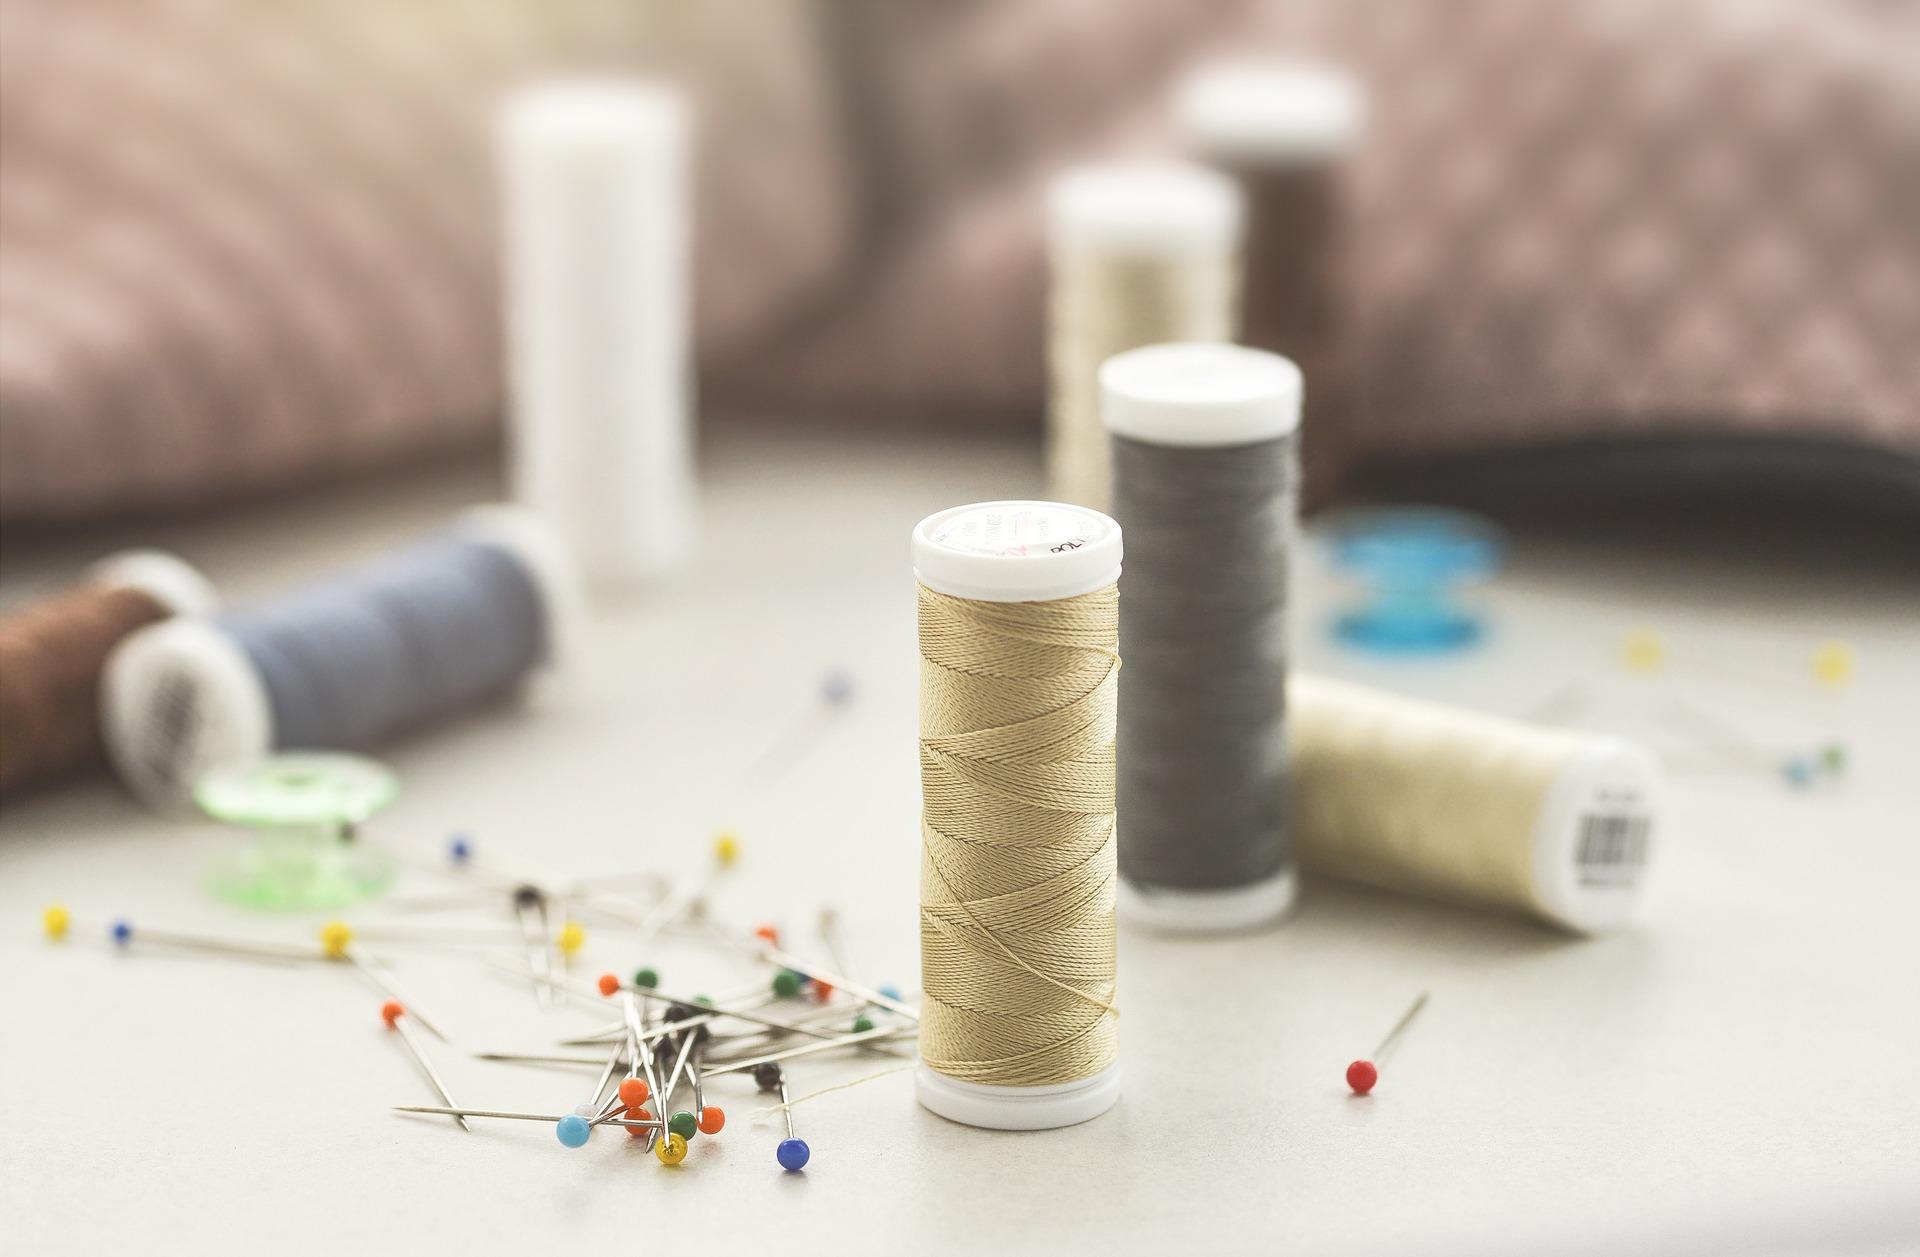
So, gather all the sewing equipment you will need - thread, elastic, needles, pins, scissors, bobbins, and sergers and prepare yourself for a successful and fund sewing journey. Don’t forget you will also need skill and creativity too.
If you require further assistance with sewing, consider reaching out to the talented tutors available on platforms like Superprof where you can find face-to-face tutorials, online tutorials, and group tutorials. Each option has its advantages and disadvantages, depending on your learning objectives and budget.
Finally, remember that even though face-to-face tutorials are more costly than online ones, they are also highly effective. There is also the possibility of group tutorials which are often the most cost-effective per person per hour, although your tutor's attention will need to be shared with other students in your sewing lessons for beginners.
So, are you ready to learn both machine and hand sewing stitches? If this article was helpful make sure you don't miss our other sewing techniques in a series of articles . Whether you want to learn the invisible stitch, straight stitch or blind stitch, we can point you in the right direction.
Are you ready to embark on your sewing adventure?
Summarise with AI:
Enjoyed this article? Leave a rating!