
“Always use the right tool, for the right job, in the right way.” – Anonymous
An experienced animator creates captivating characters to draw viewers into their imaginative world. The ability to conceptualise, design and make your own characters is only one of the multiple skills you will require to become a successful animator.
But where do you start and what tools do you need?
In this article we’ll talk about the skills you can develop as a beginner animator, the animation equipment you need to create your first hand drawn animation and how you can digitize it with the help of free digital animation software.
Are you ready to create your first animated video using the characters in your imagination?


Animators Require a Variety of Skills
The world of animation is competitive and as a newcomer to the industry you’ll suddenly be exposed to a working environment with complex politics, new animation problems and people with exceptional skills in various specialities. You’ll need to gain as many of the valuable skills as possible if you want to work towards becoming a professional animator. Luckily this is something you can start with today.
The more varied your exposure and experience is, the better you will fit-in and piece together the various specialities that influence the result of an animation. Just think about the effect music has in creating the mood of a story, how imperative a good storyline is or how technical coders create ground-breaking CGI? All of these are done by functional experts and as a beginner you want to soak up as much knowledge as you can before specialising in one or several fields.
Here are some of the skills you should learn as beginner:
- Drawing skills or painting skills
- Understanding acting and character expression
- Learning dynamics around movement and space
- Gain soft skills like communication, memorisation, teamwork etc.
- Character development
- Sculpting skills
- Software skills
- Scripting and storytelling
Developing your creativity is an ongoing, imperative step in becoming a good animator and this should be easy if you are passionate about animation and art.
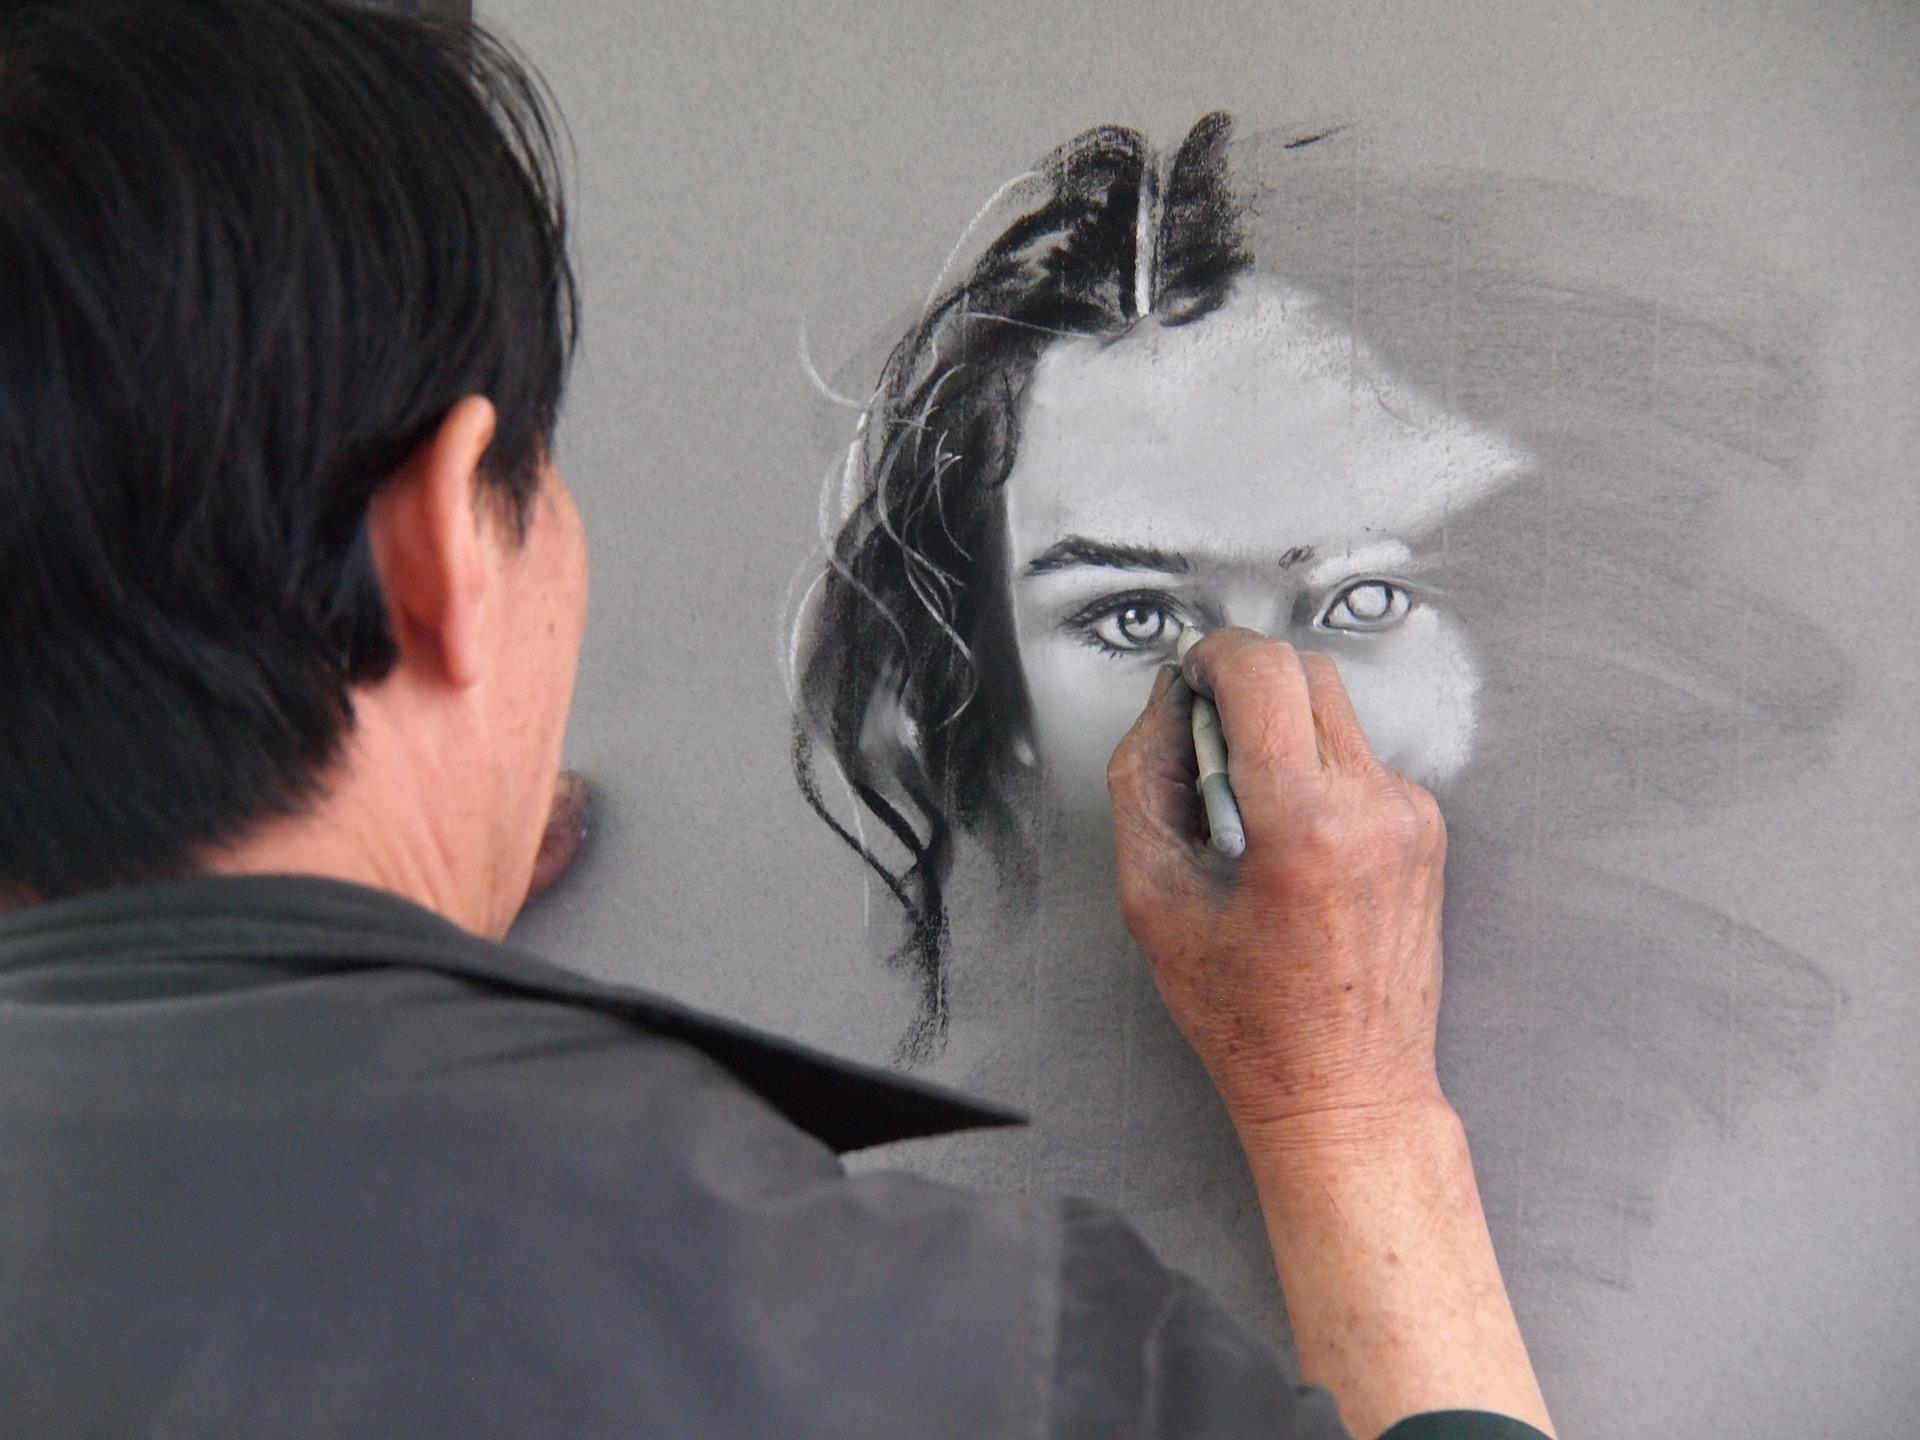
Drawing and or painting can lay the foundational understanding around how animation, character, form and space works and it will also enable you to start with a project like traditional drawn animation.

Drawn Animation and Improving Your Drawing Skills
Most animation studios still make use of concept drawings to create and pitch characters, and even though it’s less required with modern CGI and 3D animation, the ability to draw will help you to design and create characters.
Don’t panic if you cannot draw, you can learn with very little equipment and the help of a tutor that you can find right here on Superprof.
Therefore, the only thing you need to start your journey with animation is a pen and a couple clean pages of paper. Once you have the basics of shape and proportions down, you can focus on visually creating movement and actions in your characters.
Learning to draw could be a valuable investment of your time and effort and for that reason we think that one of the best projects you could take on is creating your own little animation in the old traditional way.
Animation is an assimilation of movement, created by a series of frames.
In classical 2D animation, like the original Mickey Mouse films from Walt Disney, they sketched the characters in a flipbook to create moving pictures when you flip through it. The first page will have the first frame and the second frame overlays the first one where the same character is drawn with a little bit of movement. This process continues until a range of consequent frames will create the illusion of motion when they are flipped through.
Are you ready to start on your own animation?
Let’s look at the animation equipment you’ll need to create your first cel (or celluloid) animation.
Tools for Creating Your Hand-Drawn Animation
Early animators used celluloid sheets, transparent films together with a range of other materials that would allow them to draw, paint, capture and combine the various frames of their animation. Hand-drawn animation is only one of the techniques used in animation and it’s quite traditional, it does however remain popular under animation fans and is an ideal way for you to learn the basics of animation.

The process for creating your own hand-drawn animation, using the classic cel technique, is possible if you follow these steps:
- Draw the character in starting position, followed by its various animated poses in the consequent pages of a flipbook. Each frame or consequent motion will be on its own sheet and while they follow on each other with slight changes, the environment must only be drawn once. We recommend you start with something small like 10-20 frames.
- Transfer the character in each of its frames and the background onto individual transparent cel sheets, ensuring the lines are solid, clear & equally weighted throughout (read more about the animation tools you need below)
- Paint and colour the character in each frame on your cel sheets, doing the same with the background sheet. Ensure you maintain the same colour intensity and let them dry before adding another colour next to it to prevent mixing.
- Take pictures or scan each drawing and take time to organise them in sequence. Numbering pages might help and be sure your camera and page position is exactly the same to ensure elements match up from one frame to the next.
- Now import them into animation software, like Blender or Adobe Animator, to layer and combine the frames with the help of features like an editor tool.
Flipbook or Paper
Cels can be pricey and therefore it is smarter to use paper or a flipbook to initially develop your character. The thinner the pages, the better, as it’ll also allow you to trace and duplicate elements. Be prepared to do a lot of duplicate drawings. For a character to throw the ball, the same character needs to appear in each frame with little movement in each drawing.
Lightbox
A lightbox is a useful investment if you plan to do a lot of drawn animations. It will help you see through the pages when you track and trace movement of characters and allow you to evaluate and ensure the colour intensity of the characters are the same from one frame to the next.
Transparent Sheets/Acetate Paper (Cels)
Transparent cels are see-through sheets used to create the core frames and which allow you to track the elements and gradually move them to create motion. Using cels makes it possible to only do the background once, where if you only had paper, you would have to redraw it for each frame.
Pencil, Eraser and Coloured Pencils
You’ll need pencils and possibly coloured or easy-erase pencils (depending on your process). You can use different colours for your construction lines to allow the computer to eliminate the coloured lines and leave grey or black lines behind as the final lines. Other drawing materials like pastels, water-colours or felt tips are also used by some animators, and it’s important to try different animation techniques and materials once you get the hang of celluloid.
Fine Tip Permanent Marker
A good, consistent black marker will ensure the character is transferred to the clear sheets easily and without irregularities in the lines. You can imagine that if the lines do not remain consistent it will cause movement in the animation, and you’d like people to focus on the character movement and not irregularities in colours or lines.
Acrylic Paint, Acrylic Medium and Paint Brushes
Traditional cel paint has a thick consistency, goes down in one layer and dries quite quickly. You’ll probably have to use modern acrylic paint as a replacement and possibly do a couple of layers to ensure the colour is solid and consistent in-between frames. Acrylic medium will help you thin out the paint if it is too thick and getting a quality, fine paintbrush will allow you to paint the detailed areas of your picture.

A Camera or Scanner
It’s easier to scan the various frames with a scanner, but if you have a camera, you can take pictures of each frame. Ensure you do it in the correct order and the positioning of the camera should remain the same for each frame. Rostrum cameras are used by the professionals, but they are quite pricey, so we recommend you start with a camera you have at home.
A Computer, Video Editing and Animation Software
You’ll need a computer to upload your captured or scanned frames before importing them into the animation software you will be using. There is a wide variety of free animation programs, available for mac and windows, who offer users free and paid features. We recommend something like Adobe, where one of the pros is a packaged price for most of their apps. The recently introduced Adobe Substance 3D, Adobe Premier Rush is great for video editing or their Animate app will enable 2D work.
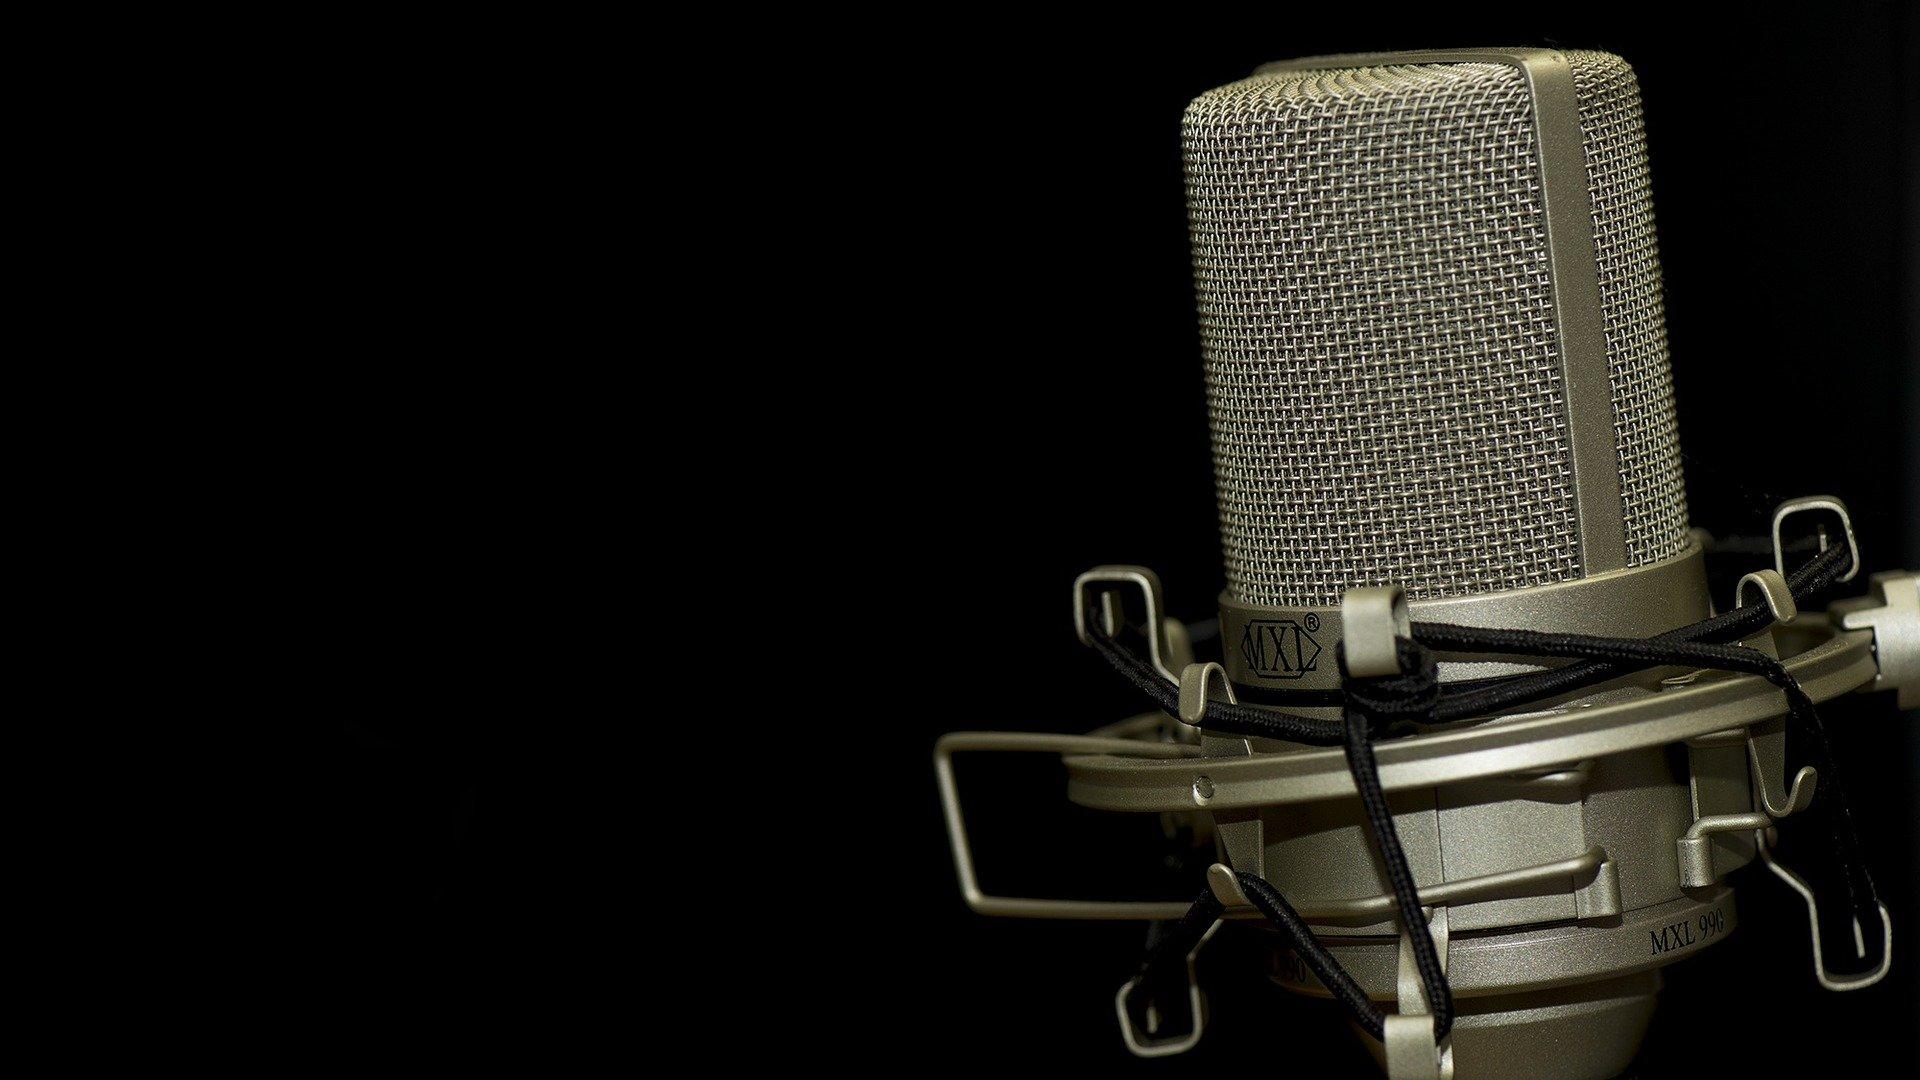
The more experienced you become the more complex the features, templates and effects will be. To create high quality videos you’ll require a good graphics card and significant RAM, especially if you plan to work more with 3D animation and CGI. You might also opt for a graphics tablet, microphone or modelling clay to design and animate your stories to life.
Where to Find Animation Equipment & Assistance
Most animation materials and electronics we mentioned are available in online stores. Electronics like computers or graphite tablets can be tested in-store and if you speak to sales consultants at art specialist stores, you’ll get the pros and cons around the art materials they stock.
You can also contact one of our Superprof tutors for a lesson in scriptwriting, drawing or character sculpting. Online classes or in-person tutorials will allow you to learn and develop your art at a pace that suits your schedule and budget.
Summarise with AI:
Enjoyed this article? Leave a rating!